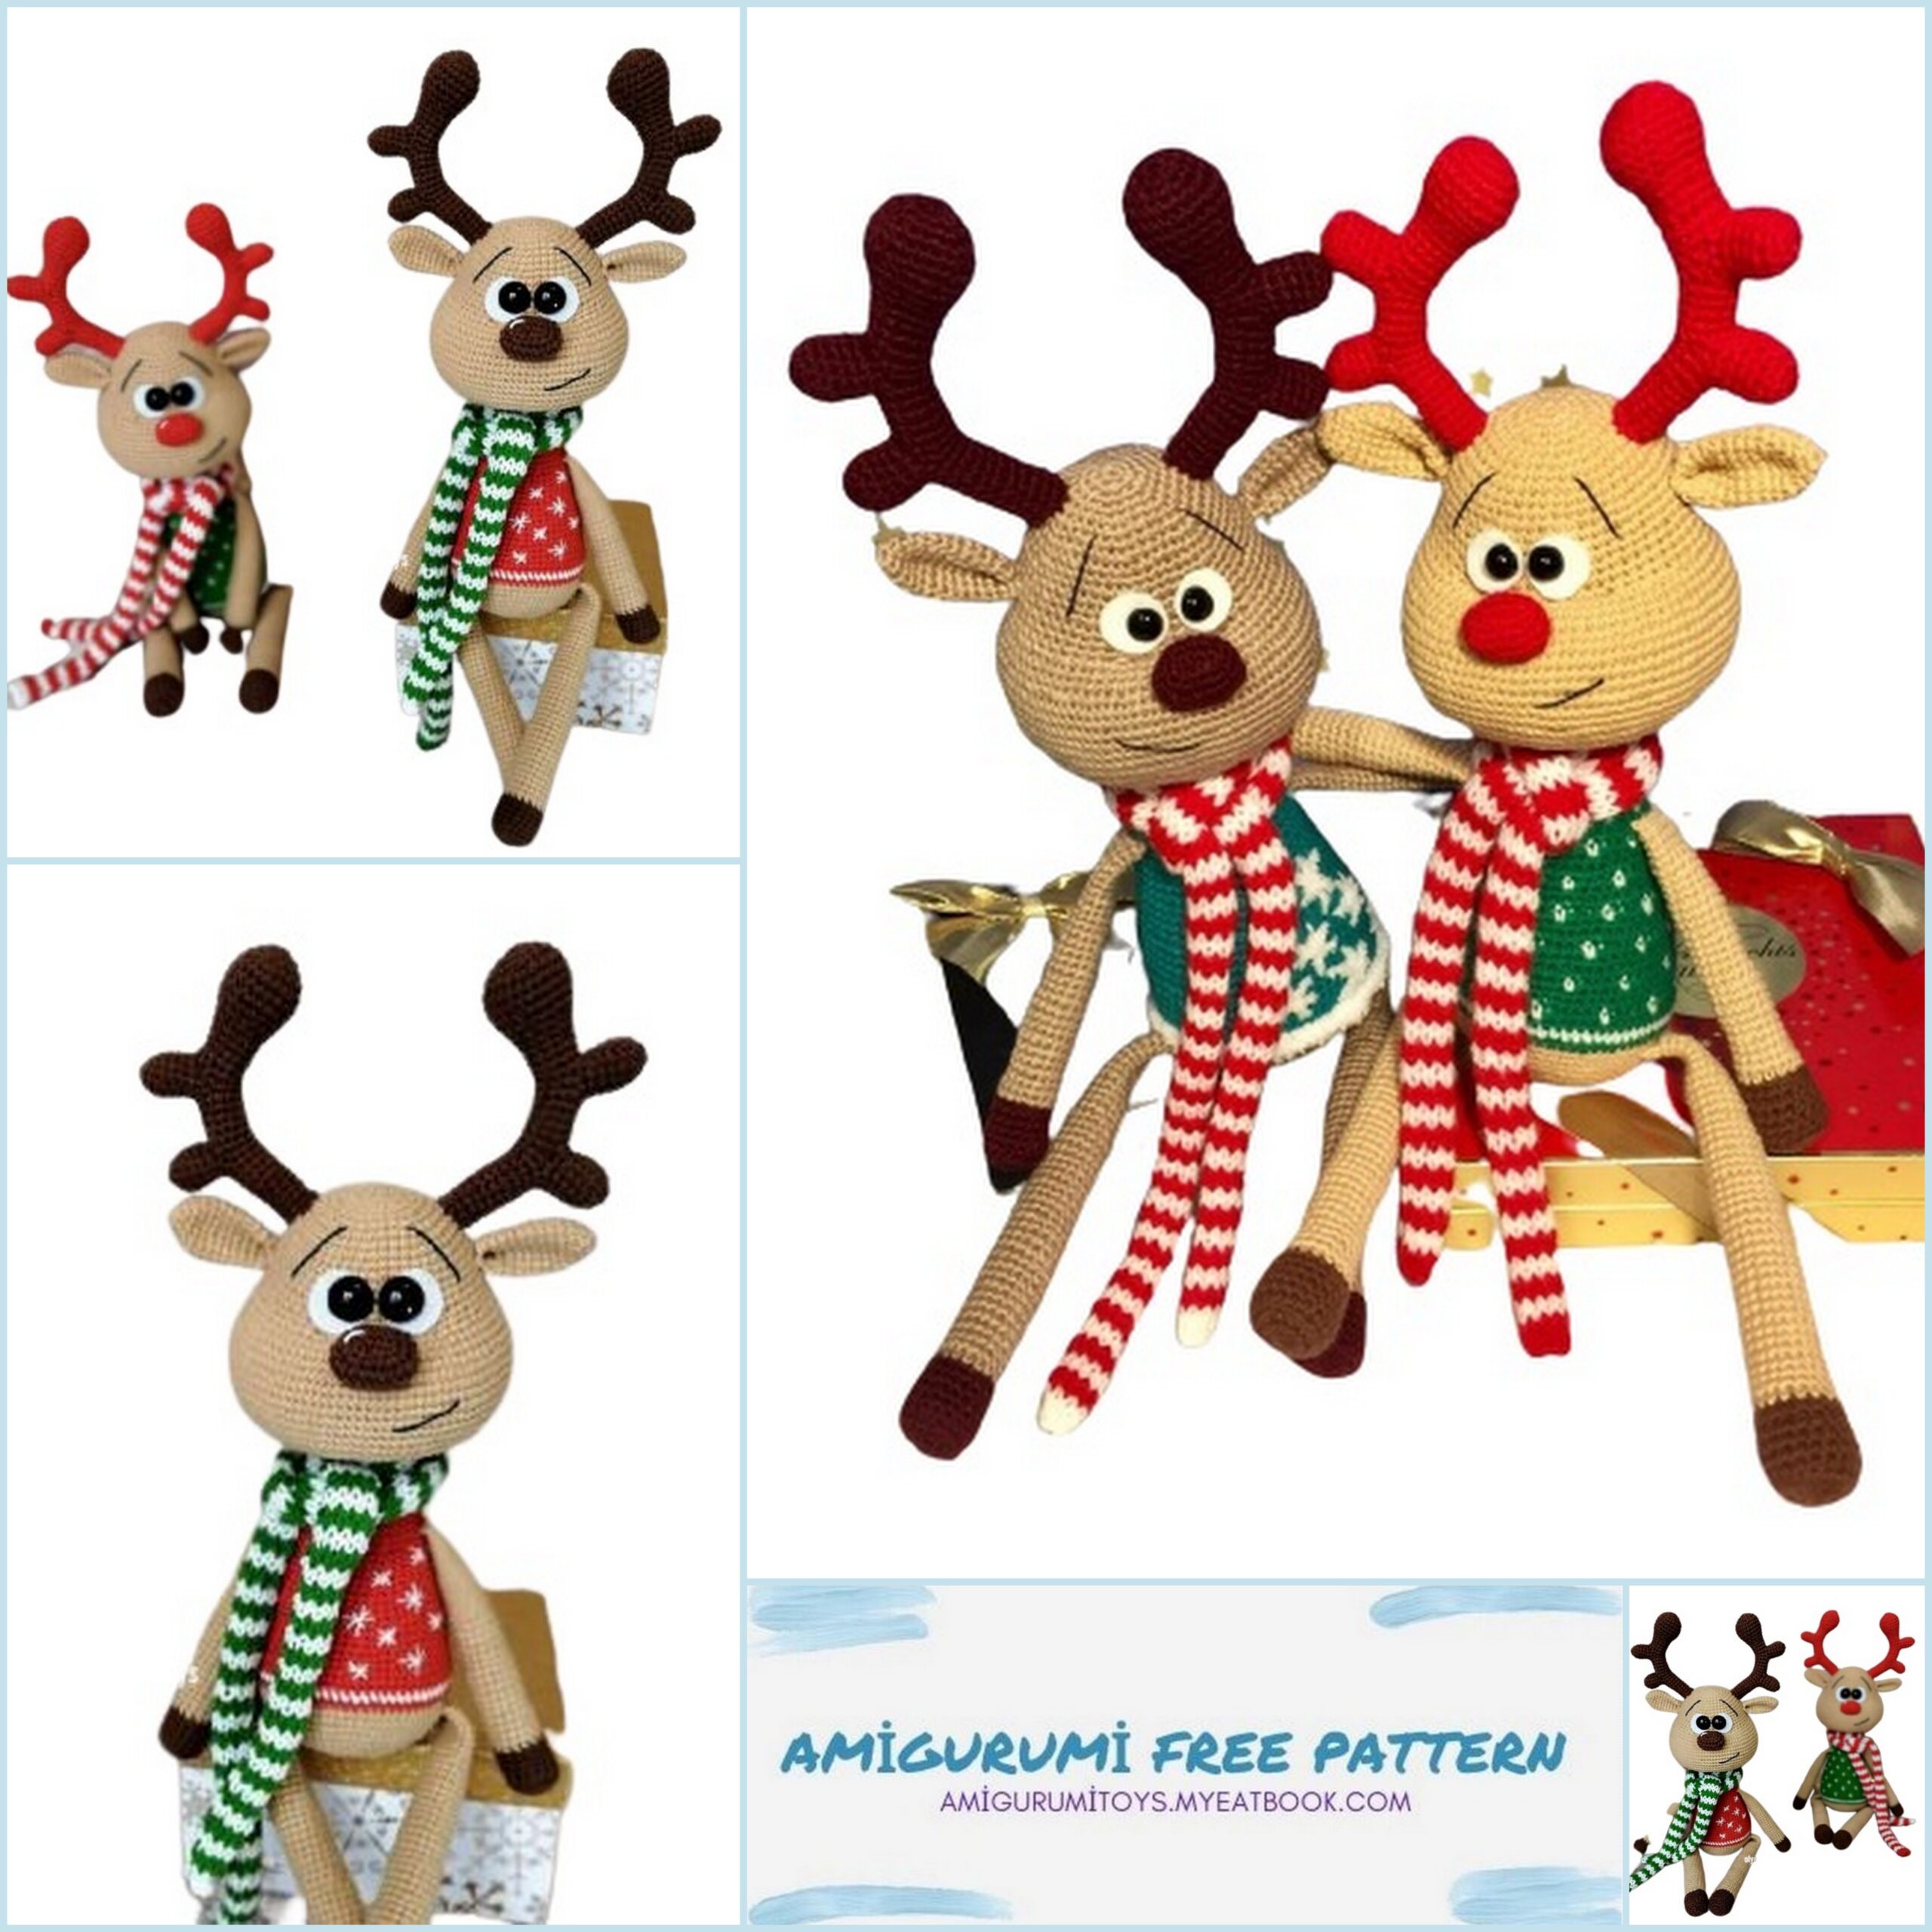
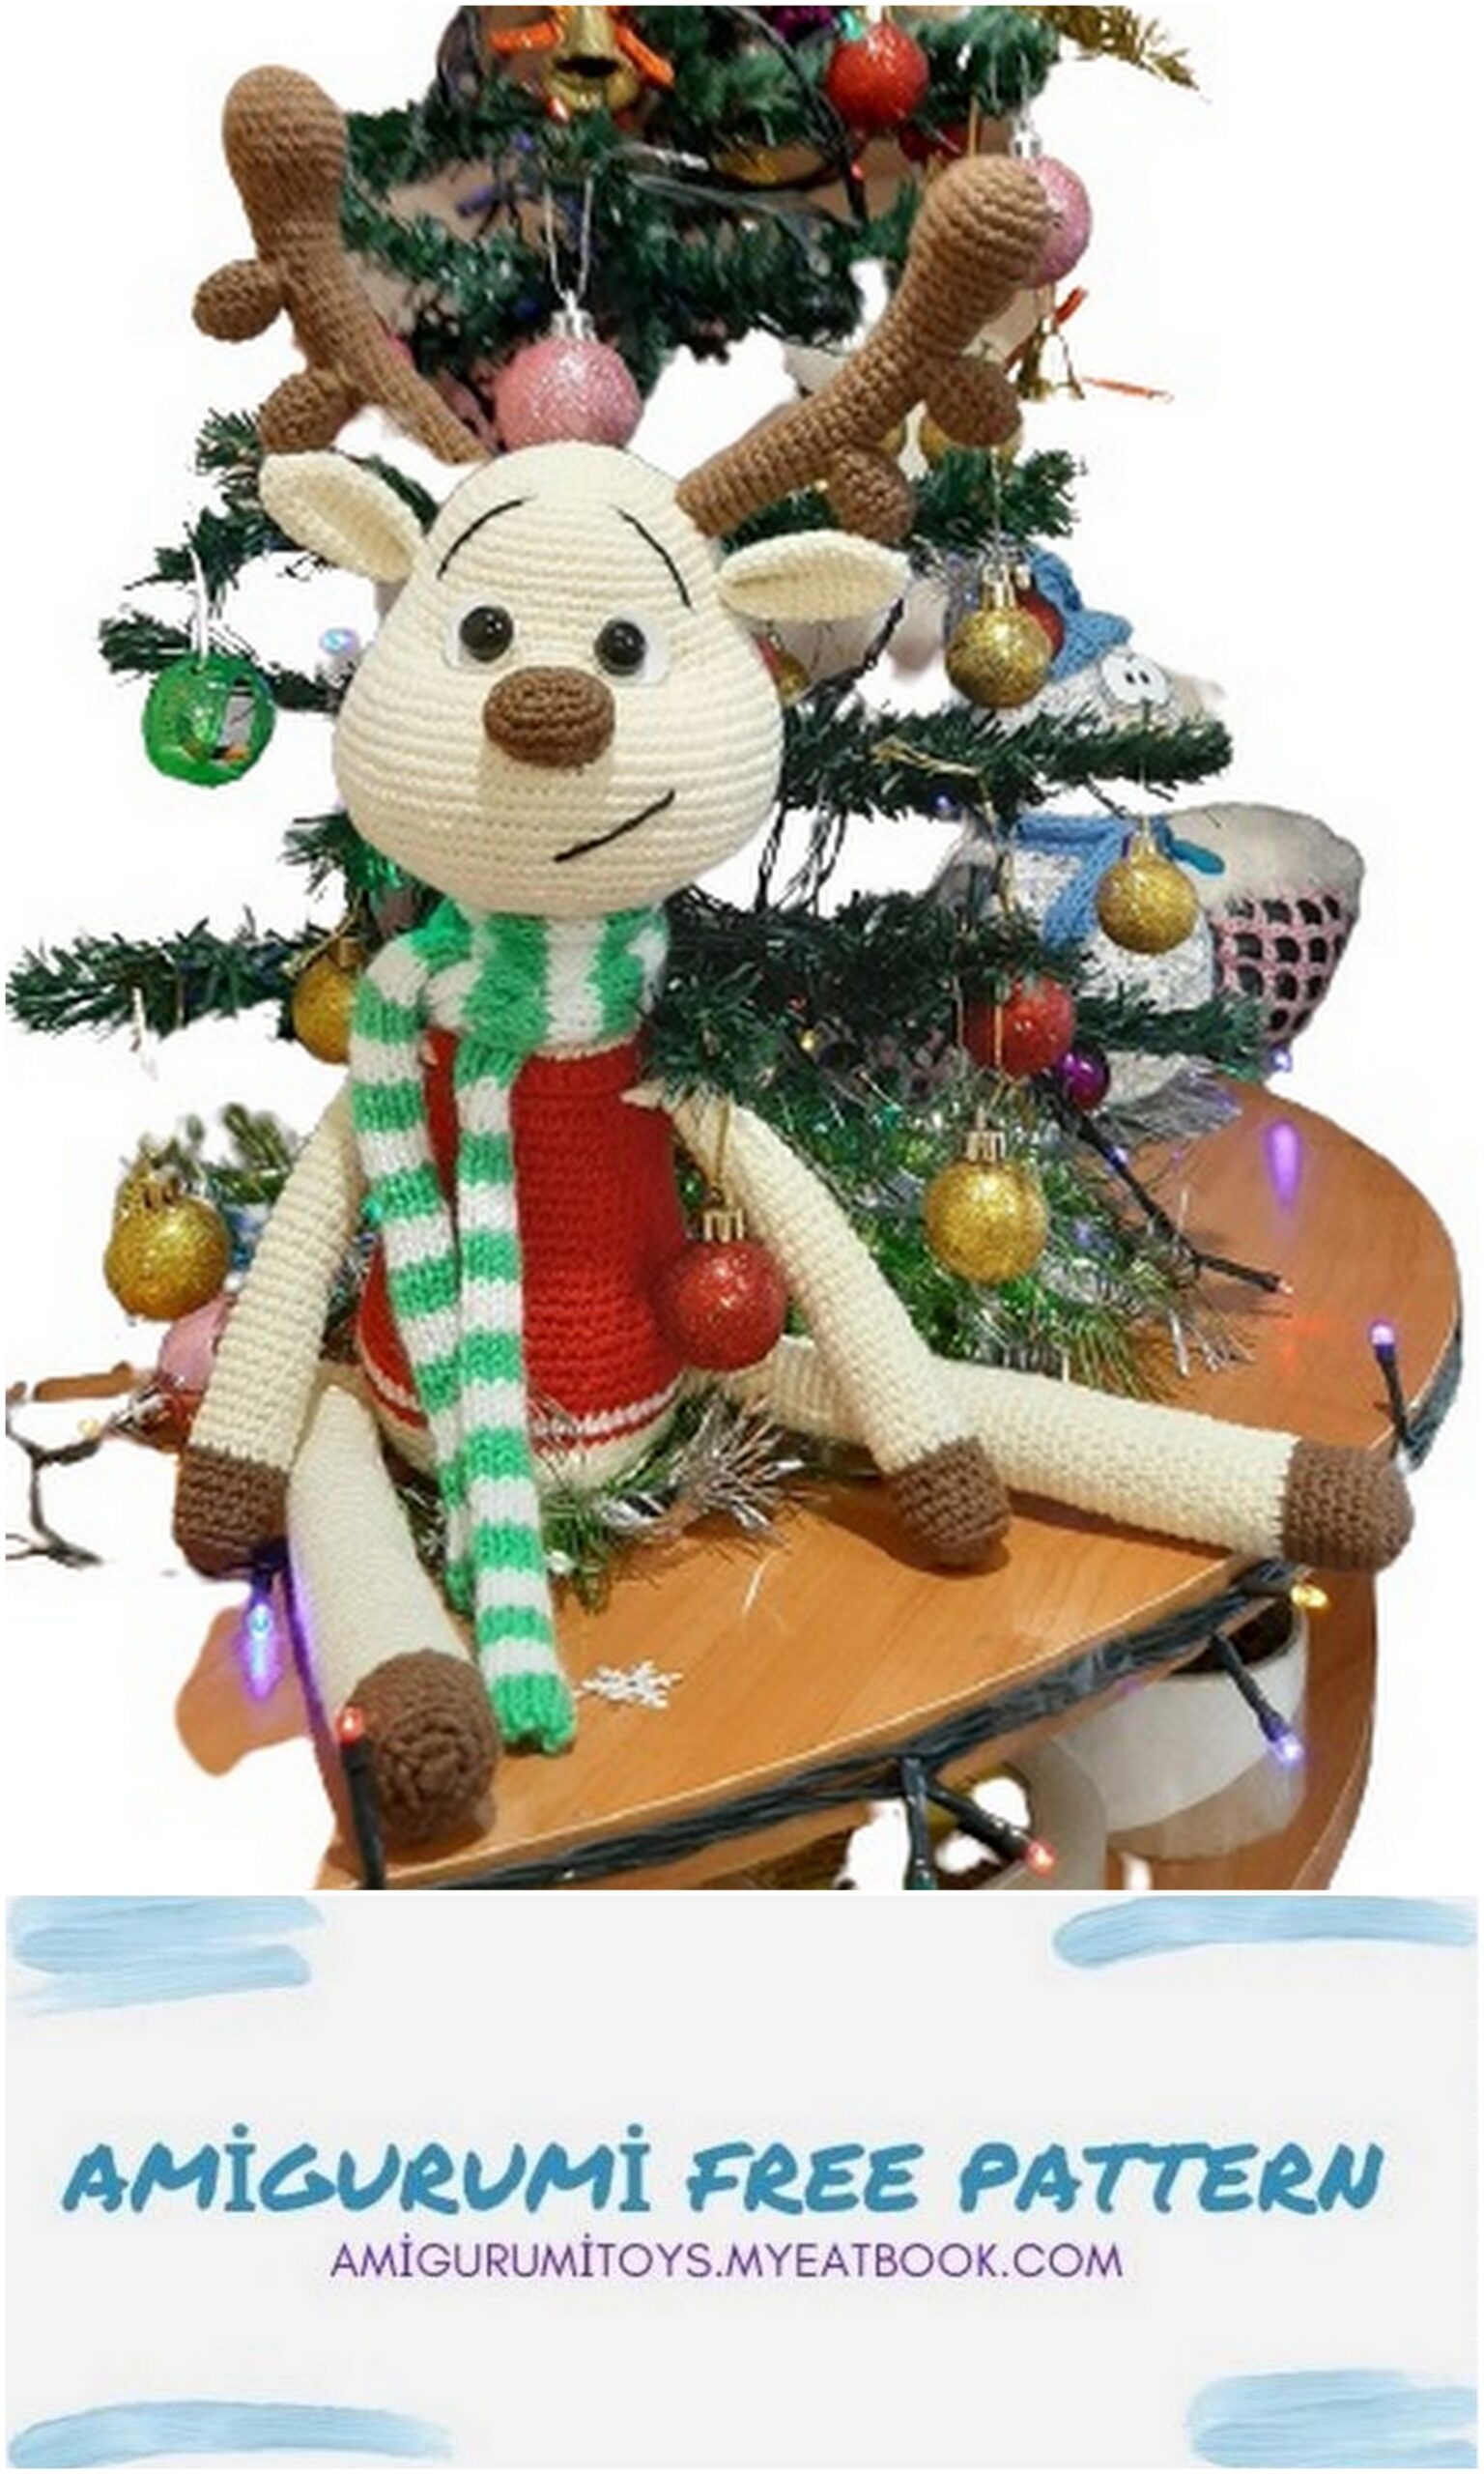
Amigurumi DEER ROLLY Free Pattern DEER ROLLY Deer size using the materials I specified 39 cm (from legs to horns), sitting 28cm, but you may have it in different sizes, depending on the choice of yarn and crochet And the length of my scarf is 75cm.
NECESSARY MATERIALS
We need:
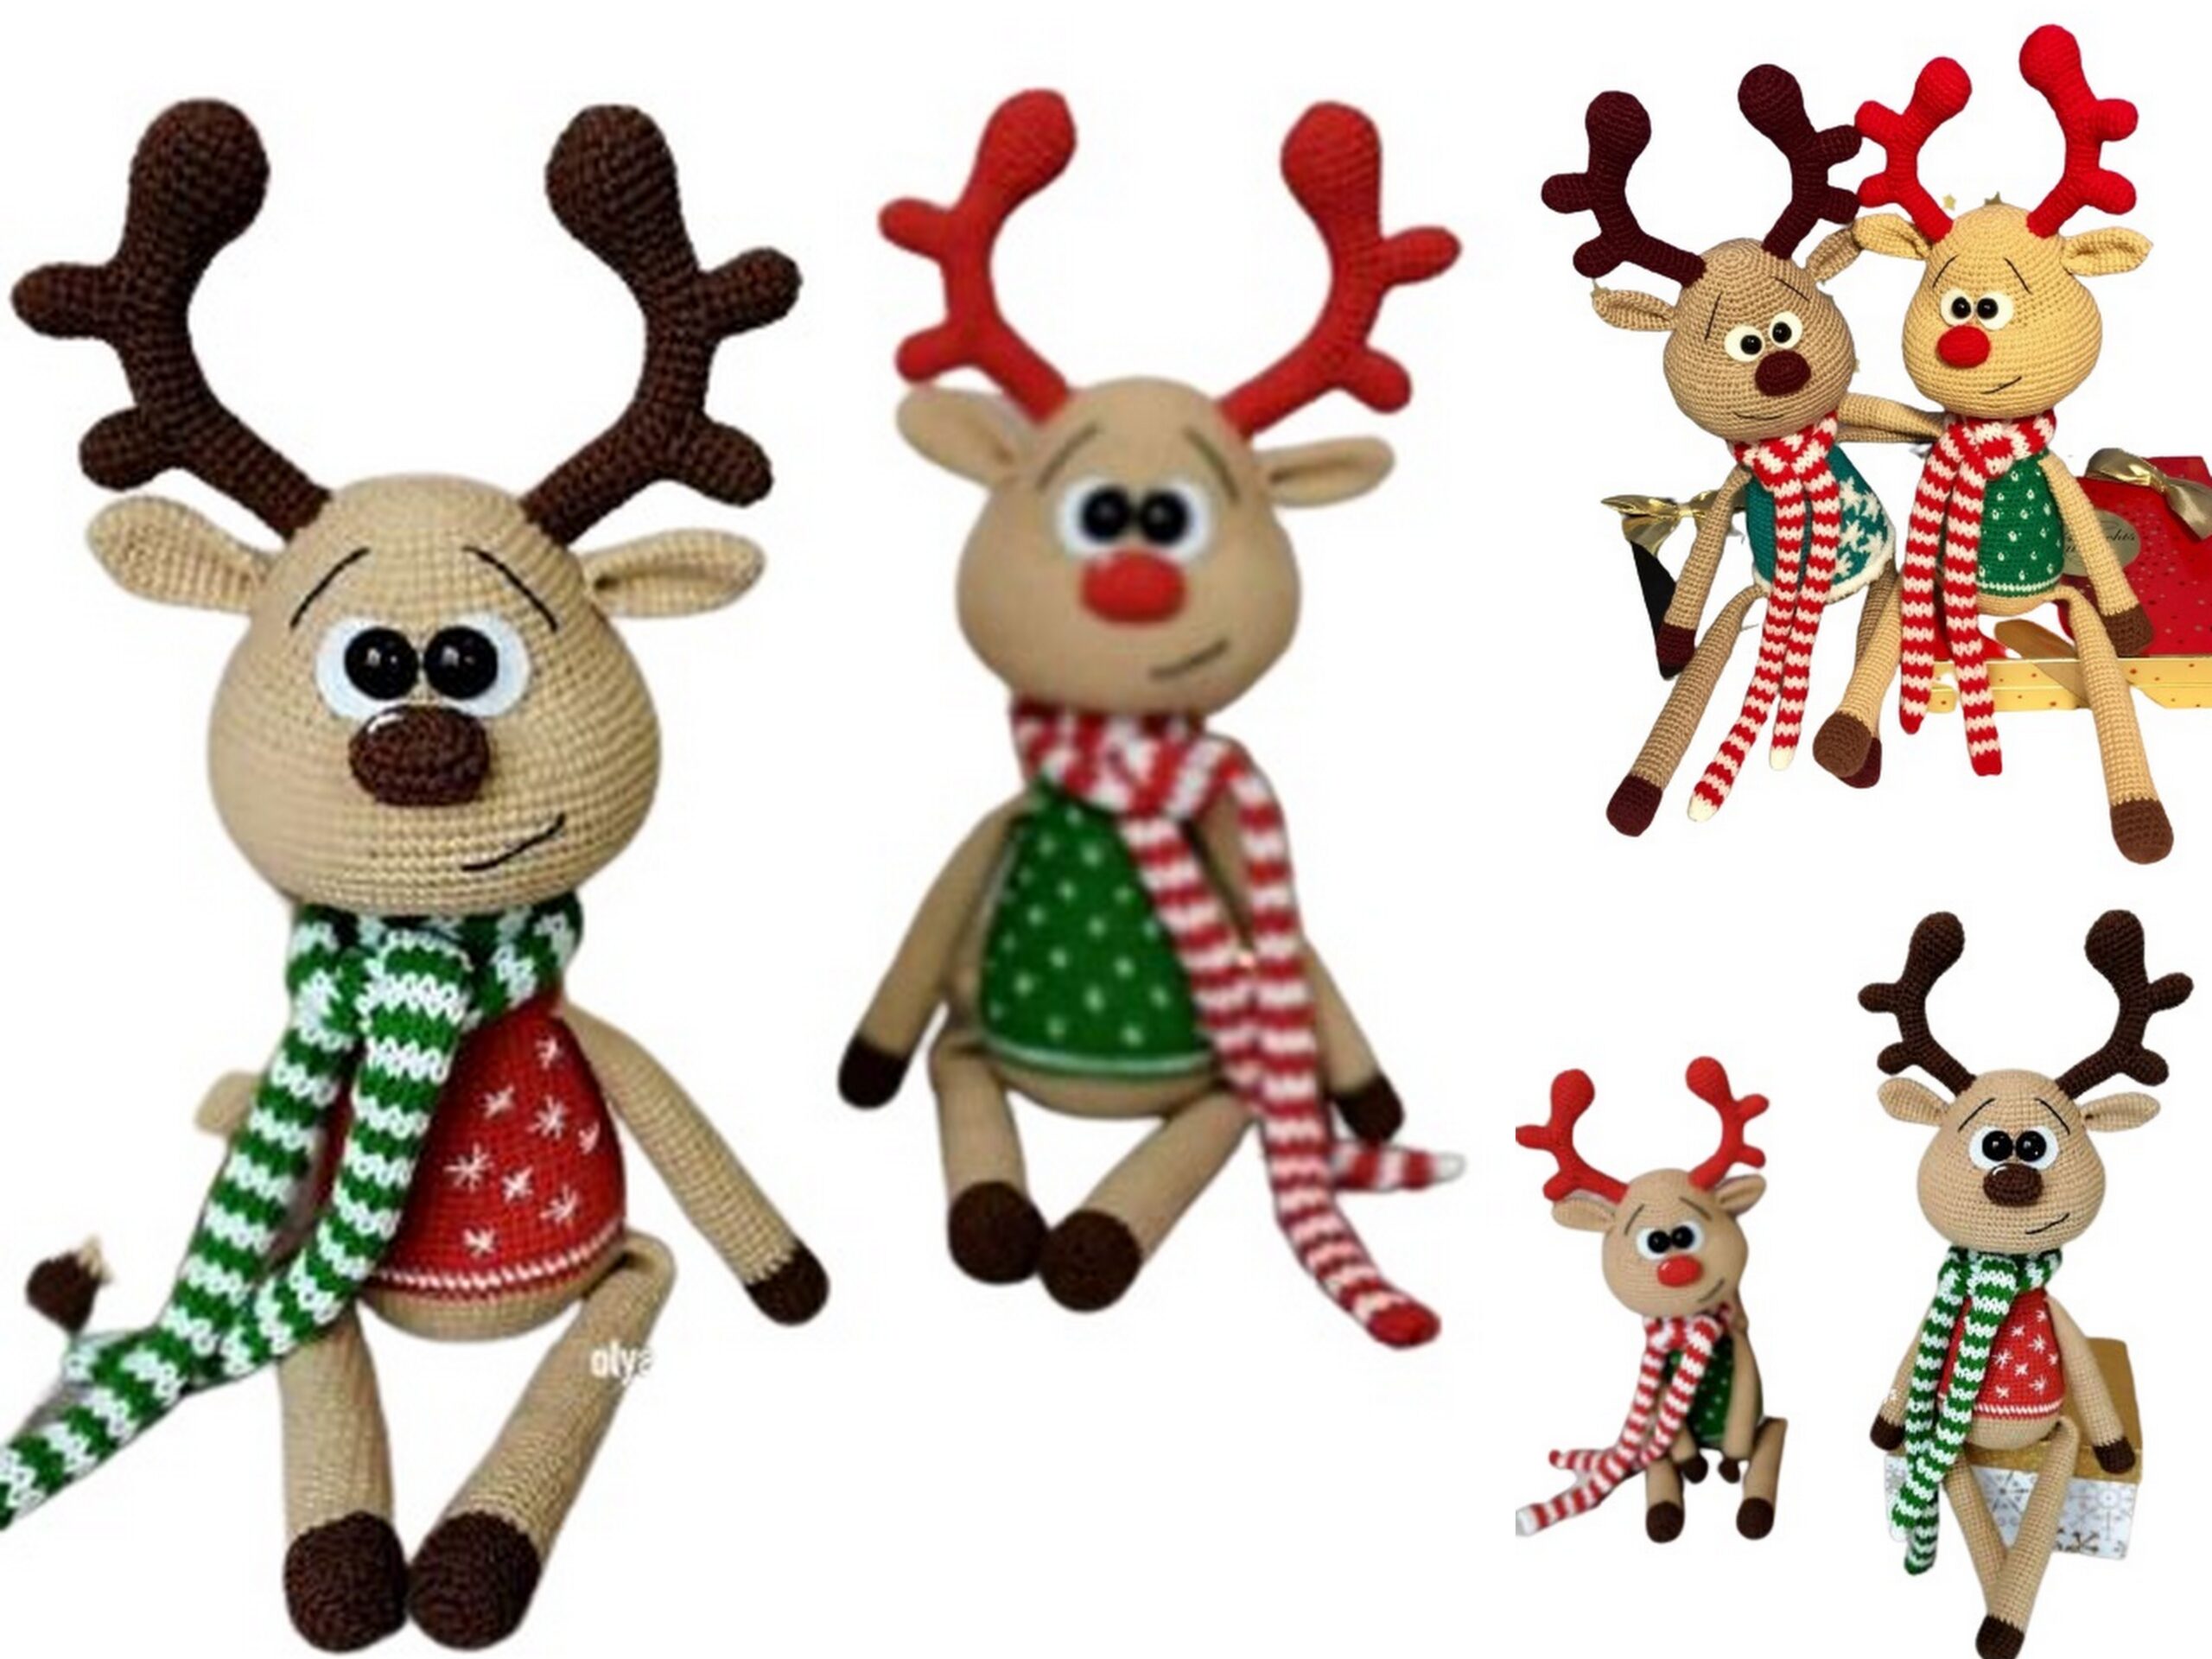
* YarnArt Jeans yarn – 07 beige, a little more than 1 skein (main)
* YarnArt Jeans yarn – 01 white, a little (for a scarf)
* Yarn Alize Cotton Gold – 493 brown, ¼ skein (hooves, horns, nose)
* Yarn Alize Cotton Gold – 243 red, ¼ skein (jacket)
* Yarn Alize Cotton Gold – 126 green, ¼ skein (scarf)
* Black cotton thread for decoration (I have SOSO Vita Cotton)
* Filler (holofiber, synthetic winterizer, etc.)
* Crochet hook # 2 or whatever fits your yarn
* Knitting needles # 3 for scarf
* Stitching needle
* 2 white felt mugs, about 2cm.
* Eyes 14mm.
And you can knit with absolutely any yarn that is convenient for you (acrylic, cotton) and any color using a suitable crochet hook.
SYMBOLS:
CH – air loop;
MR – amigurumi ring;
SC – single crochet;
DC – double crochet;
İNC – increase (two loops from one column);
DEC – decrease (two bars together);
SL-ST – connecting post.
You can put a photo of the finished fawn in the group folder
PENS:
We start knitting with brown yarn:
1.MR of 5
2.5İNC (10)
3. (1SC, 1İNC) * 5 (15)
4. Behind the back walls of the hinges: 15SC
5-8. 15SC (4 rows)
Change the color of the yarn to the main one (beige):
9. Behind the back walls of the hinges: 15SC
Fill the handle as you knit.
10-19. 15SC (10 rows)
20.1ub, 13SC
21-27. 14SC (7 rows)
28.1DEC, 12SC
29-37. 13SC (9 rows)
Leave the top of the handles empty, without filler for 6 rows approximately.
Fold handle in half and knit 6SC together.
Fasten the thread.
Then we will tie them into the body.
LEGS:
We start knitting with brown yarn:
1.MR of 6
2.6İNC (12)
3. (1SC, 1İNC) * 6 (18)
4. Behind the back walls of the hinges: 18SC
5-8. 18SC (4 rows)
Change the color of the yarn to the main one (beige):
9. Behind the back walls of the hinges: 18SC
Fill the leg as you knit.
10-22. 18SC (13 rows)
23.1DEC, 16SC
24-34. 17SC (11 rows)
35.1DEC, 15SC
36-43. 16SC (8 rows)
44.1DEC, 14SC
45-49. 15SC (5 rows)
IMPORTANT!!! On top of the legs, we must leave them empty, without filler for about 7 rows.
Fold the leg in half and knit together 7SC.
Fasten the thread.
Then we will tie them into the body.
Her
BODY:
We start knitting with yarn of the main color (beige):
1.MR of 6
2.6İNC (12)
3. (1SC, 1İNC) * 6 (18)
4. (2SC, 1İNC) * 6 (24)
5. (3SC, 1İNC) * 6 (30)
6. (4SC, 1İNC) * 6 (36)
7. (5SC, 1İNC) * 6 (42)
8. (6SC, 1İNC) * 6 (48)
9. (7SC, 1İNC) * 6 (54)
10. (8SC, 1İNC) * 6 (60)
11. (9SC, 1İNC) * 6 (66)
12.66SC
In this row we will knit the legs, we will knit for two walls (the body and the rows of the legs).
13.13SC, leg-7SC, 26SC, leg-7SC, 13SC (66)
14.66SC
!!!! I’ll show you how we will knit check marks in the canvas (for example, a green blouse). But you can
just knit a plain jacket and embroider over the snowflake.
Change the color of the yarn to the color of the jacket (in my case, green):
15.66SC.
We DO NOT cut the green thread.
Change the color of the yarn to white.
16.66SC
We DO NOT cut the white thread.
Change the color of the yarn to green
17.66SC
Next, there will be check marks on the jacket, we stretch the thread all the time along the knitting and it is very IMPORTANT NOT
TIGHTEN THE THREAD !!!
In the rows where the check marks I will sign the word “white”
18. (5SC, 1SC-white) * 11 (66)
19. (9SC, 1DEC) * 6 (60)
20.60SC
21.3SC, 1SC white, (4SC, 1SC white, 5SC, 1SC white) * 5, 1SC (60)
22. (8SC, 1DEC) * 6 (54)
23.54SC
24.1SC, (1SC-white, 4SC) * 10, 2SC (54)
25.54SC
26. (7SC, 1DEC) * 6 (48)
27.1SC white, 3SC, (1SC white, 3SC, 1SC white, 4SC) * 4, (1SC white, 3SC) * 2 (48)
28.48SC
29. (6SC, 1DEC) * 6 (42)
30.2SC, (1SC-white, 3SC) * 9, 1SC-white, 2SC, 1SC-white (42)
31-32. 42SC
33.1SC, (1SC-white, 3SC) * 10, 1SC (42)
34. (5SC, 1DEC) * 6 (36)
In this row we will knit handles, we knit for two walls (body and rows of the handle).
IMPORTANT!!! Because we all knit in different ways, small displacements of the loops may form,
handles should be strictly on the sides, above the legs, if necessary, knit
additional loops, or do not tie.
35.10SC, handle-6SC, 12SC, handle-6SC, 2SC (36)
36. (3SC, 1SC-white) * 2, 2SC, 1SC-white, 3SC, 1SC-white, (2SC, 1SC-white) * 2, (3SC, 1SC-white) * 2, 2SC, 1SC-white, 3SC, 1SC-white (36)
37.36SC + knit extra. offset loops, so that our marker is in the center of the back, in my
case, I knitted another 4SC.
We DO NOT cut the green thread and transfer it to the product, then we will knit with this thread collar.
Change the color of the yarn to the main one (beige)
38. Behind the back walls of the hinges: 36SC
39. (4SC, 1DEC) * 6 (30)
40-42. 30SC (3 rows)
43. (3SC, 1DEC) * 6 (24)
44-46. 24SC (3 rows)
Leave the thread for sewing on the head.
Go back to row 38 and knit for the remaining front half loops: SL-ST in the first, 2CH
lifting, 36sc, SL-ST.
Fasten and cut the thread
TAIL: We knit with yarn of the main color:
1.MR of 6
2. (1SC, 1İNC) * 3 (9)
3. (2SC, 1İN C) * 3 (12)
4. (3SC, 1İNC) * 3 (15)
5. (4SC, 1İNC) * 3 (18)
6-9. 18SC
10. (4SC, 1DEC) * 3 (15)
Fill tightly.
Fold ponytail in half and knit 7SC together.
Leave the thread for sewing.
Sew on between 12 and 13 rows.
HEAD:
We knit with yarn of the main color lg (beige):
1.MR of 6
2.6İNC (12)
3. (1SC, 1İNC) * 6 (18)
4.1SC, 1İNC, (2SC, 1İNC) * 5, 1SC (24)
5. (3SC, 1İNC) * 6 (30)
6.2SC, 1İNC, (4SC, 1İNC) * 5, 2SC (36)
7. (5SC, 1İNC) * 6 (42)
8.3SC, 1İNC, (6SC, 1İNC) * 5, 3SC (48)
9.48SC
10. (7SC, 1İNC) * 6 (54)
11-13. 54SC (3 rows)
14.4SC, 1İNC, (8SC, 1İNC) * 5, 4SC (60)
15-17. 60SC (3 rows)
For those who fix the eyes in advance, we fix them between 13 and 14 rows at a distance of 4 loops, pre-fixing felt circles on them.
18.12SC, (1İNC, 1SC) * 17, 1İNC, 13SC (78)
19-20. 78SC
21.13SC, (1İNC, 2SC) * 17, 1İNC, 13SC (96)
22-30. 96SC (9 rows)
31. (2SC, 1DEC) * 24 (72)
32.72SC
33. (4SC, 1DEC) * 12 (60)
34. 60SC
35. (3SC, 1DEC) * 12 (48)
36.48SC
37. (2SC, 1DEC) * 12 (36)
38. (1SC, 1DEC) * 12 (24)
Leave the thread for sewing.
We fill the head with filler.
IMPORTANT!!! When sewing on, our convex part of the muzzle should be in front (guide
increments in the 18th row, we calculate the middle of the face from them).
During sewing, fill the neck more tightly so that our head does not loosen over time.
You can also insert a wire if desired. The twisted wire I have is 11cm.
SPOUT:
We knit with red (or brown) yarn:
1.5CH, from the second loop we knit 3SC, 3SC in one loop, on the other side 2SC, 1İNC (10)
2.1İNC, 2SC, 3İNC, 2SC, 2İNC (16)
3.1İNC, 3SC, (1İNC, 1SC) * 3, 2SC, (1İNC, 1SC) * 2 (22)
4.22SC
5.1DEC, 3SC, (1DEC, 1SC) * 3, 2SC, (1DEC, 1SC) * 2, SL-ST.
Sew on after tightening the muzzle, between 18 and 23 rows.
HORNS:
We knit with red (or brown) yarn:
Small horns (2 parts):
1.MR of 6
2.6İNC (12)
3-7. 12SC (5 rows)
Fasten and cut the thread.
The main part of the horns:
1.MR of 6
2.6İNC (12)
3. (1SC, 1İNC) * 6 (18)
4.1SC, 1İNC, (2SC, 1İNC) * 5, 1SC (24)
5-6. 24SC
7. (4SC, 1DEC) * 4 (20)
8.20SC
9. (2SC, 1DEC) * 5 (15)
10.15SC
11.5SC, 1DEC, 6SC, 1DEC (13)
12-14. 13SC (3 rows)
15. knit together with a small horn-6SC, 7SC (13)
16. knit together with a small horn on the remaining loops-6SC, 7SC (13)
17-21. 13SC (5 rows)
We begin to fill the horns as we knit.
22.1SC, knit together with a small horn-6SC, 6SC (13)
23.1SC, knit together with the small horn on the remaining loops-6SC, 6SC (13)
24-26. 13SC (3 rows)
27.1DEC, 4SC, 1DEC, 5SC (11)
28-31. 11SC (4 rows)
32.11SC, SL-ST.
Leave the thread for sewing.
Sew on between 6 and 11 rows.
EARS:
We knit with yarn of the main color:
1.MR of 6
2. (1SC, 1İNC) * 3 (9)
3. (2SC, 1İNC) * 3 (12)
4. (3SC, 1İNC) * 3 (15)
5-12. 15SC (8 rows)
Fold the ears in half and knit together 7SC.
And fold in half by knitting the first and last 1SC loops together.
Leave the thread for sewing.
Sew under the horns, stepping down 2-3 rows from them.
STRETCHING AND DECORATION OF THE MUZZH:
We mark with needles the places of the dips as in the photo.
Between rows 17 and 18. Distances between 5-4 and 3-2 points 3 loops.
Distances between 4 and 3 points of 5 loops.
Between 37 and 38 rows at a distance of 3 loops.
We will do the tie with yarn of the same color as the base of our deer (beige).
We insert the needle at point 1 and output at point 2, then insert it at point 3 and output at point 1.
We retreat one loop to the side and insert the needle, withdrawing at point 4, then insert the needle at point 5 and we output at point 6.
To tighten up more securely, I do it one more time, continuing:
We step aside from point 6 and withdraw the needle at point 2, then enter it at point 3 and output it to
point 1. We retreat one loop to the side and insert the needle, withdrawing at point 4, then insert the needle into
point 5 and output at point 6.
Pull back one loop to the side and insert the needle, pulling out at point 1, tighten the thread and tie per node. We hide the thread.
We embroider eyebrows with black thread. Between rows 6 and 14. We also embroider the mouth with the same thread between 24 and 27 in rows.
SCARF:
We begin to knit with green yarn and alternate with white every 2 rows.
Cast on 9 stitches.
We knit with the front stitch.
The first edge, 7 main loops and the last edge.
And the length of my scarf is 75cm.
But you can knit it in any length or even crochet