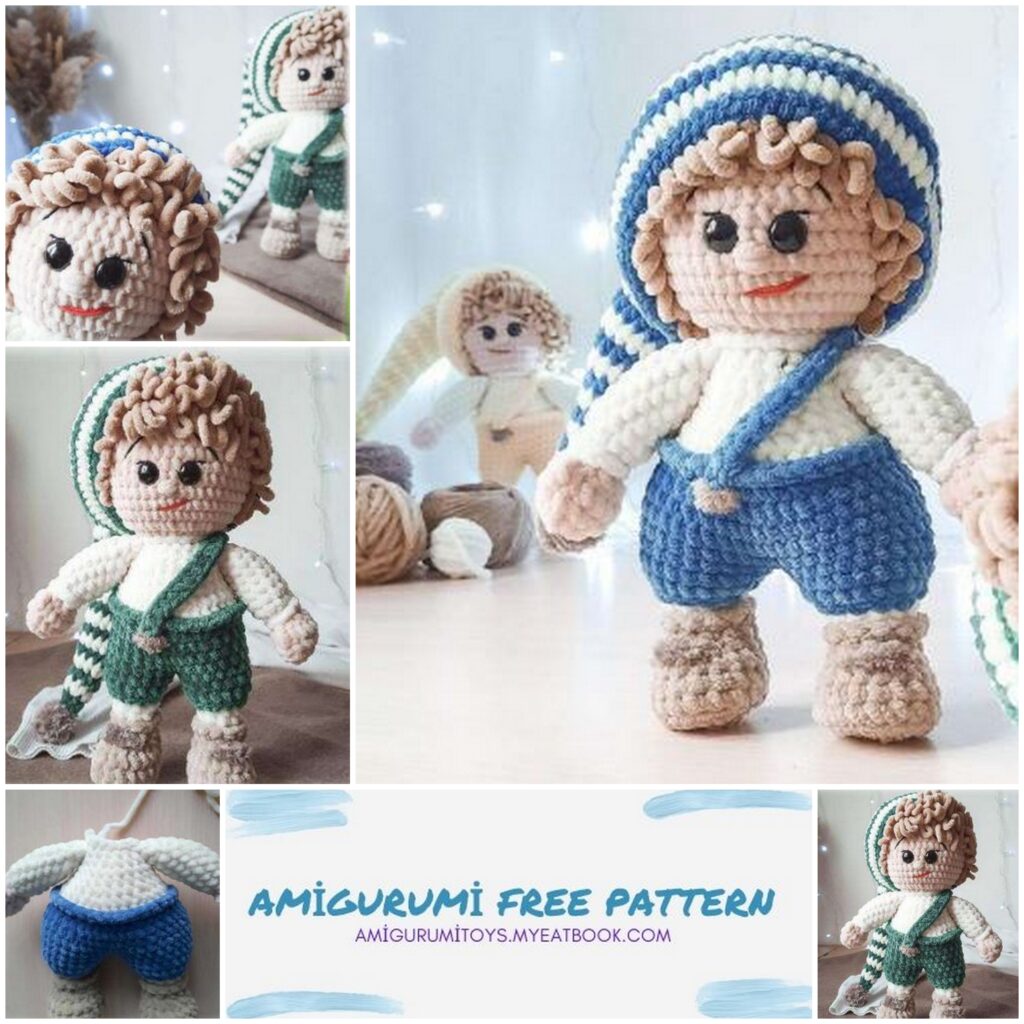
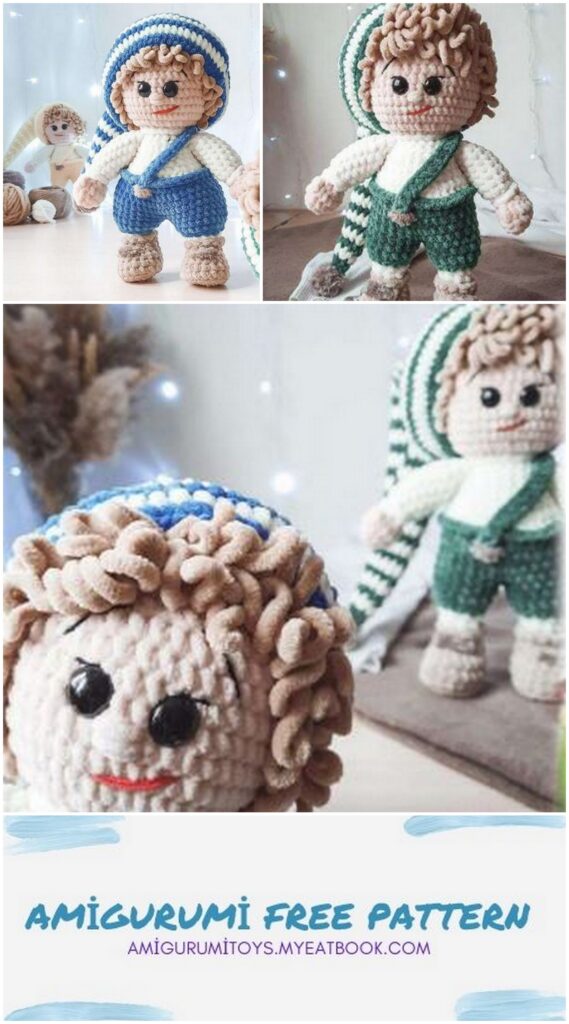
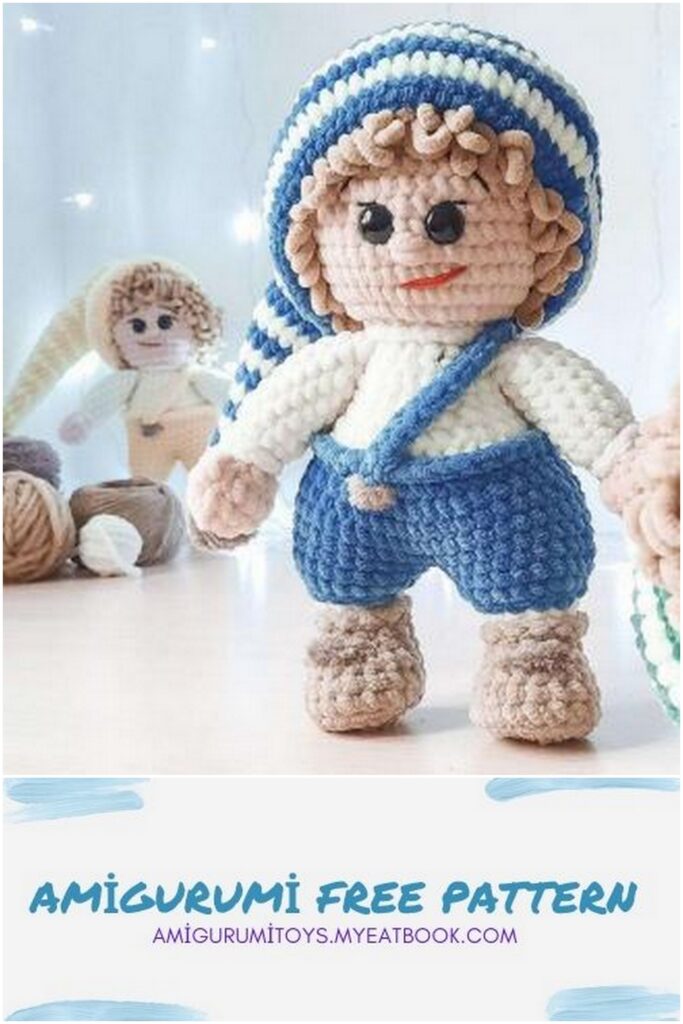
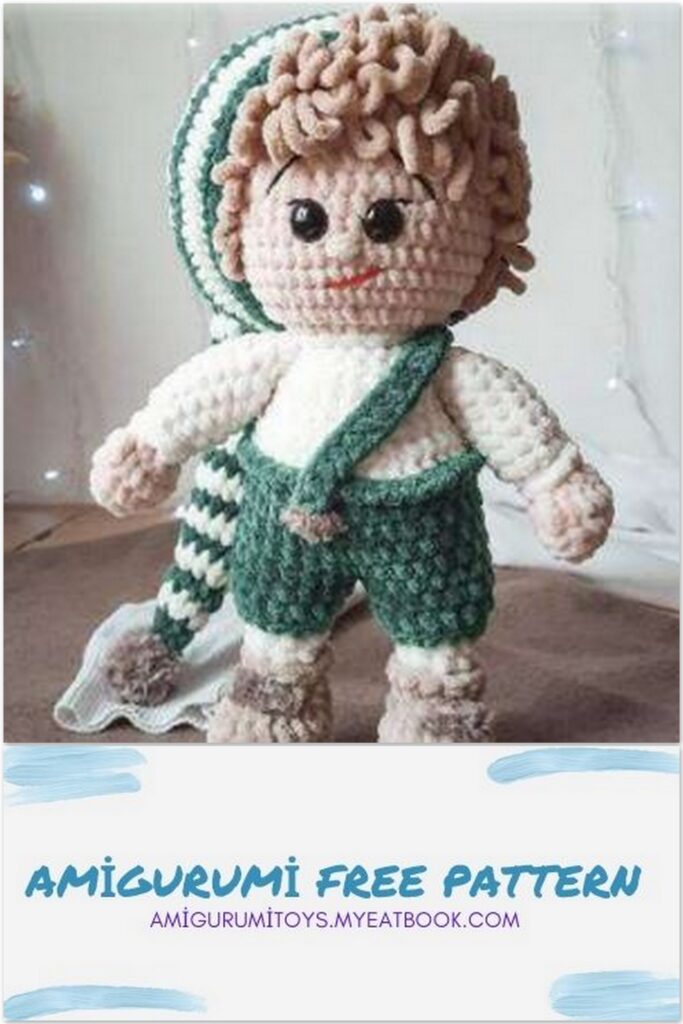
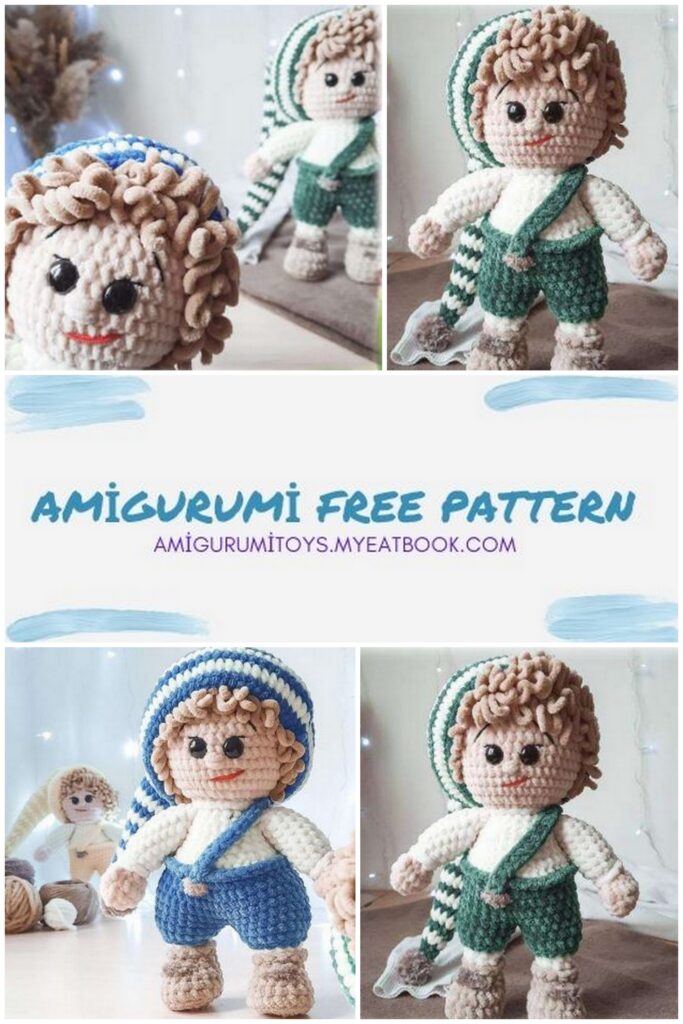
Amigurumi Dwarf Oliver Free Pattern
Amigurumi Dwarf Oliver Free Pattern Crochet workshop
“Dwarf Oliver” Good day you! ATTENTION!!! My Oliver’s size is 25cm
This master class is intended for personal use.
Let’s appreciate each other’s work!
For knitting you will need:
– yarn. I usually knit from plush yarn Himalaya Dolphin baby.
– black thread for eye embroidery, I have Alize cotton gold;
– Himalaya Koala – for pussies on legs and a pompon on a hat;
– hook number 3.5;
– a needle with a blunt end;
– eyes on a screw or other mount I have 14 mm;
– scissors;
– filler (synthetic winterizer or holofiber);
– a piece of flat plastic for the sole;
– glue-gel second.
My Oliver’s size is 25cm
Legend:
CH – air loop;
SC – single crochet;
HDC – half double crochet; video half column with
yarn over
SL-ST – connecting post;
DEC – decrease – knit 2 loops with one; most often I do the deductions by only clinging to the front wall of the hinge.
First the first, then the second, and then the working thread.
(unless otherwise stated); Video reduction
İNC – increase, knit 2 loops in one loop;
Video add-on
BLO – hinge back wall; Video-ZSP
MR – amigurumi ring; Video-MR
() * – what to repeat the specified number of times in brackets;
() – the number of loops that should be the result.
The toy is knitted in a spiral without lifting loops.
Unless otherwise stated in the description.
ANOTHER IMPORTANT POINT – OFFSETS.
WHEN KNITTING IN PARTS. ATTENTIVELY
LOOK AT YOUR TOY. POSSIBLY
YOU WILL NEED TO KNIT EXTRA SC OR NOT TO TIE.
Offsets depend on yarn and knitting style
Arms
2 details
We start with powdery yarn Fill not tightly. Very top do not stuff your hands at all
1.4CH, second from INC hook,
1SC, 3SC in the last loop, by the other side of the chain 2SC (8)
2. 2İNC, 1SC, 3İNC, 1SC, İNC (14)
3.14 SC
4.1SC, 1 column with 2 yarn over, DEC, (2SC, DEC) * 2, DEC (10)
5.DEC, 1SC, DEC, 1SC, 2DEC (6)
Change of thread to milk At the same time, leave a long ponytail (about 60cm) in front knitting for tying sleeves.
After knitting the 7th row – return and tie. Thread to withdraw inside. Tie with another milk tail.
You can not leave the tail, but connect after and also tie around the sleeve.
6. 6İNC (12)
7 – 13.12SC
14. (1SC, DEC) * 4 (8)
15.8SC
Cut the thread, fasten.
Legs
2 details
Fill tight
We start with sandy yarn
video – legs and beginning of the body
1.6SC in MR
2.6İNC (12)
3. (1SC, İNC) * 6 (18)
4.18SC for BLO
5.6. 18SC
Turn inside out.
Glue a circle from plastic plate for the most sole. Turn on the face.
Video – how to glue plate
7.6DEC, 6SC (12)
8. (2SC, DEC) * 3 (9)
Change the thread to milk.
Bring out the sand thread before knitting
9.9 SC for BLO dairy.
Pull out the hook.
Enter from the place of the color change under front floor hinge.
9 SC for the front wall of the hinge sandy.
Sand cut, fix, bring to the inside. Tie up with milk tail.
10.9 SC
Change thread to blue
11. For the front wall of the 9INC hinge (18)
12. For BLO 18SC
13.18SC
On the first leg SL-ST, cut and fasten the thread.
On the second, if necessary, knit 1-3SC, so that the hook is in the center of the side of the leg.
Connect the first leg. Putting so that the toes of both legs looked forward (one way)
14. Knit on the first leg of 18SC, then on 2nd 18SC (36)
Then we knit the body.
Body
Fill tight
15 – 18.36SC
Change of thread to milk
Draw the blue thread before knitting
19. For BLO dairy 36SC
20. (4SC, DEC) * 6 (30)
21. (3SC, DEC) * 6 (24)
Pull the hook out of the loop and insert a loop under the front floor of blue color.
Knit 36SC, SL-ST. Legs away from you.
Bring the thread inside. Tie up with milk tail. Or you can leave the blue thread and when the body is ready to tie the strap from CH.
(Description of the shoulder strap below)
22, 23.24SC
24. (2SC, DEC) * 6 (18)
25.4SC, 4SC together with hand (through 3 canvases: 1 body and 2 arms), 6SC,
4 we knit our hands together with the hand – video
It happened to me. You, perhaps it will turn out differently.
Be guided by your toy.
26. (4SC, DEC) * 3 (15)
Change of color to light powder.
Remove the milk thread before knitting
Then we knit the head.
Head
Fill tight
video – the beginning of the head and collar
27.15İNC (30)
28. (1SC, İNC) * 15 (45)
Tie a milk thread collar around the neck.
Cut off the milk thread. Secure. Withdraw inside. Tie off with powdery.
29-36. 45SC
37. DEC, 5SC, DEC, 5SC, DEC, 29SC (42)
38. (5SC, DEC) * 6 (36)
The eyes are inserted between 6m and 7m near the head. Between through the eyes of 2SC.
39. (4SC, DEC) * 6 (30)
40. (3SC, DEC) * 6 (24)
41. (2SC, DEC) * 6 (18)
42. (1SC, DEC) * 6 (12)
43.6DEC (6)
Cut the thread.
I tighten the hole after shaping the head.
Registration
1. Embroider with black thread eyelashes and eyebrows
2. Embroider nose and mouth Pull the hole on the head
3. Tie in hair.
I knit in single crochet pulling back the eyelet before knit.
4. Embroider fluffs and a button on the boots panties. gnova head design – video gnome body design – video Pant strap
1. Insert the hook where we left offvtie the pants.
Dial 25CH (measure according to your gnome)
2. Knit back along the chain of CH starting from the second loops from the hook 24SC, SL-ST in the edge of the pants.
Cut the thread. Secure. Sew on the strap at the front.
Pompon
To fill a little
1.6SC in MR
2.6İNC (12)
3.12SC
4.6DEC (6)
Cut the thread
Pull the hole
You can leave the tail and sew it to cap pompon.
Cap
We start in blue
1.6SC in MR
2.6SC
Change of thread to milk.
Next, we knit the floor with double crochet, up to last row.
3. (2HDC, İNC) * 2 (8)
Change of thread to blue.
Further, every even row is blue.
Each odd row is milk.
4.8HDC
5. (3HDC, İNC) * 2 (10)
6.10HDC
7. (4HDC, İNC) * 2 (12)
8.12HDC
9. (5HDC, İNC) * 2 (14)
10.14HDC
11. (6HDC, İNC) * 2 (16)
12.16HDC
13. (7HDC, İNC) * 2 (18)
14.18HDC
15. (8HDC, İNC) * 2 (20)
16.20HDC
17. (9HDC, İNC) * 2 (22)
18.22HDC
19. (10HDC, İNC) * 2 (24)
20.24HDC
21. (11HDC, İNC) * 2 (26)
22.26HDC
23. (12HDC, İNC) * 2 (28)
24.28HDC
25. (13HDC, İNC) * 2 (30)
26.30HDC
27. (4HDC, İNC) * 6 (36)
28. (5HDC, İNC) * 6 (42)
29. (6HDC, İNC) * 6 (48)
30. (7HDC, İNC) * 6 (54)
31. (8HDC, İNC) * 6 (60)
32. (9HDC, İNC) * 6 (66)
33.66HDC
34.66HDC
35.66HDC
36.66SC, knitting an elastic band
Cut the thread, fasten, hide the tail.
Sew on a pompom.
Your gnome is ready!
Celebrate I will be glad look at your creation!
