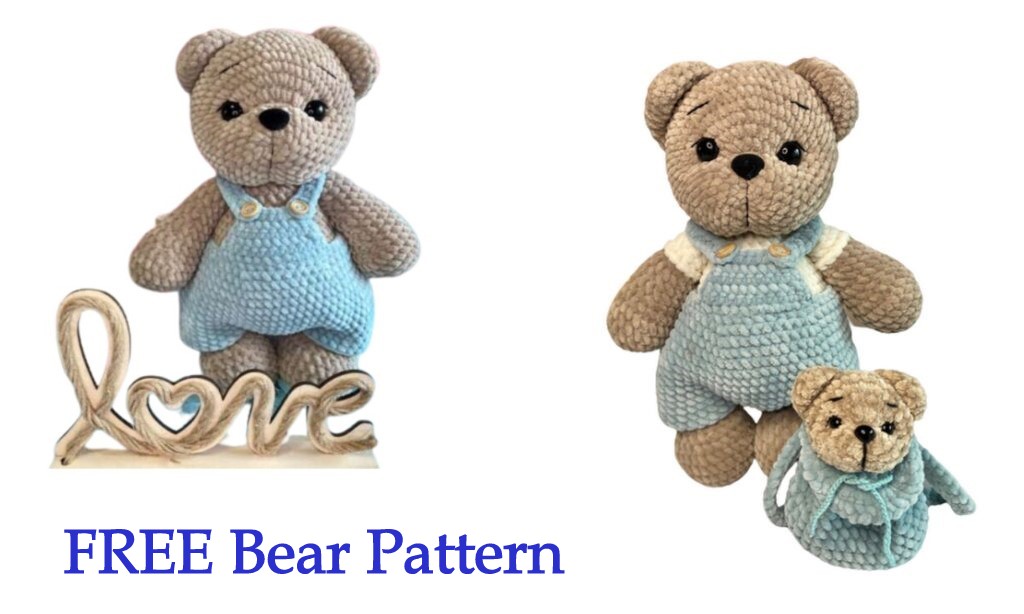
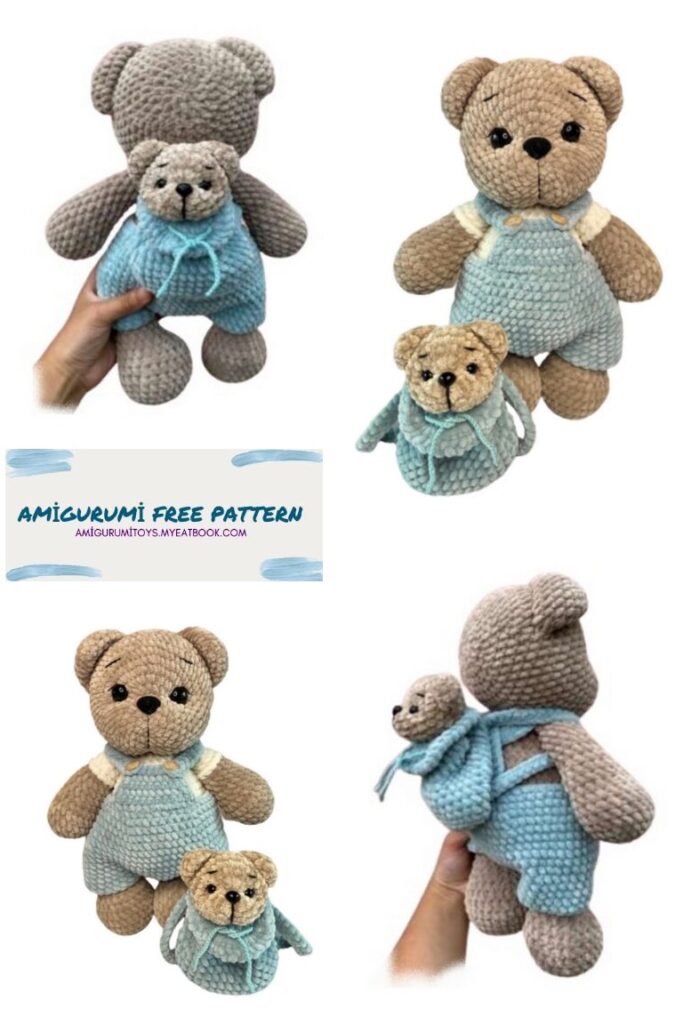
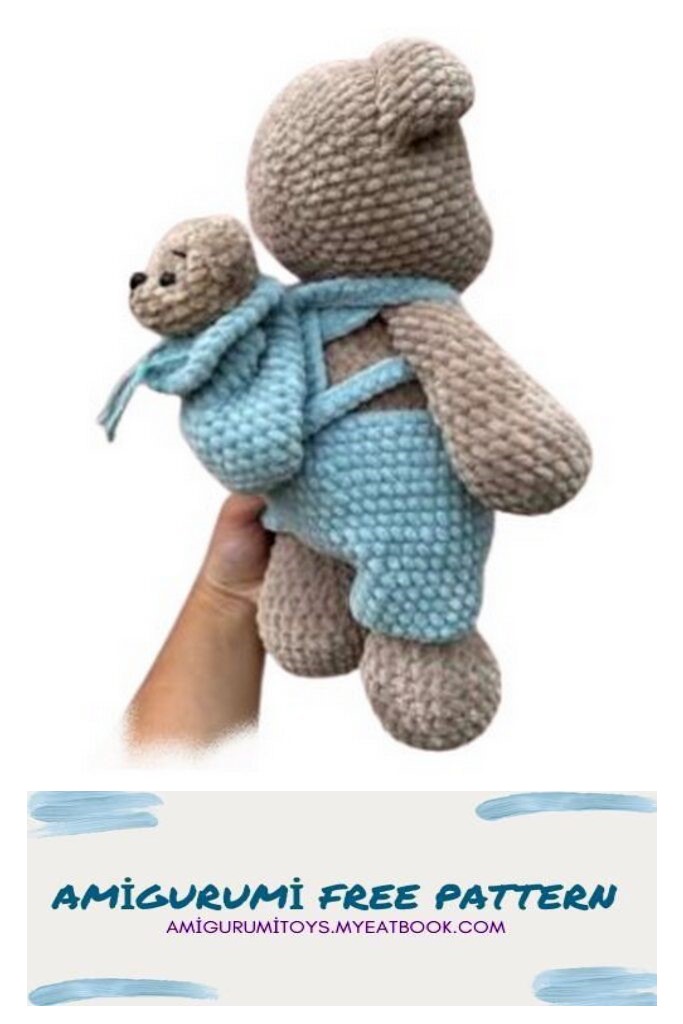
Free Jumpsuit Bear Amigurumi Free Pattern, Are you looking for a delightful crochet project that combines charm, creativity, and a touch of whimsy? Look no further! Our Free Jumpsuit Bear Amigurumi Pattern is the perfect addition to your crafting repertoire. This pattern guides you through creating an adorable bear dressed in a cute jumpsuit, making it a wonderful gift or a lovely decoration for your home. Free Jumpsuit Bear Amigurumi, Whether you are a seasoned crochet artist or a beginner eager to dive into the world of amigurumi, this pattern is designed to be easy to follow and incredibly rewarding. Free Jumpsuit Bear Amigurumi
Free Jumpsuit Bear Amigurumi, Our free pattern provides detailed, step-by-step instructions, complete with clear photos and tips, ensuring that your jumpsuit bear turns out perfectly every time. The pattern is crafted with simplicity in mind, allowing even those new to crochet to achieve great results. All you need is some yarn, a crochet hook, stuffing, and a bit of patience, and you’ll be on your way to creating a lovable bear that’s sure to bring smiles to anyone’s face.
Jumpsuit Bear Amigurumi Materials:
1. Plush yarn.
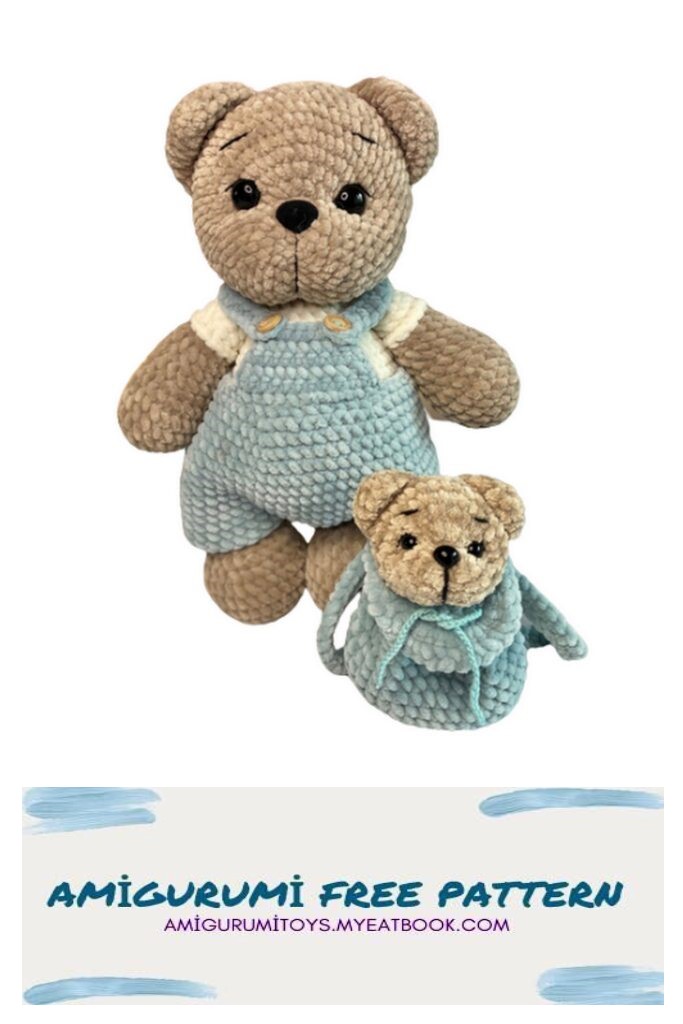
I have Himalaya dolphin baby No. 80317 for the body (it took 1.5 skeins) and
No. 80347 for overalls with a backpack (0.7 skein)
2. Hook number 4
3. Eyes on a secure mount. I have black 18mm
4. The nose is black, I have 20 * 17 mm
5. Needle with a large eye for sewing on parts, scissors.
6. Black thread to decorate the muzzle (I use Yarn Art Jeans).
7. Marker to mark the beginning of the row.
8. Filler holofiber or sintepukh
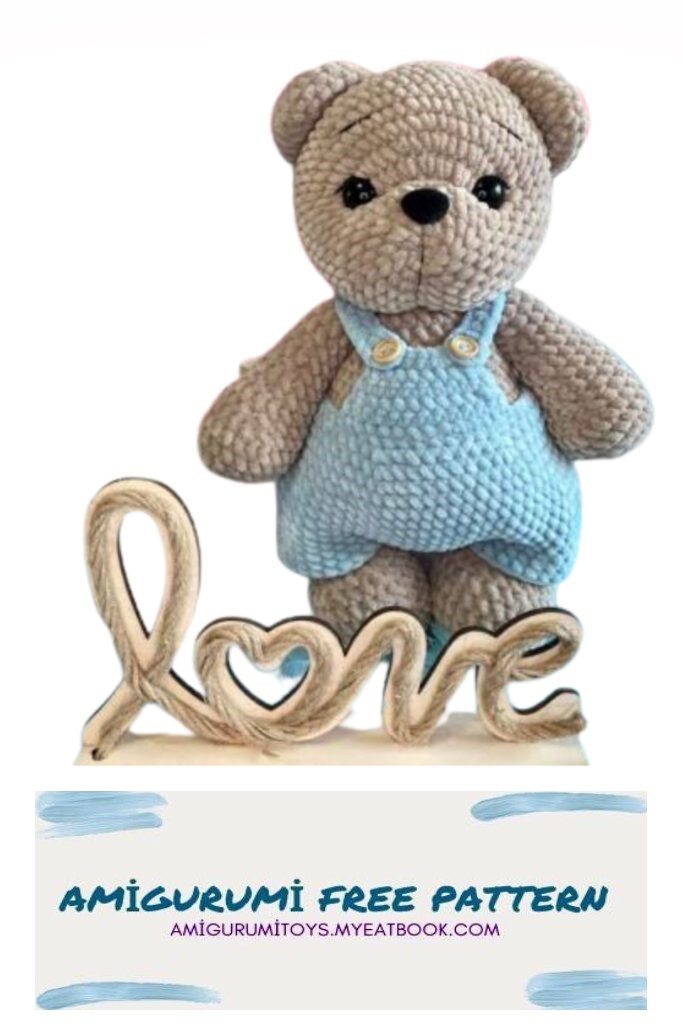
9. Two beautiful buttons of your choice for the jumpsuit.
Abbrevations:
ch – chain.
sc – single crochet.
dc – double crochet.
inc – increase (two single crochet stitches knitted in one loop).
dec – decrease (two columns connected together).
sl-st – slip-stitch
Jumpsuit Bear Amigurumi Legs:
1 row. 7ch, in 2 sts from hook 5sc, 3 sc in 1 st, turn, 4 sc, inc (14)
2 row. İnc, 4 sc, 3 inc, 4 sc, 2 inc (20)
3 row. 6 sc, (1sc,inc)*3, 7 sc, inc (24)
4 row. 6 sc, (2sc,inc)*3, 9 sc (27)
5-7 row. 27 sc
8 row. 8 sc, dec, 3 sc, dec, 3 sc, dec, 7 sc (24)
9 row. 6 sc, dec, 3 sc, dec, 3 sc, dec, 6 sc (21)
10 row. 6 sc, dec, 2 sc, dec, 2 sc, dec, 5 sc (18)
11 row. 5 sc, 4 dec, 5 sc (14)
12-19 row. 14 sc (8 rows)
We knit 4 more sc to the middle of the leg. We cut the thread and hide it inside the part. I knit the paws without a connecting row, but immediately behind both walls.
We fill tightly the lower part, we fill the middle not very tightly, we do not fill the upper part.
Jumpsuit Bear Amigurumi Arms:
1 row. 2ch, in 2 sts from hook 6sc (6)
2 row. (inc)x6 (12)
3 row. (1 sc, inc)x6 (18)
4 row. (5 sc, inc)x3 (21)
5-7 row. 21 sc
8 row. Dec 2, 17 sc (19)
9 row. Dec 2, 15 sc (17)
10 row. 17 sc
11 row. Dec 2, 13 sc (15)
12 row. 15 sc
13 row. Dec 2, 11 sc (13)
14 row. 13 sc
15 row. Dec, 11 sc (12)
16-18 row. 12 sc
We knit another 1 sc to the middle of the arm (we knit another 7 sc at the second foot). We cut the thread and hide it inside the part.
We fill tightly the lower part, we fill the middle not very tightly, we do not fill the upper part.
IF A BEAR IN A T-SHIRT
Until the 13th row we knit as usual.
13 row. Dec 2, 4 sc. Next, change the yarn to the color of the T-shirt and knit the remaining 7 sc of this row behind the back wall of the loops (13)
14 row. 6 sc for the back wall of the hinges, 7 sc for both walls
15 row. Dec, 11 sc (12)
16-18 row. 12 sc + 1 sc
We attach the thread of the color of the T-shirt to the row where the columns were knitted behind the back wall and we knit 13 sc. We hide the threads.
Jumpsuit Bear Amigurumi Ears:
1 row. 2ch, in 2 sts from hook 6sc (6)
2 row. (inc)x6 (12)
3 row. (1 sc, inc)x6 (18)
4 row. (8 sc, inc)x2 (20)
5 row. (9 sc, inc)x2 (22)
6 row. (10 sc, inc)x2 (24)
7 row. 24 sc, sl-st. We leave a thread about 25-30 cm long for sewing the ear to the head.
Body:
1 row. 2ch, in 2 sts from hook 6sc (6)
2 row. (inc)x6 (12)
3 row. (1 sc, inc)x6 (18)
4 row. (2 sc, inc)x6 (24)
5 row. (3sc, inc)x6 (30)
6 row. (4sc, inc)x6 (36)
7 row. (5sc, inc)x6 (42)
8 row. 42 sc
9 row. (6sc, inc)x6 (48)
10 row. 48 sc
11 row. (7 sc with foot, 17 sc)x2 (48)
12-13 row. 48 sc
14 row. 8 sc, dec, 5 sc, dec, 5 sc, dec, 24 sc (45)
Decreases form the tummy of the bunny. Since everyone has a different density and slope of knitting, the number of columns may not match mine. I recommend making reductions so that the second decrease falls on the center of the tummy.
15 row. 45 sc
16 row. 11 sc, dec, 2 sc, dec, 2 sc, dec, 24 sc (42)
17 row. 42 sc
18 row. (5sc, dec)x6 (36)
19 row. 36 sc
20 row. (4sc, dec)x6 (30)
21 row. 30 sc (4 rows)
22 row. (3sc, dec)x6 (24)
23-24 row. 24 sc
25 row. 2 sc, 6 sc with foot, 6 sc, 6 sc with foot, 4 sc (24)
26 row. (2 sc, dec)x6 (18)
IF A BEAR IN A T-SHIRT
Until the 12th row we knit with the color of the body.
12 row. 40 sc in body color, 8 sc in shirt color.
Next, up to the 25th row, we knit with the color of the T-shirt.
The last 2 sc 25 rows and the entire 26 row are knitted with body color.
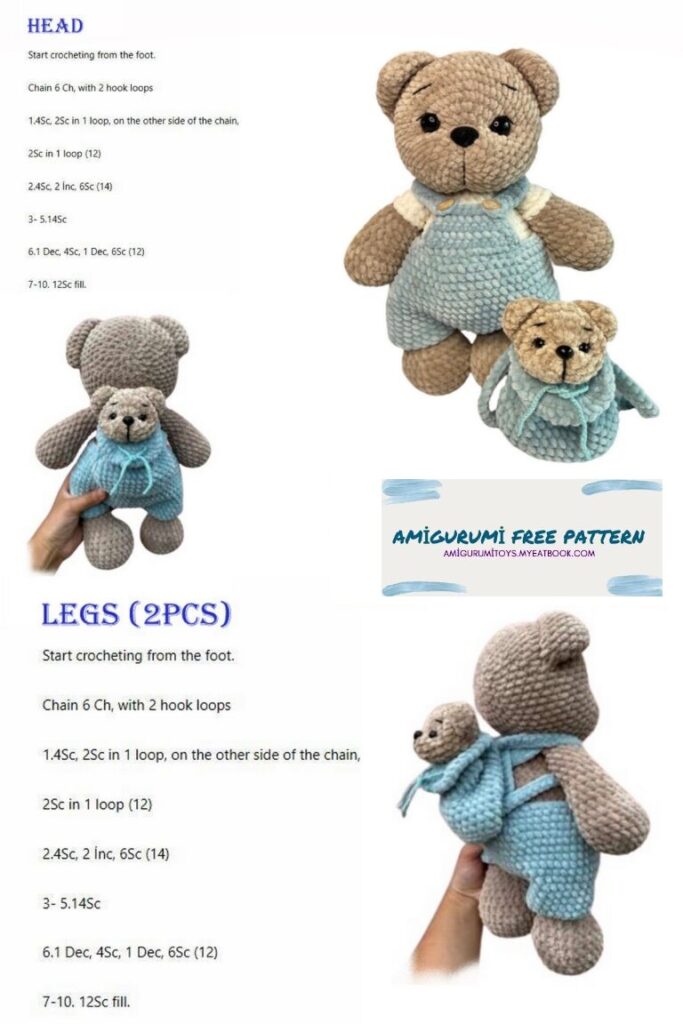
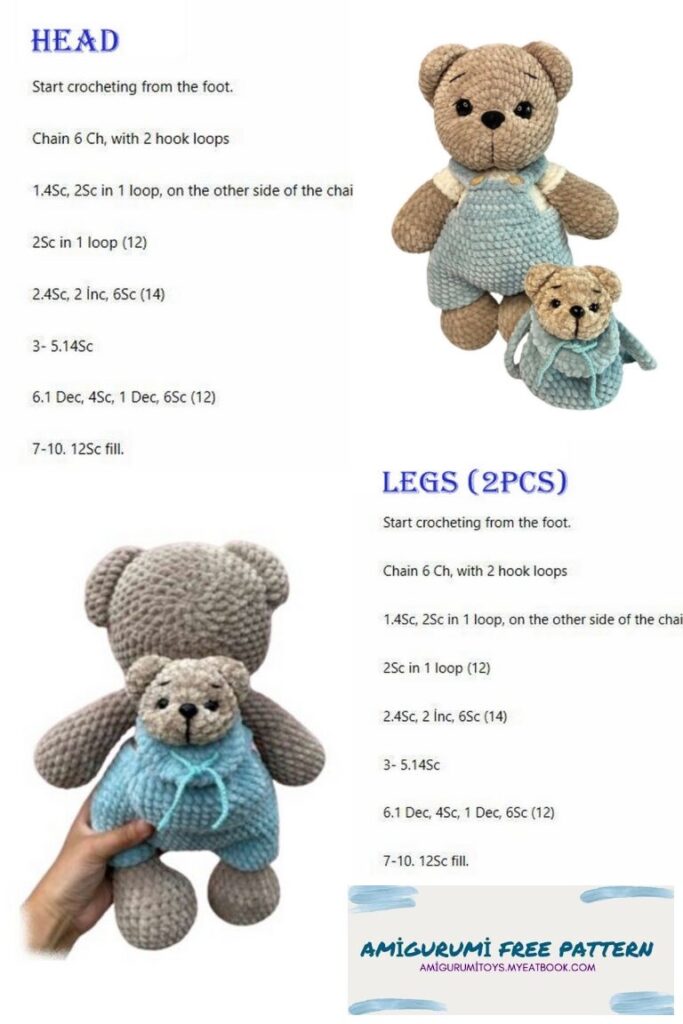
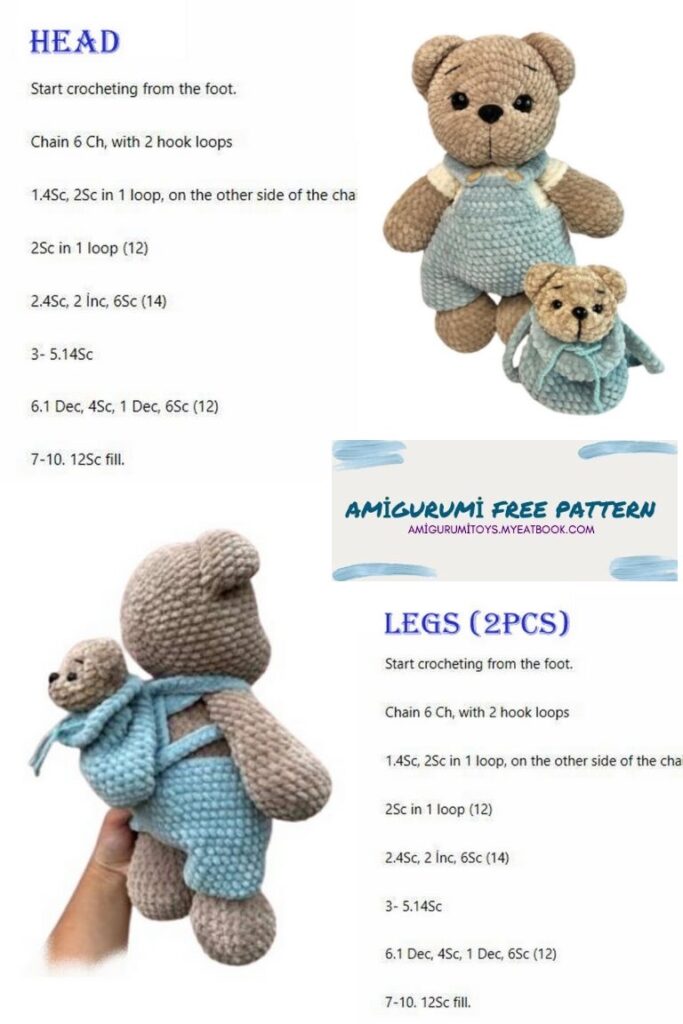
Head:
1 row. 2ch, in 2 sts from hook 6sc (6)
2 row. (inc)x6 (12)
3 row. (1 sc, inc)x6 (18)
4 row. (2 sc, inc)x6 (24)
5 row. (3 sc, inc)x6 (30)
6 row. (4 sc, inc)x6 (36)
7 row. 36 sc
8 row. 13 sc, 9 inc, 14 sc (45)
9 row. 13 sc, (2 sc, inc)x6.14 sc (51)
10 row. 7 sc, inc, 17 sc, inc, 17 sc, inc, 7 sc (54)
11-18 row. 54 sc (8 rows)
We insert the eyes in the 8th row. 1 eye in the first increase, 2 eyes in the last increase. I glue the spout at the very end after tightening and decorating.
19 row. (7sc, dec)x6 (48)
20 row. (6sc, dec)x6 (42)
Gradually I begin to fill my head, focusing on the muzzle.
21 row. (5sc, dec)x6 (36)
22 row. (4sc, dec)x6 (30)
23 row. (3sc, dec)x6 (24)
24 row. (2sc, dec)x6 (18)
25 row. (1sc, dec)x6 (12)
26 row. Dec 6
We tighten the hole and hide the thread.
Overalls.
We collect a chain of 48 ch and connect it into a ring using sl-st.
1 row. Ch lifting, 47 sc
Then I continued to knit in a spiral, because I wanted the shorts to be seamless.
2 row. (7sc, inc)x6 (54)
3 row. (8sc, inc)x6 (60)
4 row. (9sc, inc)x6 (66)
5-16 row. 66 sc (12 rows)
After I knitted the shorts, I used a needle to sew 9 sc between the legs for both walls of the loops (18 sc). I left 24 sc for each leg.
Trying on shorts. In front, in the first row of shorts, we determine the center from above and count 7 sc from it, knit 14 sc. Next, we make ch for lifting and turn knitting.
We knit in turning rows.
We start knitting from the second loop of the row.
1 row. 14 sc
2 row. Ch, 13 sc 3 row. Ch, dec, 8 sc, dec, 1 sc
4 row. Ch, 11 sc
5 row. Ch, dec, 6 sc, dec, 1 sc
6 row. 10 sc.
Cut the thread and hide from the wrong side of the product.
Sew 2 buttons in the upper corners of the front.
Next, we introduce a hook on the back of the shorts and dial 35 ch.
5 ch of them for the buttonhole to fasten the button (the number of ch can be changed depending on the size of your buttons).
Yarn over and work 30 DC from 6 sts from hook, fasten off and cut off.
We hide the segment from the wrong side. Repeat the same with the 2nd strap.
I cross the straps on the back, so I knit them longer. You can fasten them without crossing, as you wish.
Therefore, adjust the number of ch for straps depending on the option you have chosen.