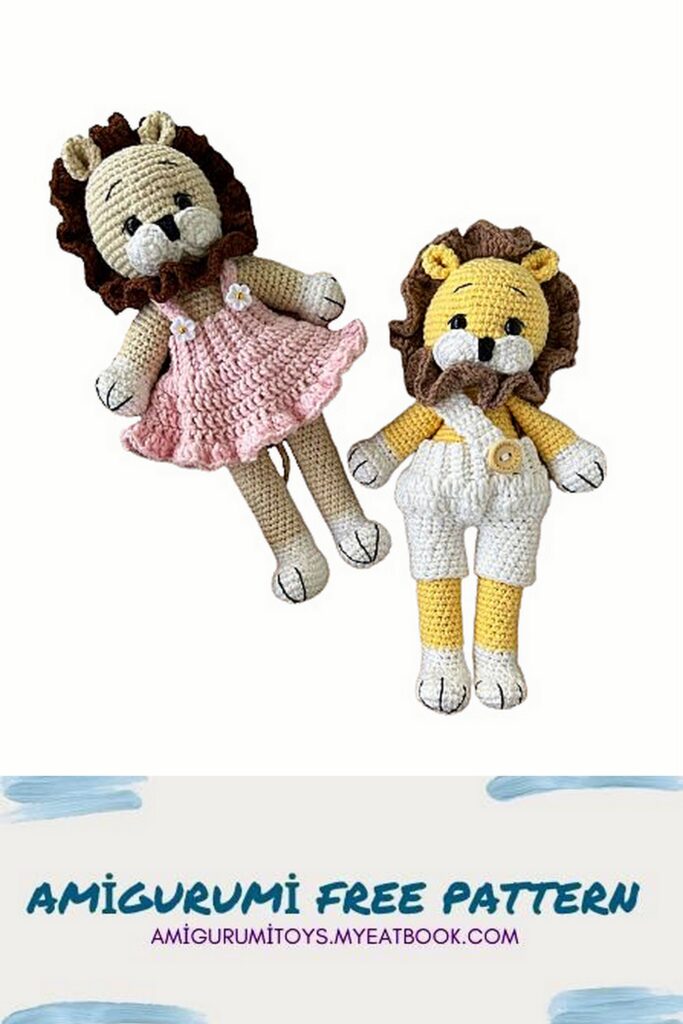
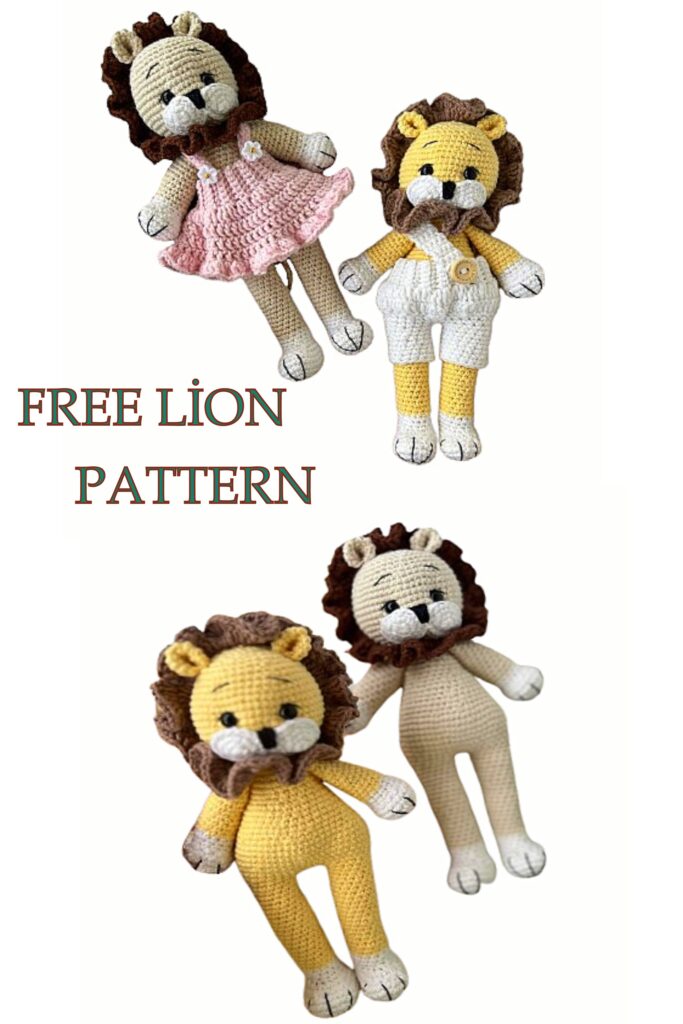
Make your own cute lion with the free Amigurumi Cute Lion pattern! Create a wonderful toy from materials around your home using soft yarns with this simple and free pattern. A perfect project for kids and craft lovers
List of required materials:
• Hook number 2 (depending on your knitting density)
• YarnArt Jeans colors
-basic beige 05, yellow 88 -white from
-mane brown 70.71
– Black 53
• Holofiber
• Long needle
• Scissors
• Eyelets on a secure mount 8 mm
Abbreviations
MR – amigurumi ring
sc – single crochet
Ch-air loop
sl-st-connecting loop
inc – increase
dec – decrease
DC – double crochet
(…)*X – repeat X times indicated in brackets

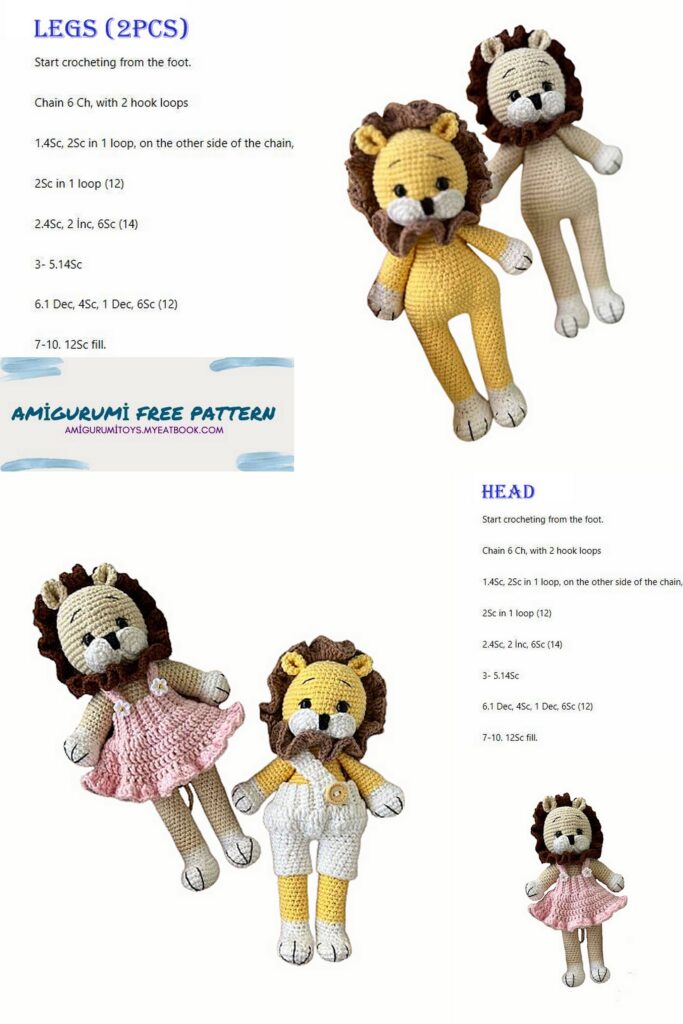
Upper legs
Knit with white thread
1.6MR
2.6 inc (12)
3. (1 sc, inc)* 6 (18)
4. (2 sc, inc)*6(24)
5-6. 24 sc(2 rows)
7. 4 sc, 10 dec(14)
8-9. 14 sc(2 rows)
Change the thread to the main color
10-22 14 sc (13 rows)
Stuff the piece loosely, up to about row 17, fold it in half and knit 7sc on both sides.
Make sure that the foot is facing forward, knit the missing amount of sc, I have 4 sc.
We knit the second part in the same way
Tail
We cast on 5 ch, from the second from the hook we knit 4 sc, then we knit in turning rows, at the end of each row we make a ch, 15 rows Then we change the color to brown, we knit a tassel
1 row. 4 sc, ch
2nd row. inc DC, ch
3rd row. 8 sc, fasten and cut the thread
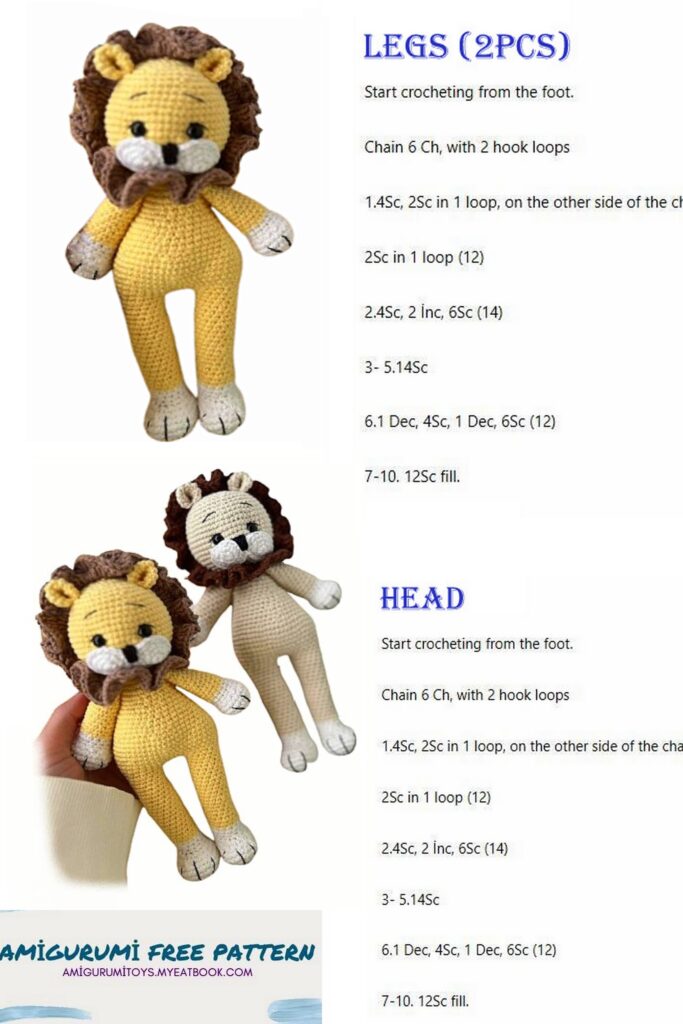
Lower legs
Knit with white thread
1. 7 ch, second from hook İnc, 4 sc, 3 sc in one loop, 5 sc(14)
2. 2inc, 4 sc, 3 inc, 4 sc, 1 inc(20)
3. (1 sc, inc)*2, 4 sc, (1 sc, inc)*3, 5 sc, inc(26)
4. (2 sc, inc)*2, 4 sc, (2 sc, inc)*3, 6 sc, inc(32)
5-6. 32 sc (2 rows)
7. 10 sc, 8 dec, 6 sc(24)
8. 8 sc, 6 dec, 4 sc(18)
9. 8 sc, 3 dec, 4 sc(15)
10-11. 15 sc (2 rows) Change the thread to the main color
12-31. 15 sc (20 rows)
Stuff the part, cut the thread, hide it.
We knit the second leg in the same way (but we don’t cut the thread!) We proceed to knitting the body (we connect the lower legs) After we have finished knitting the second part, we make 3 ch and connect it to the first leg sl-st, the legs should face forward, if necessary, knit additional sc (I have 7 sc) Next we knit in the round, taking into account the typed ch We stuff the part at the knitting input

Body
1.36sc
2. (5sc, inc)*6 (42)
3.42sc
4. 3 sc, inc, (6 sc, inc)*5, 3 sc (48)
5.48sc
6. (7 sc, inc) *6 (54)
7.54sc
8. here we tie the tail, it should be straight
middle back, I have 22 sc, 4 sc with tail, 28 sc (54)
9. 15 sc, dec, 20 sc, dec, 15 sc (52)
10. 2 sc, (6 sc, dec)*6, 2 sc (46)
11. 1 dec, (5 sc, dec)*6, 1 sc (39)
12-13. 39 sc (2 rows)
14. 1 dec, (4 sc, dec)*6, 1 sc (32).
15-16. 32 sc(2 rows)
17. 1 dec, (3 sc, dec)*6 (25)
18 -21. 25 sc (4 rows)
22. 1 sc, dec, (2 sc, dec)*5 1 dec (18)
23. 18 sc
24. We tie in the upper paws, get your bearings
for your knitting
2 sc, 7 sc with foot, 2 sc, 7 sc with second foot (18)
25. 18 sc(neck)
Next we knit the head
26. 18 inc (36)
27. 36 sc
We stuff the part during knitting, fill the neck well
28. (5 sc, inc)*6 (42)
29.42sc
30. (6 sc, inc)*6(48)
31. (7 sc, inc)*6(54)
32-36.54 sc (5 rows)
37. (7 sc, dec)*6(48)
38.48sc
39. (6 sc, dec)*6(42)
40.42sc
At this stage, you can insert eyes between rows 32 and 33,
between eyes 9 sc
41. (5 sc, dec)*6 (36)
42.36sc
43. (4sc, dec)*6 (30)
44. (3 sc, dec)*6 (24)
45. (2 sc, dec)*6 (18)
Stuff the part well
46. (1 sc, dec)*6 (12)
47. 6 dec (6)
We tighten the hole with a thread, it is fashionable to take a needle, fasten and cut the thread
Muzzle
White
1.5MR
2.5 inc (10)
3. (1 sc, inc)*5 (15)
We knit two parts, fasten them to one thread and cut them off. Having knitted the second part, we connect it to the first sl-st, and we tie two parts 30 sc, leaving a long thread for sewing
Ears
1.6MR
2.6 inc (12)
3. (1 sc, inc)*6 (18)
4.18sc
Fold in half and knit 9 sc behind two walls,
leave the thread for sewing, knit two ears
Decor
We sew on the muzzle, tighten the eyes, embroider the nose, eyebrows, and eyelashes.
Sew on the ears.
Mane
You can connect in two ways, as you wish.
Method 1: dial the required amount of ch, depends on your knitting density.
1. Sc, 2 ch
2. İnc DC, 2ch
3. Alternate inc DC, 3 DC in one loop Next sew to the head
2 way I knitted: Immediately knitted sc around the head, 2 ch and in a circle knitted İnc DC, 2 ch, the next row alternating inc DC, 3 DC in one loop. Fasten and cut the thread.