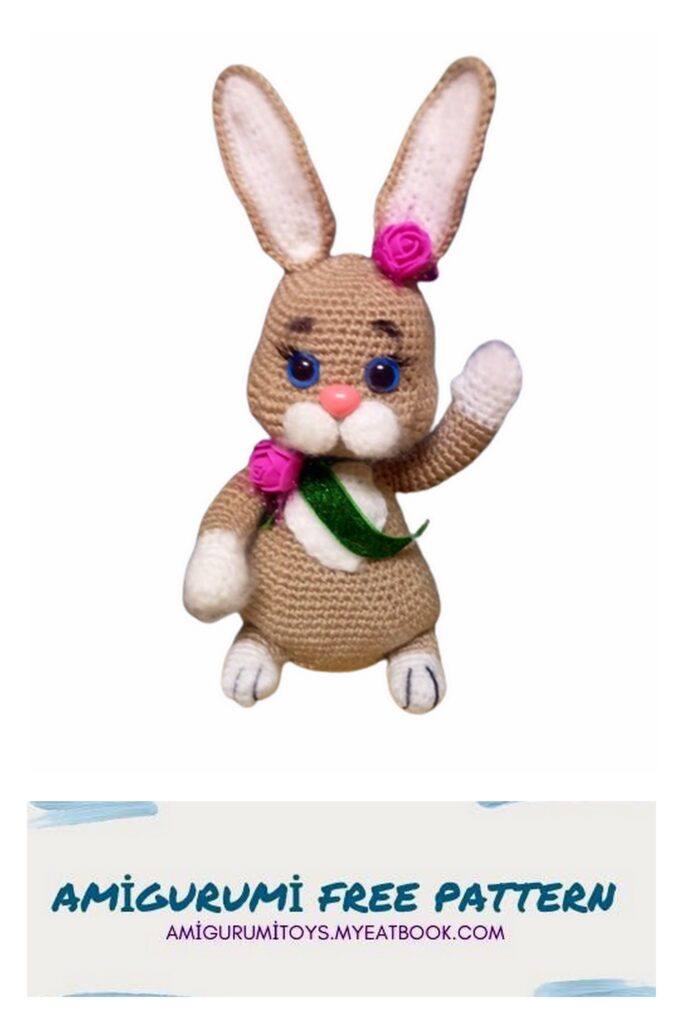
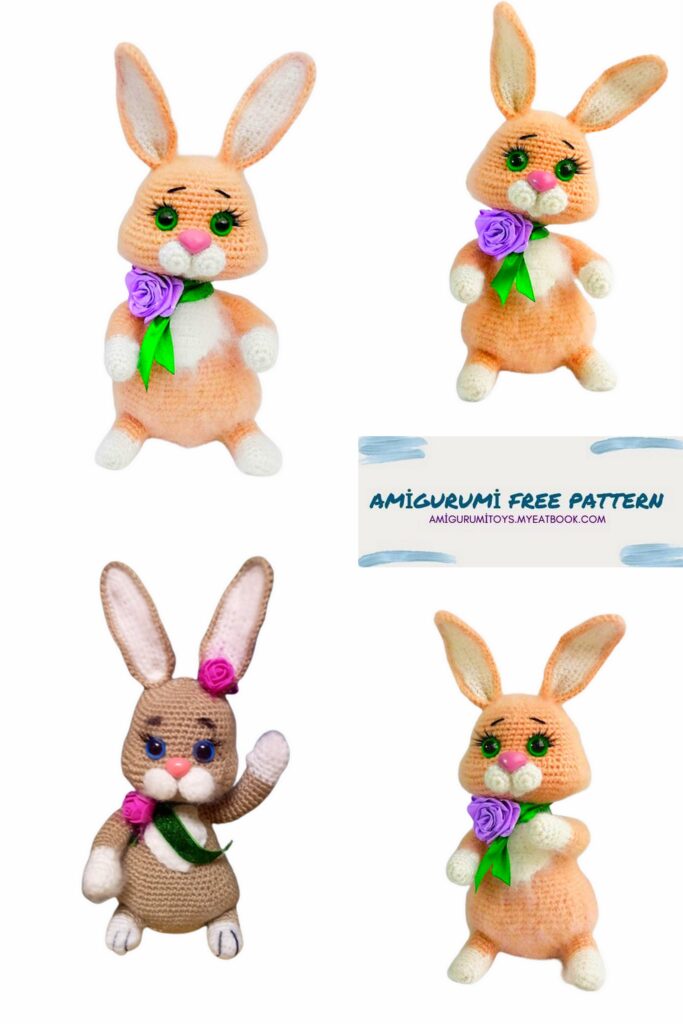
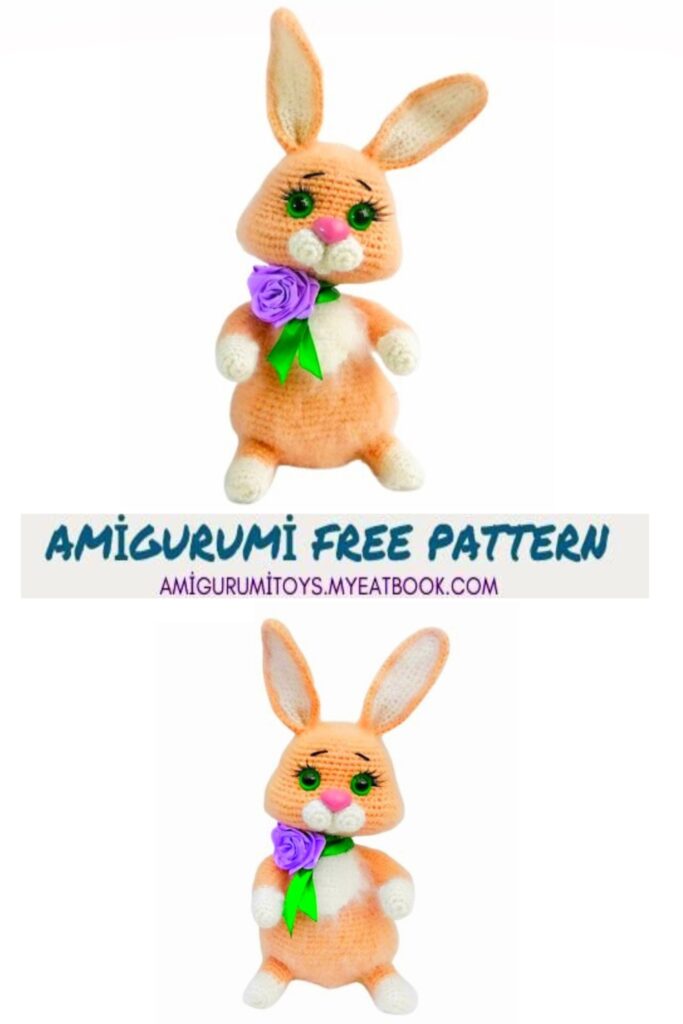
Step into the enchanting world of crochet with our adorable creation, Bunny Souvenir Girl. If you have a soft spot for charming crochet toys and a love for bunnies, you’re in for a delightful experience. This amigurumi bunny is not just a project; it’s a symbol of creativity and handmade charm. Whether you’re a crochet novice or a seasoned pro, our free pattern will guide you through the creation process with ease.
Our Bunny Souvenir Girl crochet pattern is perfect for both beginners and experienced crocheters. With step-by-step instructions and detailed images, you can bring this lovable bunny to life and add her to your amigurumi collection. She’s not just a delightful addition to your creations; she’s also a wonderful gift idea for bunny enthusiasts of all ages.
Necessary materials:
– hook No. 1.75
– yarn gazall baby cotton 1 piece gray for the body
-yarn gazall baby cotton white and pink
– spout 15 mm
– eyelashes, eyes 11 mm
– a piece of white, thin felt (for the eyes)
– frame wire for handles
-Glue Moment Crystal transparent.
Height 15 cm.
Abbreviations
MR – Amigurumi Magic ring
sc : Single Crochet
inc : Increase
dec : Decrease
tr : Triple Crochet/ Treble Crochet
st: Stitch
dc : Double Crochet
hdc: Half Double Crochet
sl-st or Slst: Slip Stitch
ch : Chain
tch: Turnin chain crochet
FLO : Crochet into front loops only
BLO : Crochet into back loops only
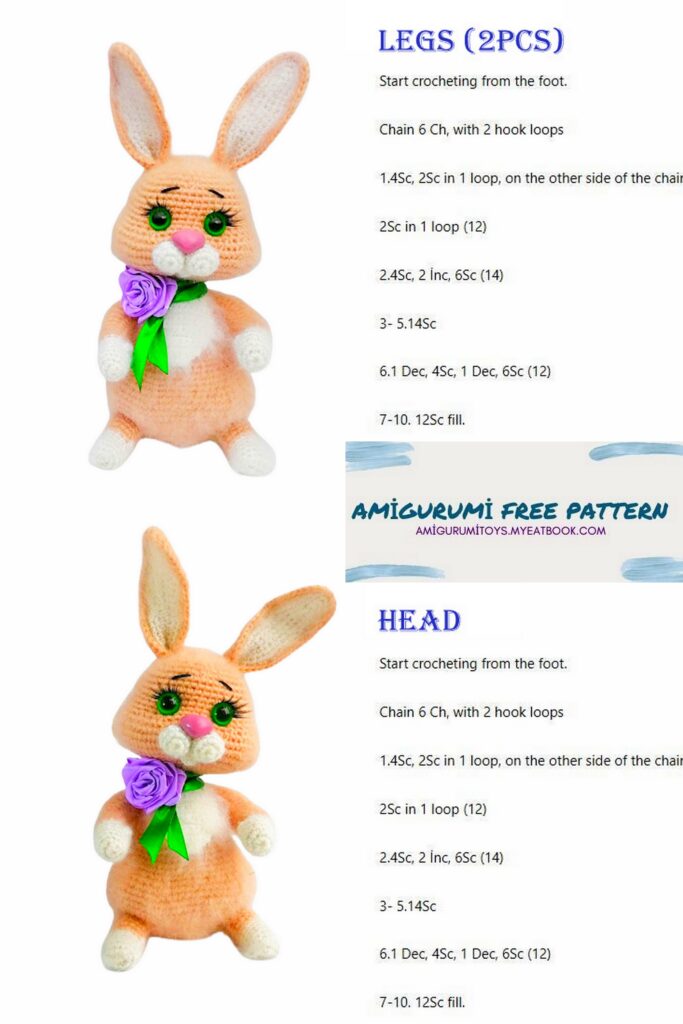
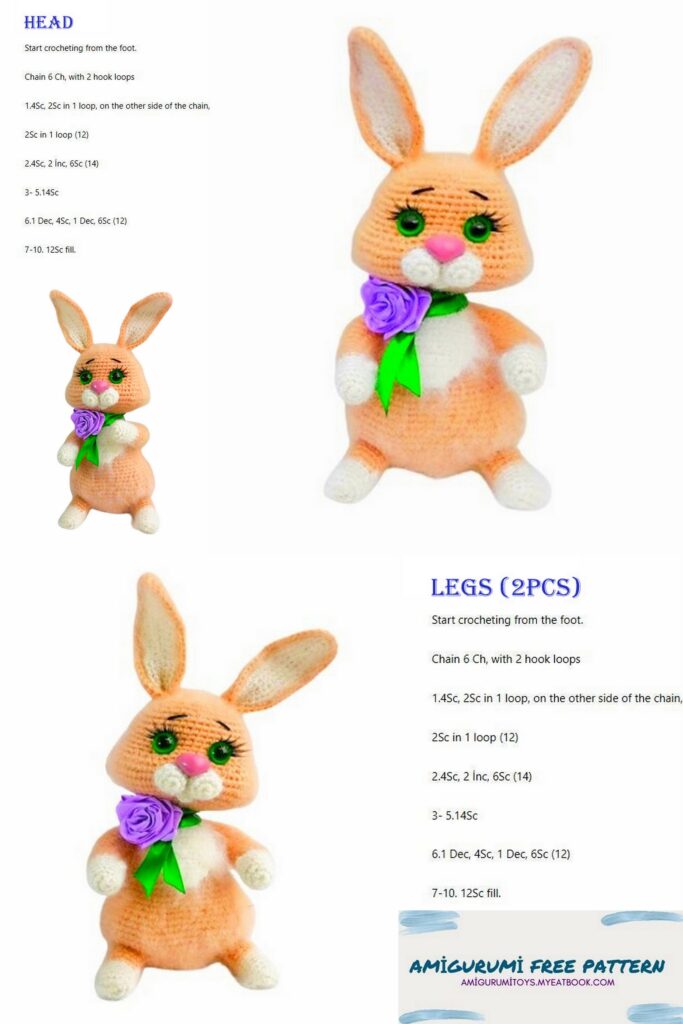
Front Legs:
We begin to crochet a foot with white yarn.
1 Rnd:6 in MR
2 Rnd:6 inc =12
3 Rnd: (3sc,inc)х3 =15
4-5 Rnd: 15sc
6 Rnd: (3sc,dec)х3 =12
7 Rnd: 1 sc, 1 fluffy column, 10 sc =12
8 Rnd: 12sc,change the thread to gray
9-21Rnd: 12 sc
Fasten the thread, cut.
Hind legs:
We start crochet with white yarn.
1 Rnd: 6 ch,in the second loop from the hook: 4sc,3sc in one loop,3sc,inc =12
2 Rnd: (5sc,inc)х2 =14
3-7 Rnd: 14sc
Change the thread to gray (marker on the side)
8-9 Rnd: 3 sc, inc,5sc,dec,3sc =14
10-12 Rnd: 14sc
Body: (marker back middle)
1 Rnd: 6 in MR
2 Rnd: (6sc,inc)х6 =12
3 Rnd: (1sc,inc)х6 =18
4 Rnd: (2sc,inc)х6 =24
5 Rnd: (3sc,inc)х6 =30
6 Rnd: (4sc,inc)х6 =36
7 Rnd: (5sc,inc)х6 =42
8 Rnd: 42 sc
9 Rnd: (2sc,inc)х3,1sc,7sc legs and body,8sc,7sc legs and body,1sc,(inc,2sc)х3 =48
10Rnd:13sc,(2sc,3inc,2sc)on the leg,(1sc,inc)х4,(2sc, 3inc,2sc)on the leg,13 sc =58
11Rnd:12sc,(inc,2sc)х4,inc,8sc,inc,(2sc,inc)х4,12sc=68
12-14 Rnd: 68
15 Rnd:12sc,dec,13sc,dec,10sc,dec,13sc,dec,12sc =64
16 Rnd: 12sc,dec,11sc,dec,10sc,dec,11sc,dec,12sc =60
17 Rnd: 12sc,dec,9sc,dec,10sc,dec,9sc,dec,12sc =56
18 Rnd: 12sc,dec,7sc,dec,10sc,dec,7sc,dec,12sc =52
19-20Rnd: 52sc Insert the wire into the legs.
21 Rnd: 12sc,dec,5sc,dec,10sc,dec,5sc,dec,12sc =48
22 Rnd:48 sc
23 Rnd: (6sc,dec)х6 =42
24-26 Rnd: 42
27 Rnd: (5sc,dec)х6 =36
28 Rnd: 36
When stuffing the body, highlight the buttocks and thighs.
29 Rnd: 5sc,6sc on the hands and body,14sc,6sc on the hands and body,5sc =36
30 Rnd: 5sc,6 in hand,14sc,6 in hand,5sc =36
31 Rnd: (4sc,dec)х6 =30
Insert the wire into hands, wrap the ends of the wire with a plaster and bring it to the neck.
32 Rnd: 30sc
33 Rnd: (3sc,dec)х6 =24
34 Rnd: (2sc,dec)х6 =18
35 Rnd: (1sc,dec)х6 =12
36 Rnd: 12
We do not cut the thread, we will crochet the head.
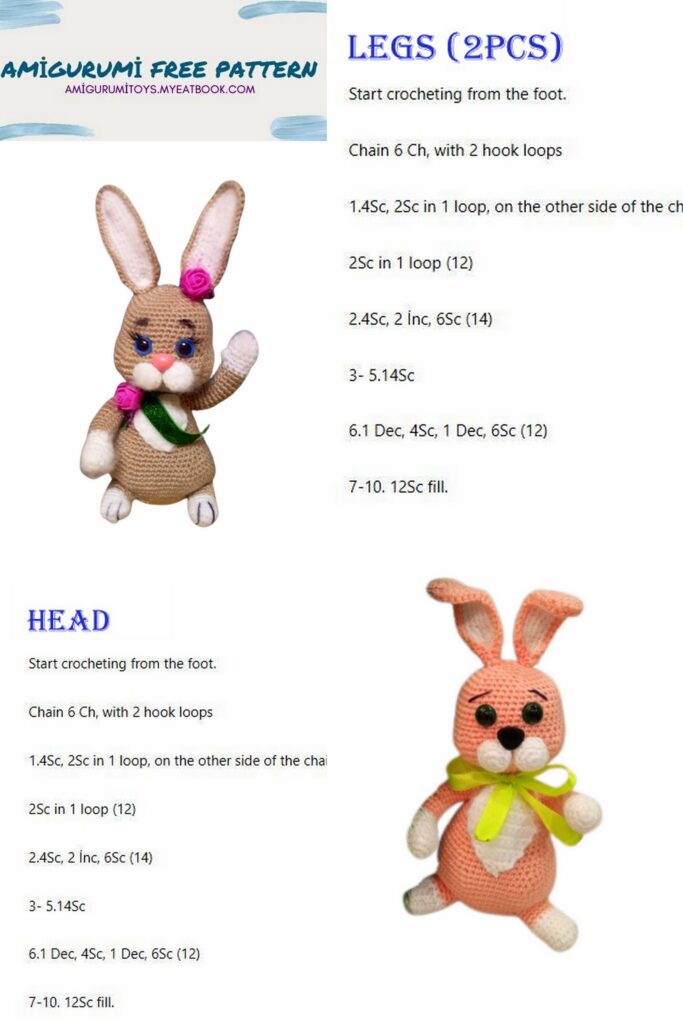
Head:
1 Rnd: 12 inc =24
2 Rnd: (3sc,inc)х6 =30
3 Rnd: (4sc,inc)х6 =36
4 Rnd: (5sc,inc)х6=42
5 Rnd: 12sc,(1sc,inc)х4,2sc,(inc,1sc)х4,12sc =50
6 Rnd: 12sc,(2sc,inc)х4,2sc,(inc,2sc)х4,12sc =58
7 Rnd: 12sc,(3sc,inc)х4,2sc,(inc,3sc)х4,12sc =66
8 Rnd: 12sc,(6sc,inc)х6,12sc =72
9-10 Rnd:72
11 Rnd: 12sc,(3sc,dec)х4,8sc,(dec,3sc)х4,12sc =64
12 Rnd:12sc,(2sc,dec)х4,8sc,(dec,2sc)х4,12sc=56
13 Rnd: 12sc,(1sc,dec)х4,8sc,(dec,1sc)х4,12sc =48
14-20 Rnd:48sc
21 Rnd: (6sc,dec)х6 =42
22 Rnd: (5sc,dec)х6 =36
23 Rnd: (4sc,dec)х6 =30
24 Rnd: (3sc,dec)х6 =24
25 Rnd: (2sc,dec)х6 =18
26 Rnd: (1sc,dec)х6 =12
27 Rnd: dec to the end.
When stuffing the head, highlight the cheeks!
A little advice: do not crochet all the reductions on the head at once, leave a lead to bring the threads into it when making the muzzle.
For example, eyebrows: insert the thread through an untied hole in the head, leaving the tip of the thread, embroider the eyebrows and bring the thread back, tie the ends and hide them at the crown.
Ears:
2 gray parts and 2 pink.
1 Rnd:16 ch,in the second loop:14 sc,(sc,hdc,sc)х in one loop,13sc,inc =32
2 Rnd: in circle: (4sc,inc)х3, 3sc in 1,(inc,4sc)х3,1hdc =40
3 Rnd: (2sc,inc)х4,7sc,3 in 1,7sc, (inc,2sc)х4 1hdc =50
Connect the gray and pink part, tie around the ear.
Muzzle:
1 Rnd: 6 in MR
2 Rnd: 6 inc=12
3-4 Rnd: 12 sc
Cheeks:
7sc in MR,fasten the thread.

Tail:
1 Rnd: 6 in MR
2 Rnd: 6 inc = 12
3 Rnd: (1sc,inc)х6 =18
4 Rnd: (2sc,inc)х6 =24
5-7 Rnd: 24
8 Rnd: (2sc,dec)х6 =18
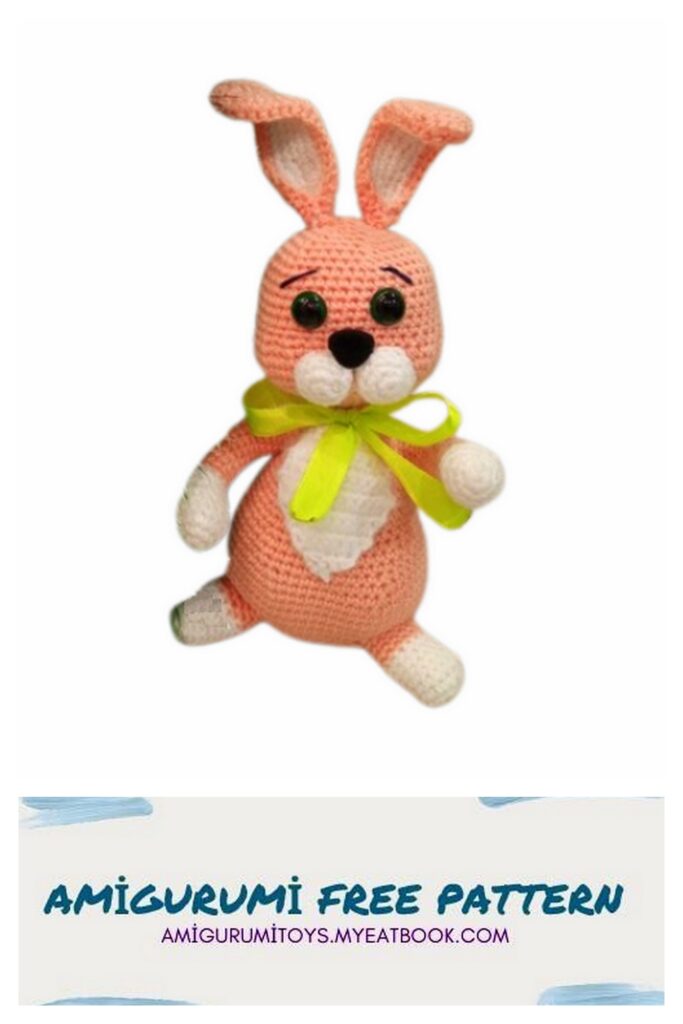
Bunny Souvenir Girl Crochet PDF Free Pattern (2)
Under the eyes we cut out a circle from felt, on one side a little big-eyed, glue the eyes at the level of the 14th row, glue the cilia. Glue the cheeks with glue.
Sew on the muzzle. Embroider the eyebrows.
Sew the tail at the level of the 10th row so that the bunny has support and sits on its own.
Sew on the ears. Embroider the toes.
White breast:
We crochet in turning rows
1 Rnd: 8 ch
2-3 Rnd:7sc tch
4 Rnd:inc,5sc,inc,tch =9
5Rnd:inc,7sc,inc,tch =11
6 Rnd: 11
7 Rnd: inc,9sc,inc,tch-13
8 Rnd:13
9 Rnd:dec,9sc,dec,tch =11
10 Rnd: dec,7sc,dec,tch =9
11 Rnd: 9
12 Rnd: dec,5sc,dec,tch =7
13 Rnd: dec,3sc,dec,tch =5
14 Rnd: dec,1sc,dec,tch =3
15 Rnd: dec
Sew on the breast, or you can glue it.