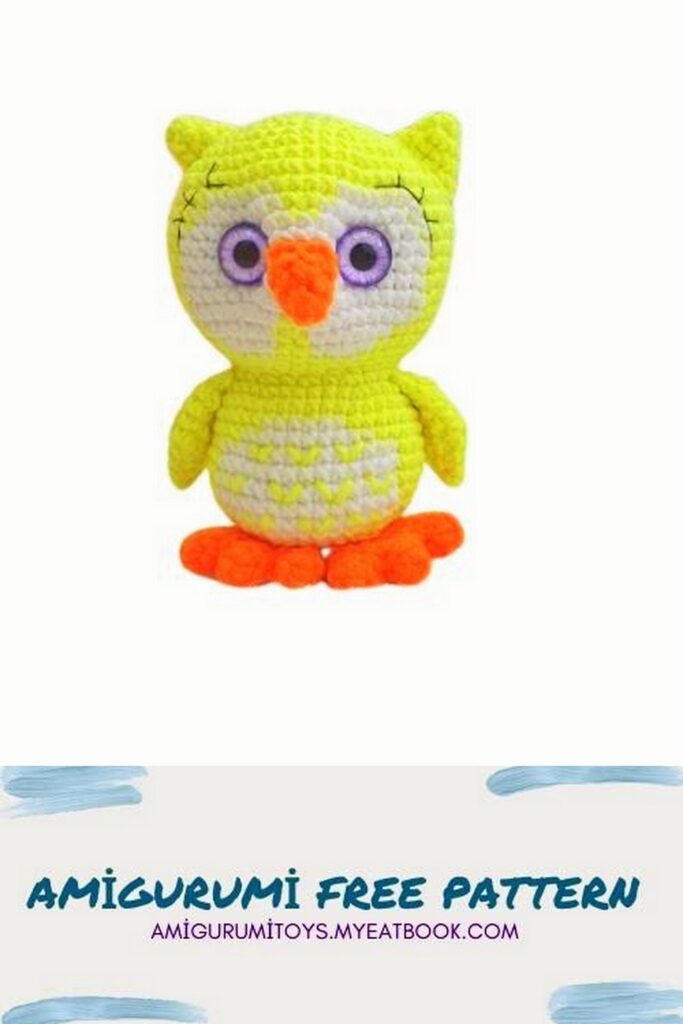
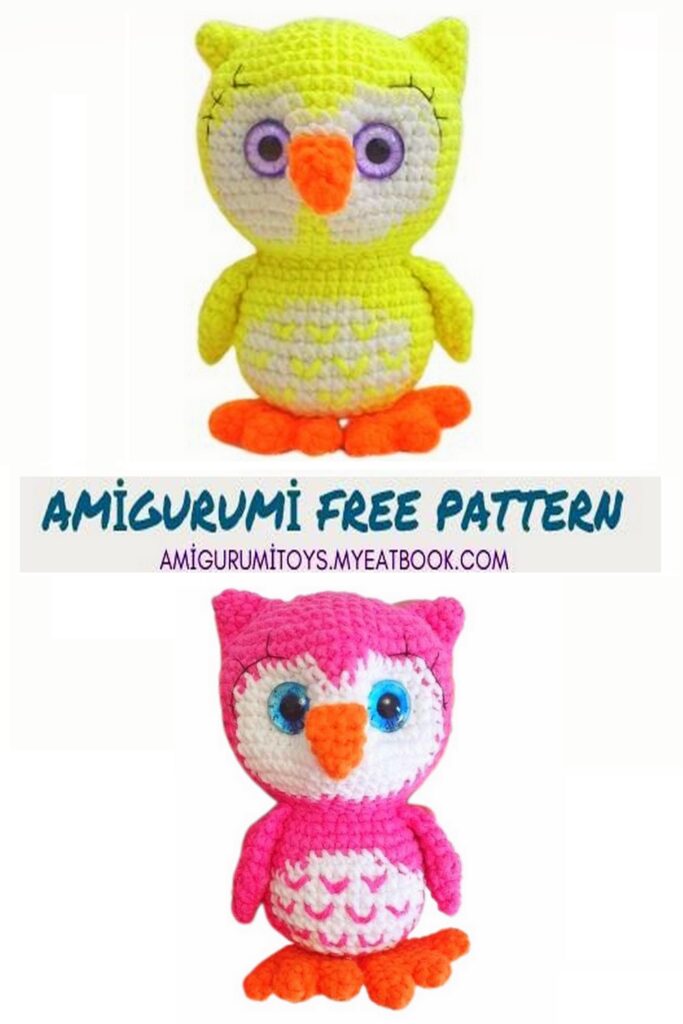
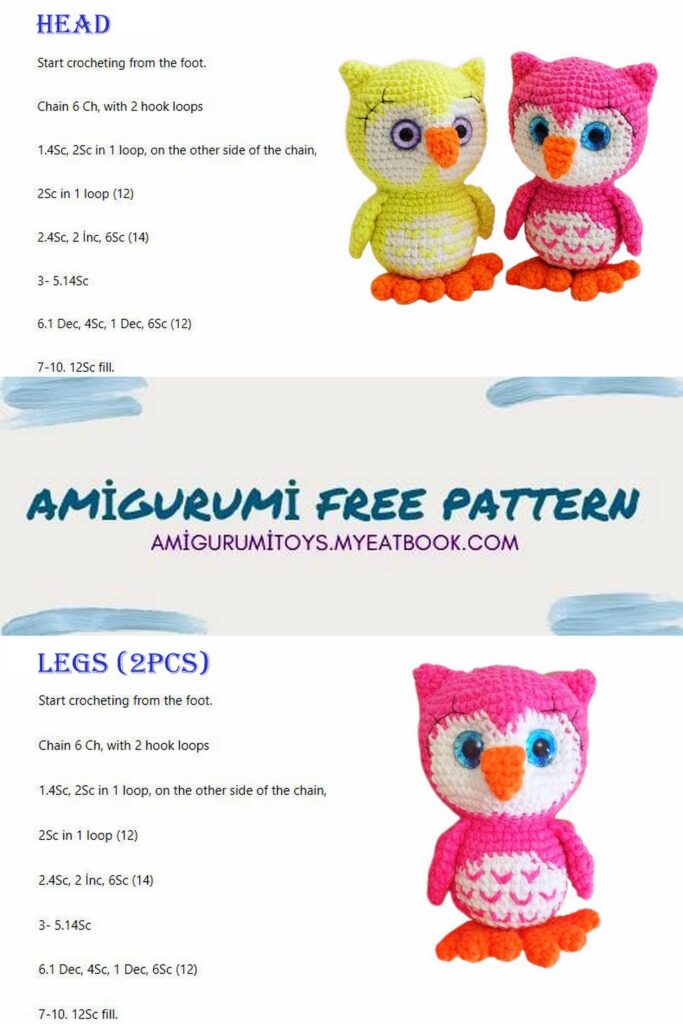
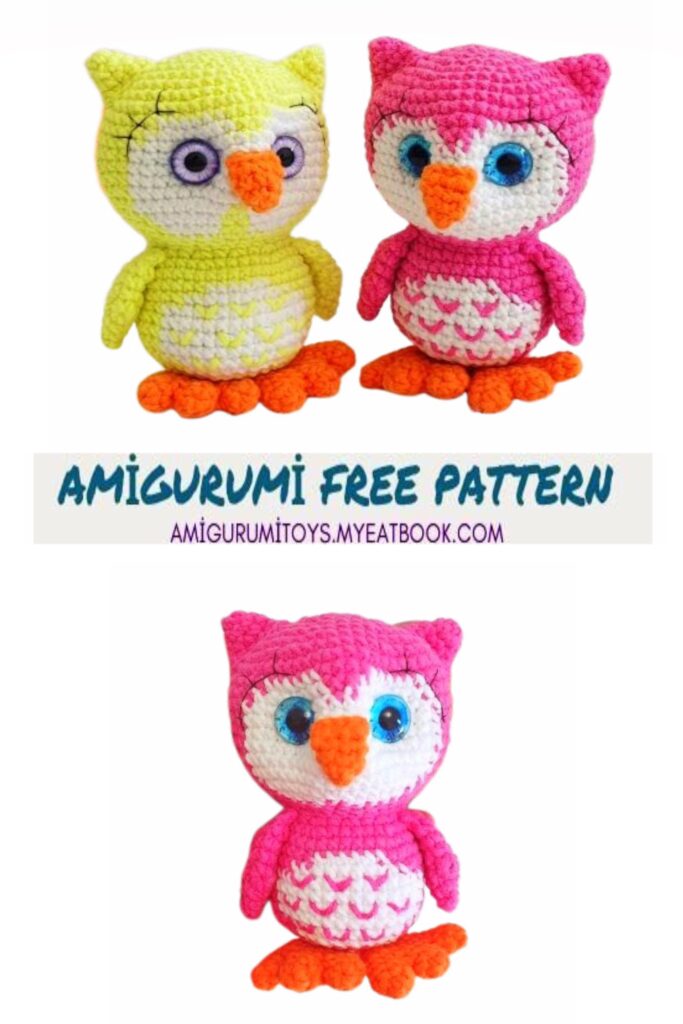
Hello, your child will like the Amigurumi Baby Owl Free pattern When using these materials, the Baby Owl Free size of my toy It turned out to be about 10 cm with ears.
Necessary materials:
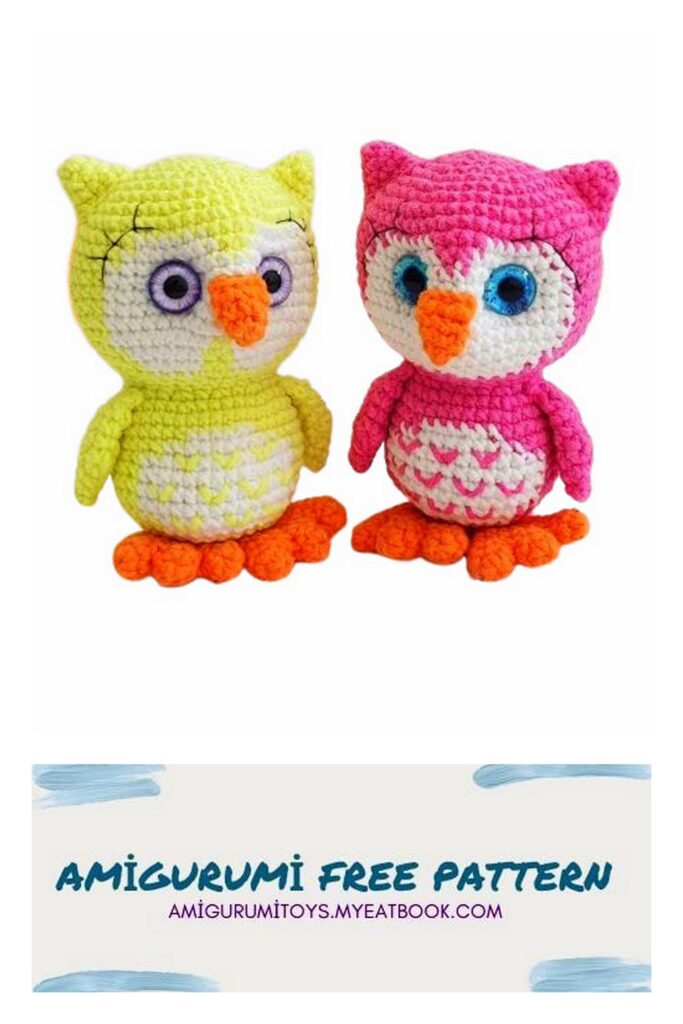
– Yarn Art Jeans (55% cotton, 45 acrylic, 50g/160m) colors:
main (I have pink 59 or yellow 58)
white (62)
for legs and beak orange (77)
– hook No. 1.75
– glass adhesive eyes 10 mm
– black thread for decorating the muzzle (I have sewing thread)
– filler
– glue
When using these materials, the size of my toy It turned out to be about 10 cm with ears.
You can use any other yarn and color by choosing hook of the required size yourself.
Abbreviations
MR – Amigurumi ring
SC – single crochet
SL-ST – connecting post
inc– increase
DEC – decrease
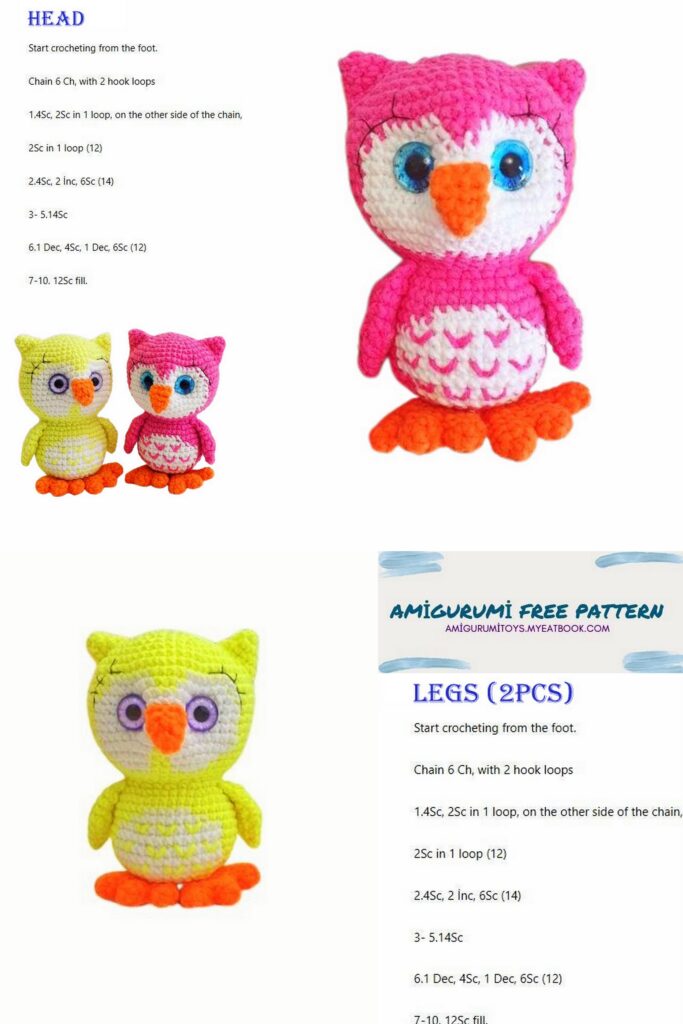
Head-Body
Stuff as you knit
1 rub. – 6 SC in MR
2 rub. – 6 inc (12)
3 rub. – (1 SC, inc) X 6 (18)
4 rub. – (2 SC, inc) X 6 (24)
5 rub. – (3 SC, inc) X 6 (30)
6 rub. – (4 SC, inc) X 6 (36)
7 rub. – (5 SC, inc) X 6 (42)
8 rub. – (6 SC, inc) X 6 (48)
9 rub. – (7 SC, inc) X 6 (54)
Next, we alternate knitting with the main and white yarn.
Special designations:
(ScБ, decБ – knit with white yarn)
10 rub. – 19 SC, 6 ScБ, 4 SC, 6 ScБ, 19 SC (54)
11 rub. – 18 SC, 8 ScБ, 2 SC, 8 ScБ, 18 SC (54)
12-17 r. – 17 SC, 20 ScБ, 17 SC (54) (6 rows)
18 rub. – (7 SC, dec) x 2, 1 SC, 6 ScБ, 2 decБ, 6 ScБ, 1 SC, (dec, 7 SC) x 2 (48)
19 rub. – 3 SC, dec, 6 SC, dec, 5 SC, 1 ScБ, 1decБ, 2 ScБ, 2 SC, 2 ScБ, 1decБ, 1 ScБ, 5
SC, dec, 6 SC, dec, 3 SC (42)
Next we knit only with the main color.
20 rub. – (5 SC, dec) x 6 (36)
21 rub. – (4 SC, dec) x 6 (30)
22 rub. – (3 SC, dec) x 6 (24)
23 rub. – (1 SC, inc) x 12 (36)
24 rub. – (5 SC, inc) x 6 (42)
25 rub. – 42 SC
We tighten the muzzle near the eyes using a large needle and white thread colors.
Find the middle where the eyes will be located and mark 4 points around each has eyes.
1. insert the needle into the base of the neck and exit at point 1
2. insert the needle into point 2 and bring it out at point 4
3. insert the needle at point 3 and remove it at point 1
Repeat several times, tightening the bridge of the nose.
We bring the needle out at the base of the neck and tie a knot. Next you can take a new thread or continue with the same thread.
1. insert the needle into the base of the neck and exit at point 5
2. insert the needle into point 6 and bring it out at the base of the neck
3. insert the needle into the base of the neck and exit at point 7
4. insert the needle into point 8 and bring it out at the base of the neck
Repeat several times, tightening your eyes.
Next, it is necessary that the beginning of the row is in the middle of the back, for this make the required number of SC (I have 2 SC), put a marker.
26 rub. – 18 SC, 6 SББ, 18 SC (42)
27 rub. – 16 SC, 10 SББ, 16 SC (42)
28-31 r. – 14 SC, 14SCБ, 14 SC (42) (4 rows)
32 rub. – (5 SC, dec) x 2, 3SC, 2SC, 2 decB, 2 SCB, 3 SC, (dec, 5 SC) x 2 (36)
Fasten the white thread and cut it.
33 rub. – (4 SC, dec) x 6 (30)
34 rub. – (3 SC, dec) x 6 (24)
35 rub. – (2 SC, dec) x 6 (18)
36 rub. – (1 SC, dec) x 6 (12)
37 rub. – 6 Dec
Fasten the thread, cut it,
Pull the hole, hide the tip.
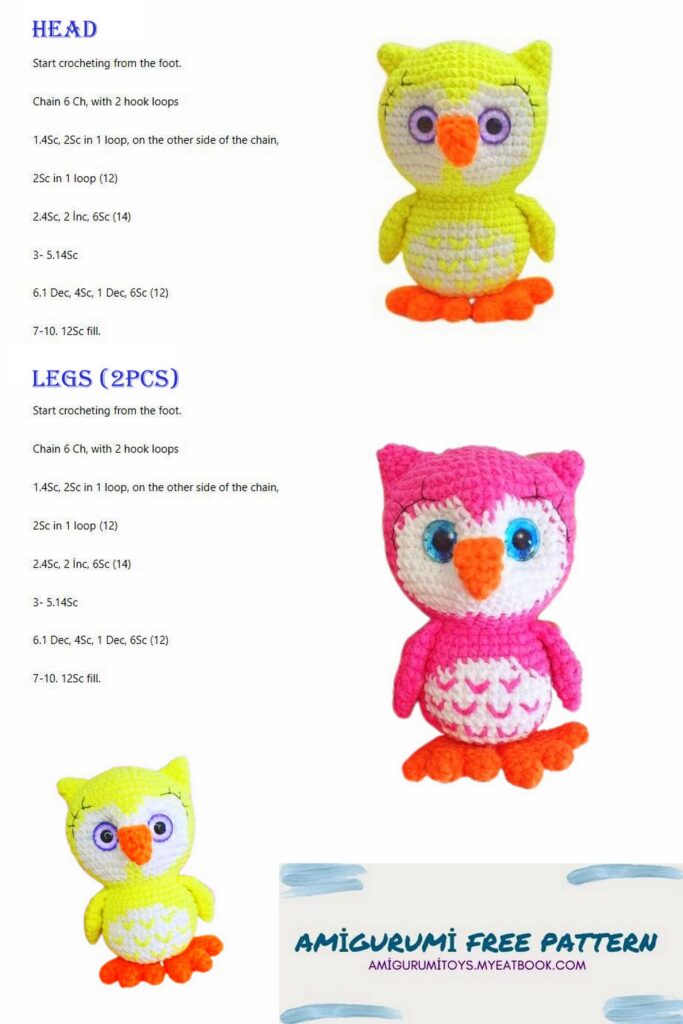
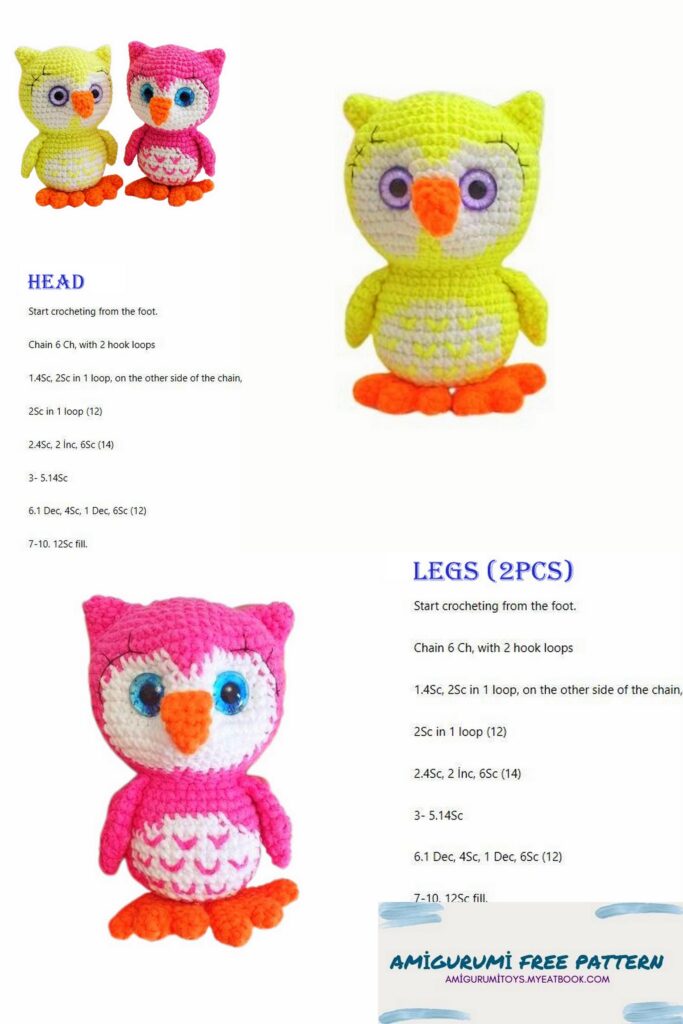
Paws
For each paw we knit 3 fingers.
1 rub. – 6 SC in MR
2 rub. – 6 SC
On two fingers we make SL-ST, fasten the thread and cut it off, on the third, do not cut and continue knitting.
3 rub. – 3 SC, then we connect the fingers, 3 SC on the 2nd finger, 6 SC on the 3rd, 3 SC on
2nd, 3 SC on 1st finger (18)
We put a marker.
4-5 r. – 18 SC (2 rows)
6 rub. – (1SC, dec) x 6 (12)
7 rub. – 12 SC
8 rub. – (1 SC, dec) x 4 (8)
Fold the piece in half and knit 4 SC on both walls.
Fasten the thread, cut it, leaving a long end for sewing.
Wings
1 rub. – 6 SC in MR
2 rub. – 6 inc (12)
3 rub. – (1 SC, inc) X 6 (18)
4 rub. – (2 SC, inc) X 6 (24)
Fold the piece in half and knit 12 SC on both sides.
Fasten the thread, cut it, leaving a long end for sewing.
Ears
1 rub. – 6 SC in MR
2 r. – 6 SC (6)
3 r. – (inc, 1 SC) x 3 (9)
4 rub. – (2 SC, inc) x 3 (12)
Fasten the thread, cut it, leaving a long end for sewing.
Tail
1 rub. – 6 SC in MR
2 r. – (1SC, inc) x 3 (9)
3 r. – (2 SC, inc) x 3 (12)
4 rub. – 12 SC (12)
Fold the piece in half and knit 6 SC on both walls.
Fasten the thread, cut it, leaving a long end for sewing.
Beak
1 rub. – 6 SC in MR
2 rub. – 6 SC
3 rub. – (2 SC, inc) x 2 (8)
Fold the piece in half and knit 4 SC on both walls.
Fasten the thread, cut it, leaving a long end for sewing.
Assembly and design
Sew on the wings, starting from the neck to the middle of the wing.
We sew the paws on the last row and on the row somewhere in the middle of the paw.
Sew the tail at the back in the middle of the back between rows 29 and 30.
Sew the beak between rows 13 and 14.
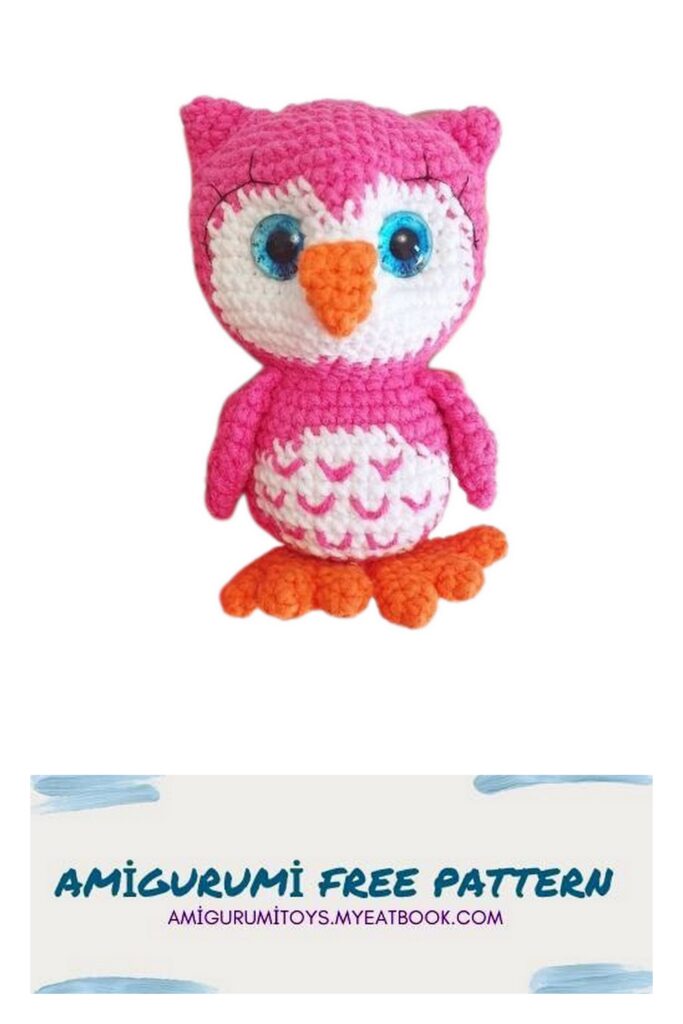
Glue on the eyes. We embroider eyelashes with black thread.
We embroider checkmarks with pink thread rya on the abdomen.
The owlet is ready!
Thanks for knitting with me!
When publishing finished works, do not forget to mark me as the author