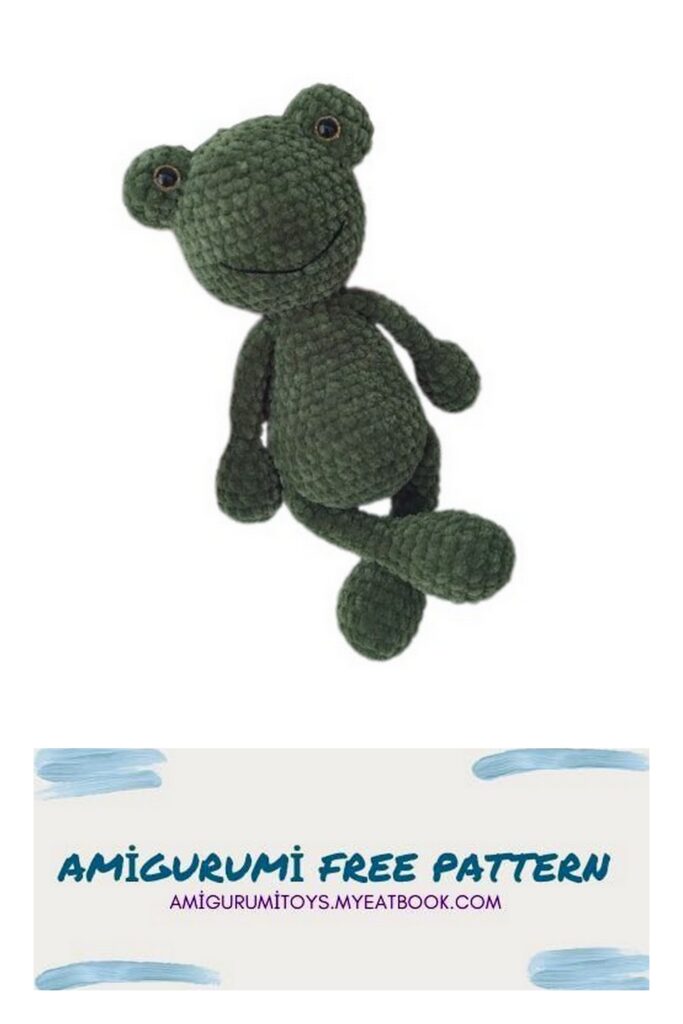
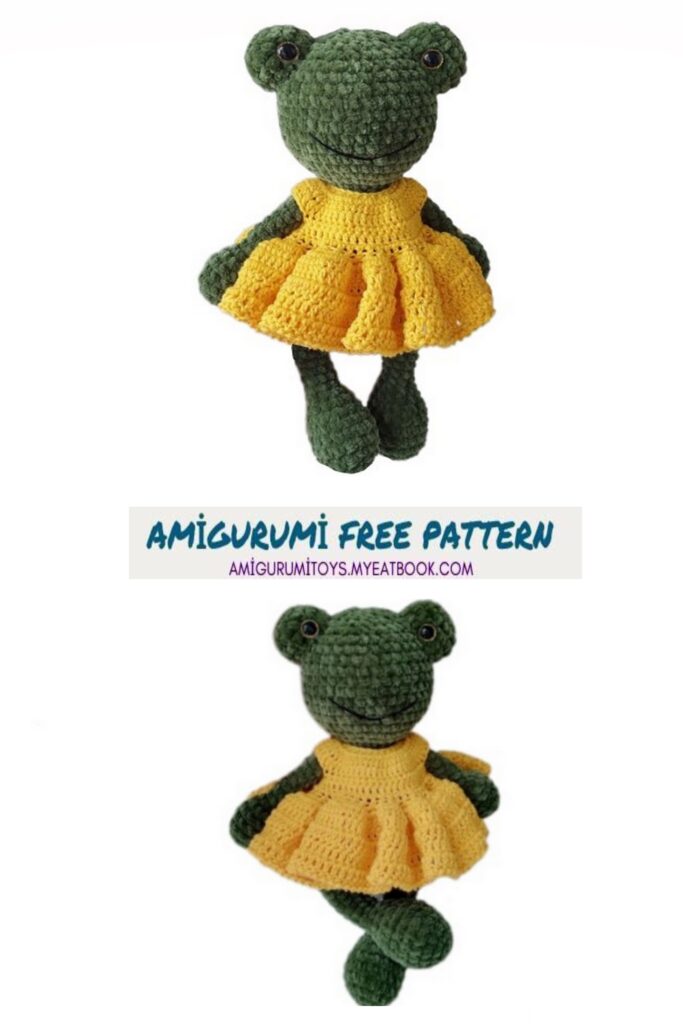
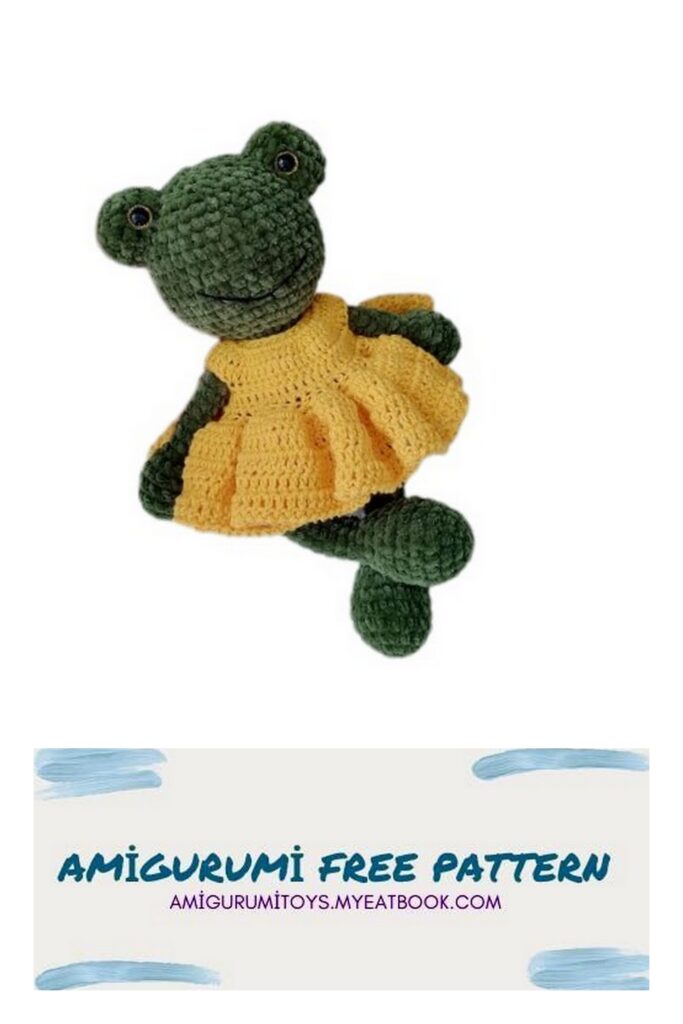
“Plush Frog”
We continue to share the most beautiful free amigurumi patterns for you. You can visit our website for free pattern of Amigurumi plush frog.
Required Skills for the Job
– Amigurumi Ring
– Single crochet
– double crochets
– Ability to sew details
To create a toy you will need:
– Original yarn in description Yarn Art Dolce baby, 50 g 85 m or Wolans Bunny Sweather 100 g 160 m You can use any plush or velor yarn with a similar footage Or yarn about 100 g 120 m (Dolce, Himalaya Dolphin baby, etc. .) Then the toy will turn out more
– Hook I used 3 You can use a different one, depending on your knitting density.
– scissors
– filler (I have a holofiber, you can sintepukh)
– a needle with a large eye for sewing details
– eyes on a secure mount (recommended eye size 10-12 mm or whatever you like best)
The growth of the toy is approximately 26-27 cm
Legend:
MR – amigurumi ring
CH – chain
Sc – single crochet
Dc – double crochet
SL-ST – slip-stitch
İnc – increase (knit two columns into one)
Dec – decrease (knit 2 columns together
We start knitting with arms and legs, since then we will knit them
Pens
In MR cast on 6sc or cast on 2CH and work 6 sc in first st
1 row – 6 inc (12)
2 – 5 row – 4 rows of 12 sc
6 row – 6 dec (6)
7 – 15 row – 9 rows of 6 sc
Put together, knit sc (3 pcs) for both parts of the handle
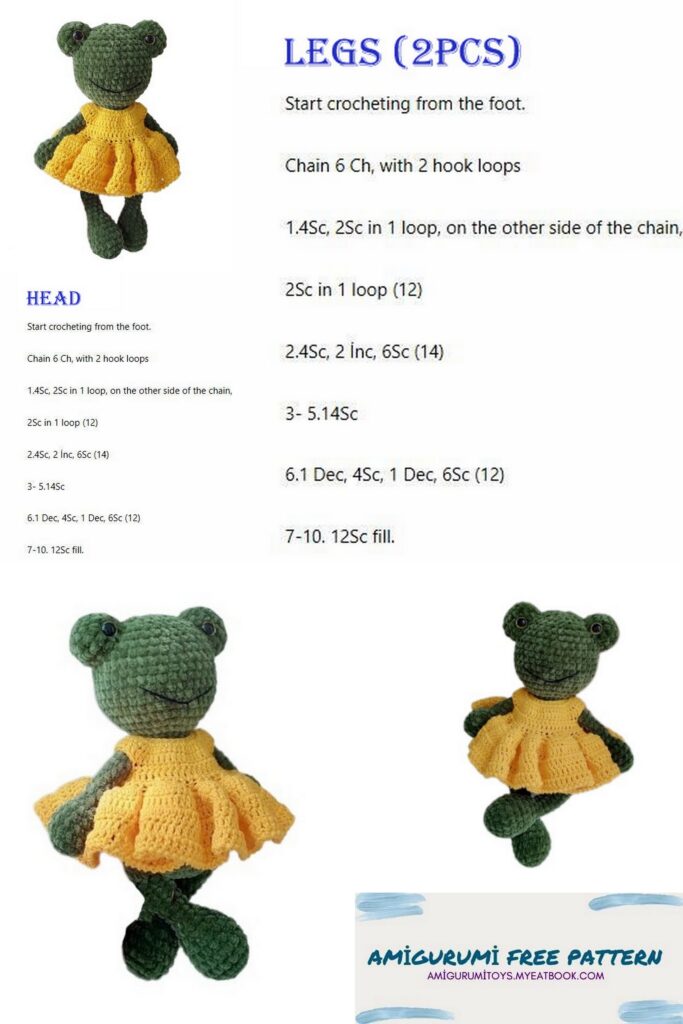
Legs
In MR cast on 6sc or cast on 2CH and work 6 sc in first st
1 row – 6 inc (12)
2 row – (1 sc, inc) * 6 (18)
3 – 6 row – 18 sc
7 row – (1 sc, dec) * 6 (12)
8 row – 12 sc
9 row – (1 sc, dec) * 3 (9)
10 – 18 row – 9 rows of 9 sc
Fold, knit 4-5 sc for both parts
Body
In MR cast on 6sc or cast on 2CH and work 6 sc in first st
1 row – 6 inc (12)
2 row – (1 sc, inc) * 6 (18)
3 row – (2 sc, inc) * 6 (24)
4 row – (3 sc, inc) * 6 (30)
5 row – (4 sc, inc) * 6 (36)
6 row – in this row we knit legs. Right from the beginning of the series:
5 sc with stem, 15 sc over body, 5 sc with stem, 11 sc (36)
7 – 9 row – 3 rows of 36 sc
10 row – 5 sc, (3 sc, dec) * 3, 5 sc, 11 sc (33)
Important! We get the reductions exactly between the legs. Where it was 15 sc.
If suddenly, your columns have shifted, be guided by the legs: count from one leg to the other
15 sc and decrease
11 row – 33 sc
12 row – 5 sc, (2 sc, dec) * 3, 5 sc, 11 sc (30)
And again, reductions between the legs. Decreases we form the tummy
13 row – 30 sc
14 row – (3 sc, dec) * 6 (24)
15 – 16 row – 24 sc
We begin to stuff the body part
17 row – (2 sc, dec) * 6 (18)
18 row – we knit handles. Focus on your toy. The handles are straight on the sides. Between the handles on the front I have 5 sc (18)
19 row – (1 sc, dec) * 6 (12)
Add filler again
Next, we will knit the head.
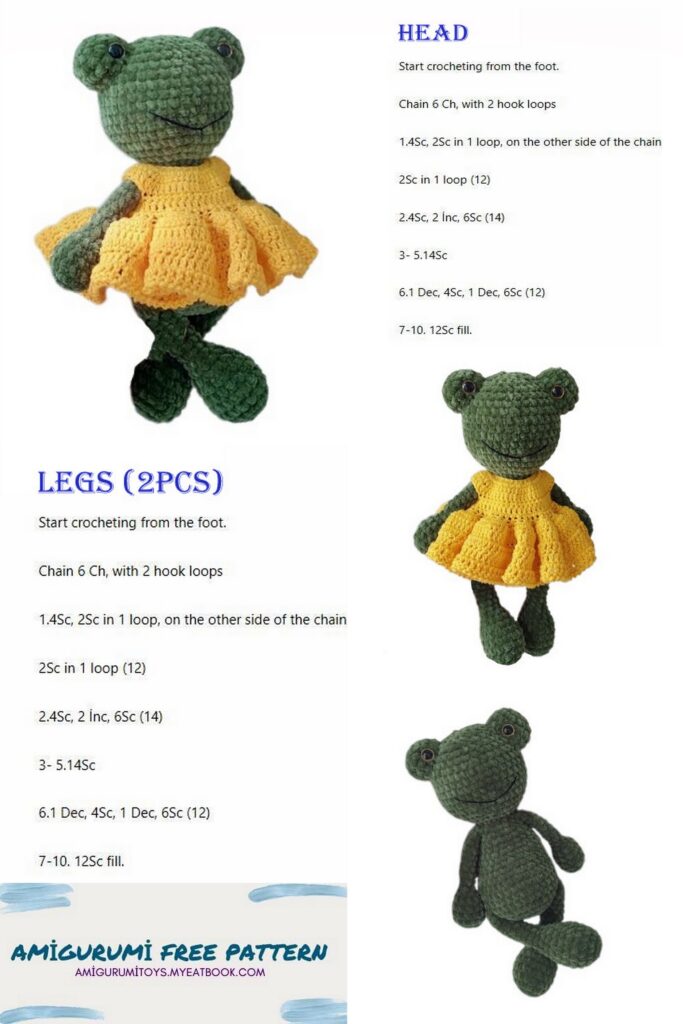
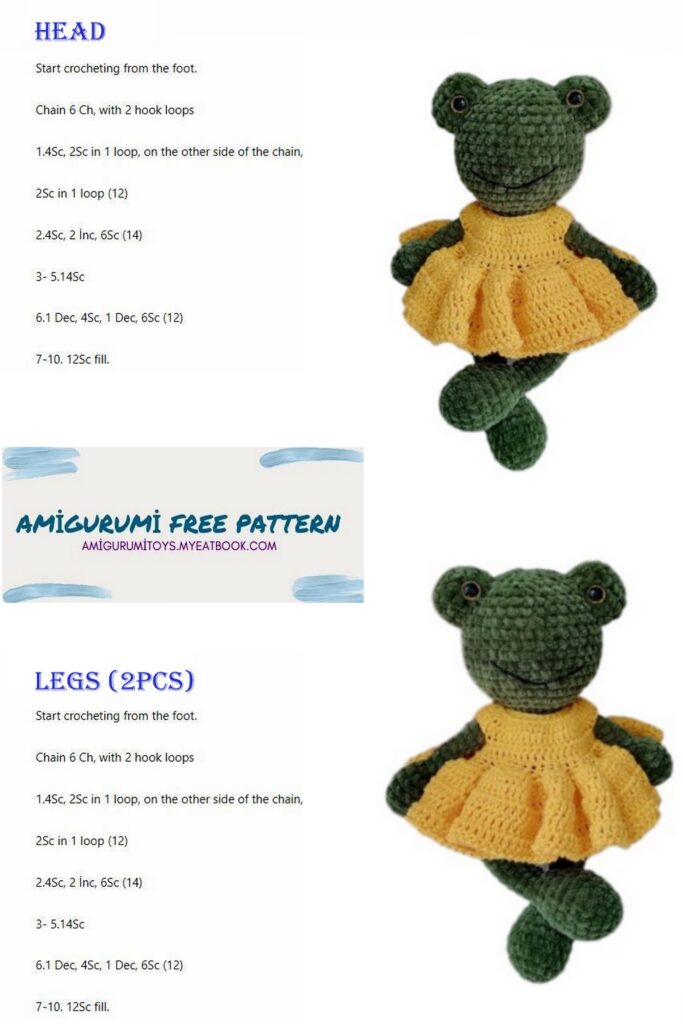
Head
1 row – 12 inc (24)
2 row – (3 sc, inc) * 6 (30)
3 row – (4 sc, inc) * 6 (36)
4 row – (5 sc, inc) * 6 (42)
5 – 10 row – 6 rows of 42 sc
11 row – (5 sc, dec) * 6 (36)
12-13 row – 36 sc
14 row – (4 sc, dec) * 6 (30)
15 row – (3 sc, dec) * 6 (24)
16 row – (2 sc, dec) * (18)
Stuffing our head
17 row – (1 sc, dec) * 6 (12)
18 row – 6 dec
Eyes
In MR cast on 6sc or cast on 2CH and work 6 sc in first st
1 row – 6 inc (12)
2 row – (1 sc, inc) * 6 (18)
3-4 row – 18 sc
Insert the eye on a secure mount between the last and penultimate row, fill a little with filler, sew to the head.
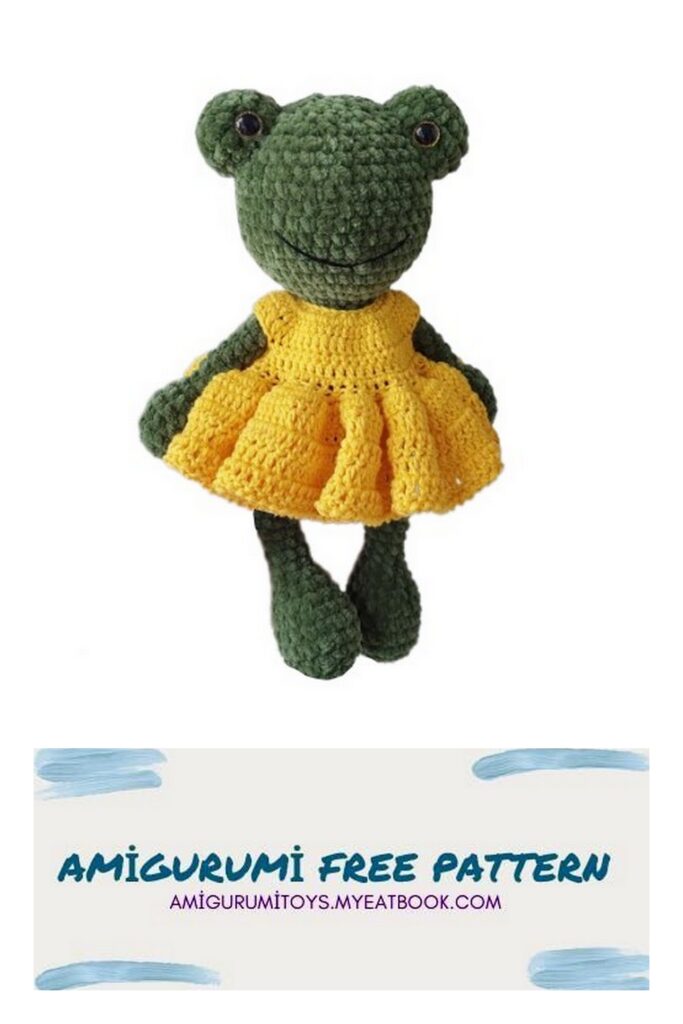
Dress
I initially dialed a chain of 30 ch
Materials:
YarnArt Jeans – 1/2 skein
Hook 2
Buttons 15mm – 2 pcs
We begin to knit in rotary rows. Knitted ch rise, unfold knitting.
1 row. 22 ch + 1 ch lift
2 row. 22 sc + 2 ch ups
3 row. 22 inc of dc + 2 ch rise
4 row. 44 dc + 1 ch rise
Next, we form the sleeves.
5 row. 6 sc, 6 ch (skip 9 dc), 14 sc, 6 ch (skip 9 dc), 6 sc + 2 ch lifts
6 row. 12 dc, 1 inc from dc, 12 dc, 1 inc from dc, 12 dc +2 ch up
7 row. 40 dc + 2 ch rise
8 row. 40 triple increases from sc + 2 ch raises
9 row. (1 dc, 1 inc) to end of row + 2 ch inc
Try to get an increase in the increase, so the skirt will be more magnificent
10 row. (2 dc, 1 inc) to the end of the row, with the help of sl-st we connect the knitting in a circle, 2 ch rise
11 row. dc in a circle to the end, sl-st, 2 ch lifts
12 row. dc in a circle to the end of the row, sl-st.
Carefully tie and hide the thread.
It remains to process the cut on the back.
We attach the thread, do 1 ch and knit 1 sc row, then do 1 ch of lifting, turn.