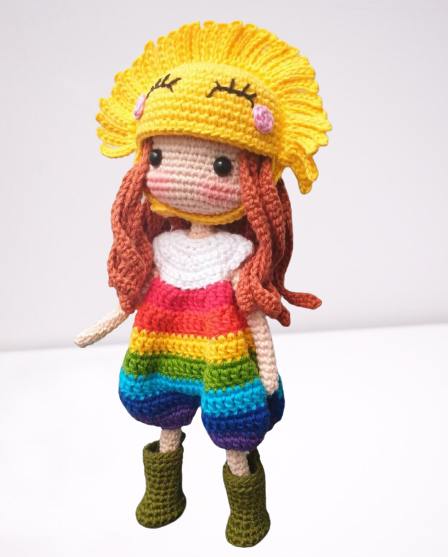
Amigurumi Clown Cute Free Pattern
MATERIALS
Color wires:
Thick hot glue stick for the neck.
Crochet hook compatible with the chosen thread and needle for embroidery;
Scissors .
Liquid silicone glue.
Locking eyes in size that can go from 9 to 12.
A piece of firm plastic material, such as a pot lid, for the base of the shoes.
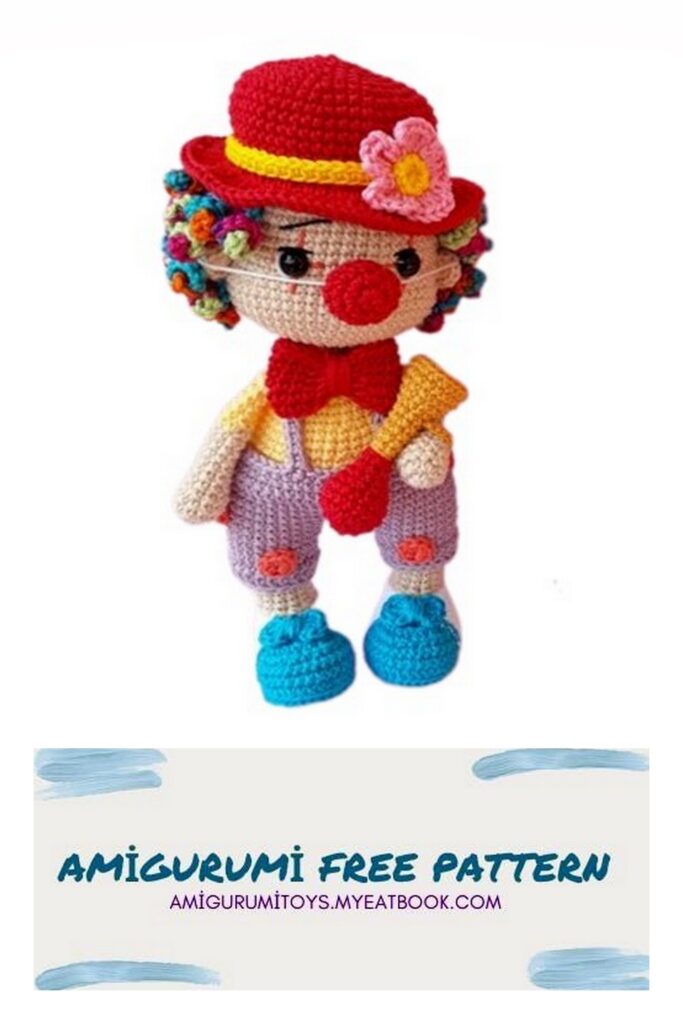
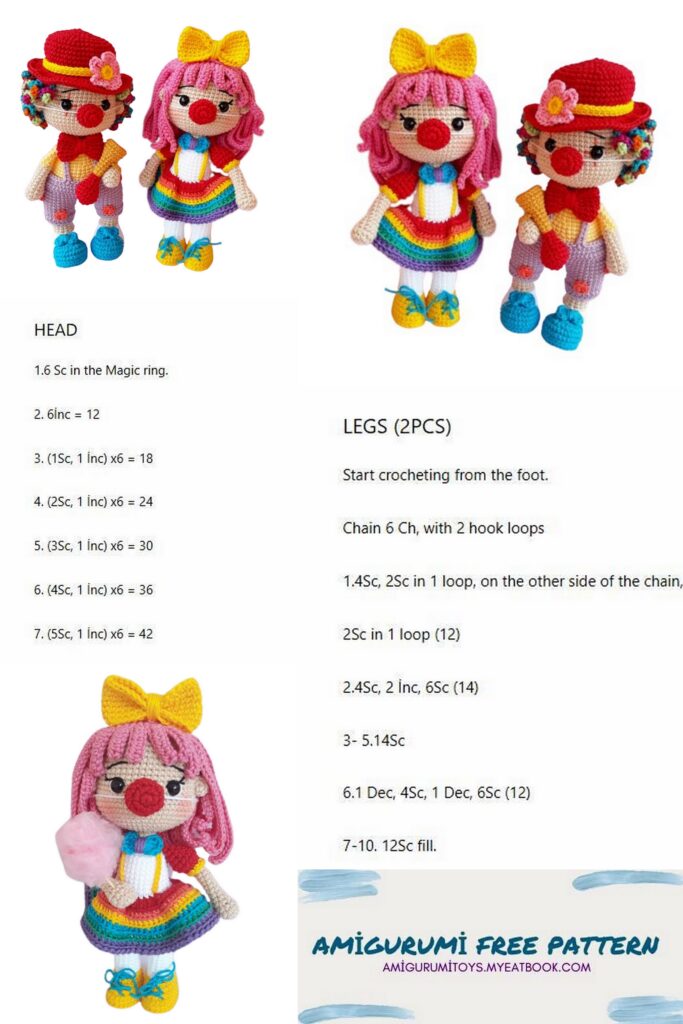
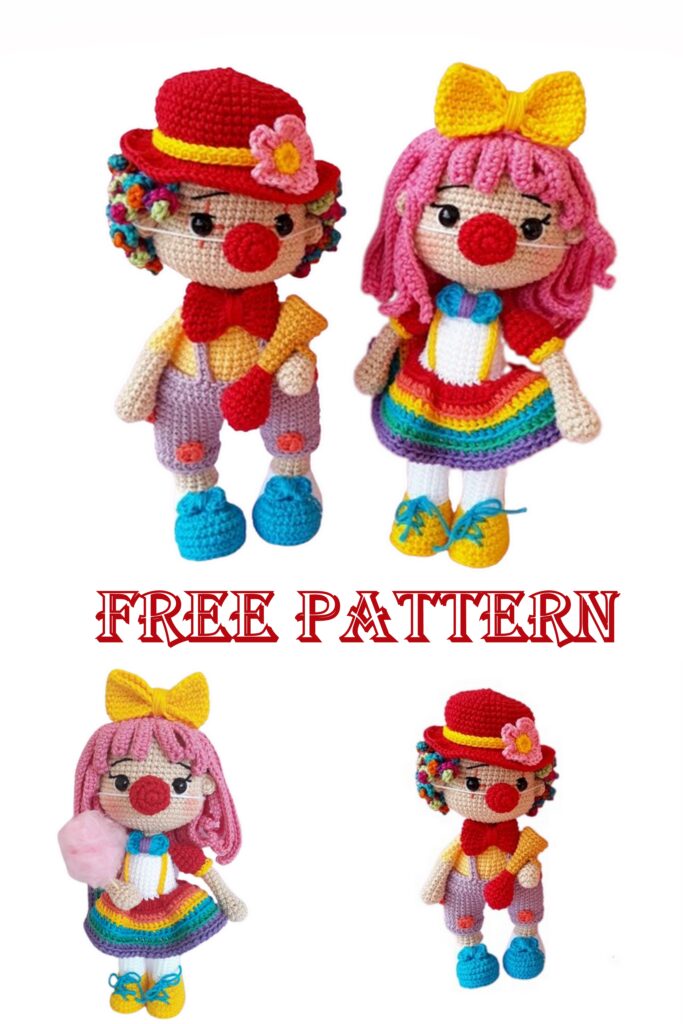
For the pieces in these photos, amigurumi yarn was used in the colors mentioned, with 2.5 mm crochet hook and square stitch (x stitch). The toy was 23 cm tall but this size may change if used another thread, needle, style and stitch tension. The average time of Preparation takes 8 hours but varies a lot from one artisan to another.
ABBREVIATIONS
inc – increase
dec – decrease
ch – chain
hdc – half double crochet
dc – double crochet
sc – single crochet
blo – back stitch loop
flo – front loop of the stitch
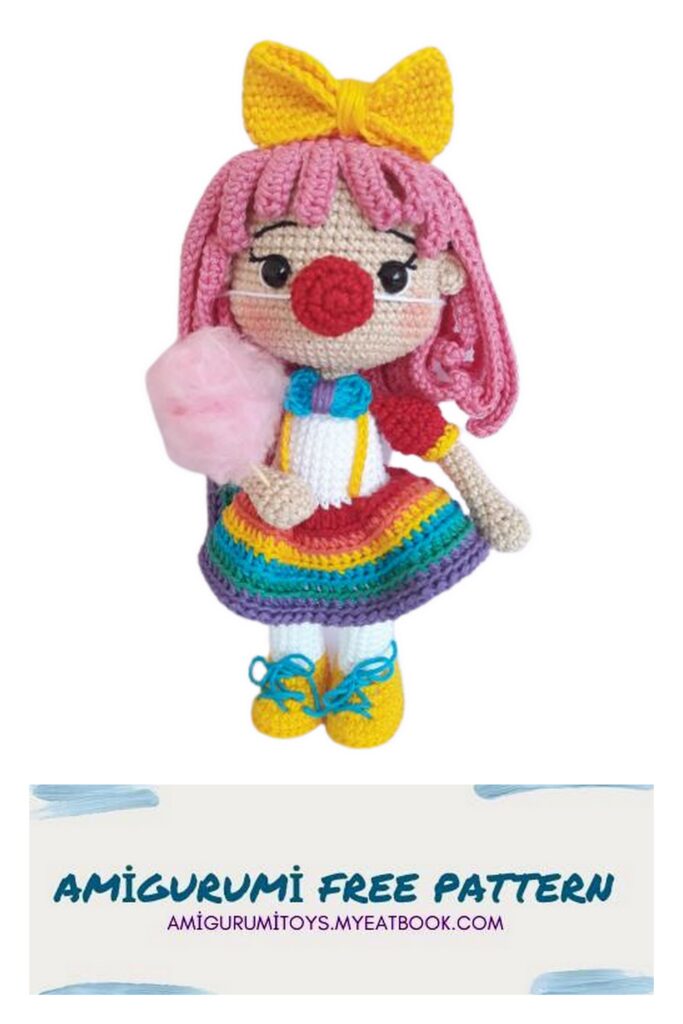
Before you start, some tips!
How to do color change
Before we start, let’s see how to do the marked color change that will be used in some parts of this recipe.
1 – In the last stitch of the row in which the color change will occur, lace the new color with the needle and work along the entire length of the piece with a slip stitch, using only the back loop (blo).
2 – The next row must be woven again only through the back loop (blo). You can use only the new color back strap or both the new and old color back straps. The first way the stitch is looser, the second way tighter.
1st step – Shoes Start with white.
1 – 7 ch., on the second chain from the needle do: 1 inc, 4 sc, 1 triple inc, 4 sc, 1 inc (15) Insert a guide thread in another color here.
2 – 2 inc, 4 inc, 3 inc, 6 inc (20)
3 – 1 inc, 1 sc, 1 inc, 5 sc, 1 sc 1 inc (3x), 5 sc, 1 inc (26)
4 – 2 sc, 1 sc (2x), 5 sc, 8 sc, 7 sc (36)
5 – 12 sc in blo (with white thread); 17 sc in blo (with blue thread); 7 sc in blo (with white thread) (36)
6 – 12 sc in blo (with white thread); 17 sc in blo (with blue thread); 7 sc in blo (with white thread) (36)
7 and 8 – 12 sc (with white thread); 17 sc (with blue thread); 7 sc in (with white thread) (36)
9 – 12 sc (with white thread); 1 dec 1 sc (5x) 1 sc (with blue thread); 7 sc in (with white thread) (30)
Before weaving the next round, cut out an oval base with the measurements of the sole and insert it into the bottom of the shoe. This will help make your foot straighter.
10 – 12 sc (with white thread); 5 dec and 1 sc (with blue thread); 7 sc in (with white thread) (25)
11 – 12 sc (with white thread); 3 dec (with blue wire); 7 sc in (with white thread) (22)
12 – 10 sc, 4 dec, 4 sc (now white thread only) (18)
Change the yarn to the chosen skin color and let’s go to the leg.
With the blue thread, return to row 5 and sc all the way around to finish the sole of the shoe.
EXECUTION
Legs and lower body
13 – 18 sc in blo (18)
14 – 8 sc, 3 dec, 4 sc in blo (15)
15 to 20 – 15 sc (15).
21 – 1 inc and 1 sc (7x) 1 inc. (23) Cut the thread and fasten off.
Fill the foot and leg with hypoallergenic silicone fiber as you weave. If you are going to use wire frames on your doll, put stuffing on the legs only after you insert the wire.
Before proceeding, let’s make the shorts!
With the lilac thread (or whatever color you want to use in the shorts) leave a long thread before starting the chain (enough to make 23 sc).
Now do:
1 – 23 chain, close the circle with a sc.
2 and 3 – 23 sc (23). Do not cut the wire yet. return to the first row, lace the initial thread left and make 23 sc to finish the shorts. Return to row 3 and let’s continue.
22 – fit the leg inside the shorts, aligning the last stitch of row 3 with the last stitch made on the leg. To join them, you must weave 23 sc, using only the front loop of the shorts stitches and the front loop of the leg stitches (23)
23 and 24 – 23 sc (23)
The next row will be different for the first and second leg.
First leg:
25 – make only 7 sc, cut the thread and finish off.
second leg:
25 – do only 19 sc and 3 more chain.
26 – this is the leg joining row. Join the second leg to the first with 1 sc and do another 10 sc, 1 inc, 5 sc, 1 inc, 5sc, 3 sc on the back loops of the joining chains, 05 sc, 1 inc, 5 sc, 1 inc, 11 sc , 3 sc on the front loops of the joining chains (56)
27 to 30 – 56 sc (56)
The next rows will be the top of the garment.
31 – make 56 sc in flo (front handles) (56)
32 – 56 sc (56)
33 – 5 sc and 1 dec (8x) (48)
34 – in this row we will make the garment handles. Make 3 sc, 1st loop: 25 chain, make 24 sc starting from the second chain from the needle, 40 sc, 2nd loop: 25 chain, make 24 sc starting from the second chain from the needle, secure at the base with 1 sc, cut the thread and finish leaving the 2nd loop very tight.
Once the body is ready, cross the straps across the back of the doll and sew.
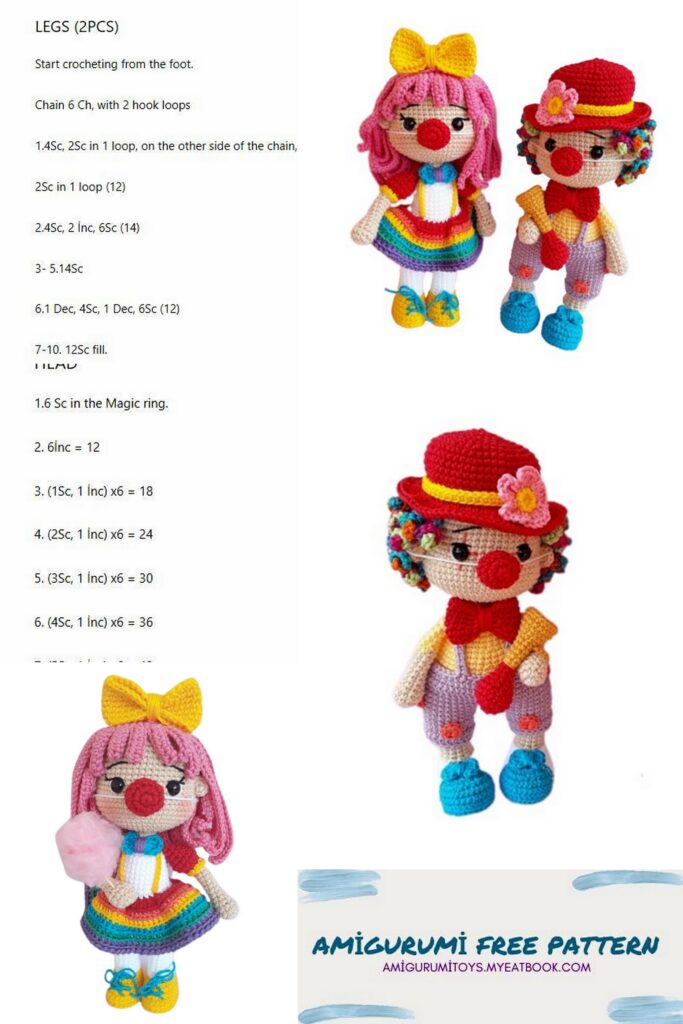
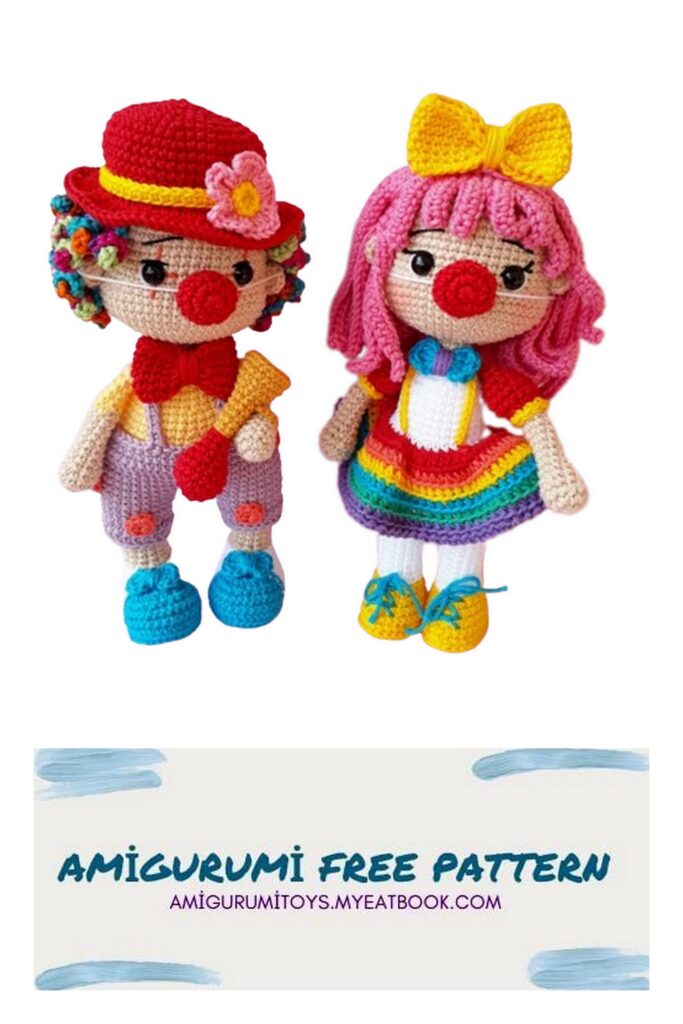
Upper body and head
The next rows will be the top of the garment. Return to row 31 and we will work on the remaining loops with yellow yarn.
31 – do 5 sc and 1 dec (8x) in blo (back handles) (48)
32 – 48 sc (48)
33 – 6 sc and 1 dec (6x) (42)
34 – 42 sc (42)
35 – 5 sc and 1 dec (6x) (36)
36 and 37 – 36 sc (36)
38 – 4 sc and 1 dec (6x) (30)
39 – 30 sc (30)
40 – 3 sc and 1 dec (6x) (24)
41 – 2 sc and 1 dec (6x) (18) Before making the next row, insert a piece of hot glue stick of about 10 cm, leaving half inside the body and the other half for the neck and the head. Fill the body well with fiber and proceed.
42 – 1 sc and 1 dec (6x) (12)
Change the yarn to skin color for the neck and head.
43 to 45 – 12 sc (12)
46 – 12 inc (24)
47 – 3 sc 1 inc (6x) (30)
48 – 4 sc 1 inc (6x) (36)
49 – 5 sc 1 inc (6x) (42)
50 – 6 sc 1 inc (6x) (48)
51 – 7 sc 1 inc (6x) (54)
52 – 17 sc, 2 sc, 16 sc, 2 sc, 17 sc (58)
53 to 55 – 57 sc (58)
56 – 16 sc, 3 dec, 14 sc, 3 dec, 16 sc (52)
57 to 59 – 52 sc (52)
60 – 17 sc, 1 sc, 16 sc, 1 sc, 17 sc (54)
61 and 62 – 54 sc (54)
Change the color to off white or white. The top of the head will be part of the wig.
63 and 64 – 54 sc (54)
Insert eyes on row 58, 8 sc apart. Embroider the nose on row 56. To embroider the eyes: embroider the makeup first, then the white line, then the black line and eyebrows.
65 – 7 sc 1 dec (6x) (48)
66 – 6 sc 1 dec (6x) (42)
67 – 5 sc 1 dec (6x) (36)
68 – 4 sc 1 dec (6x) (30)
69 – 3 sc 1 dec (6x) (24)
70 – 2 sc 1 dec (6x) (18)
71– 1 sc 1 dec (6x) (12)
72 – 1 sc 1 dec (4x) (8)
Close the head with inverted magic ring.
Ears (skin)
Make 8 sc into magic ring, close the ring and sew them to the head (count five stitches starting from the eyes).
Arms (skin)
1 – 6 sc into magic ring
2 – 6 inc (12)
3 and 4 – 12 sc (12)
5 – 1 sc 1 dec (4x) (8)
6 to 12 – 8 sc (8)
13 – switch to yellow color – 8 sc (8)
14 to 19 – 8 sc (8)
20 – fold the arm joining the two edges and close by weaving 4 sc (4).
Put stuffing by hand only.
Sew the arms to the body, two rows below the beginning of the doll’s neck.
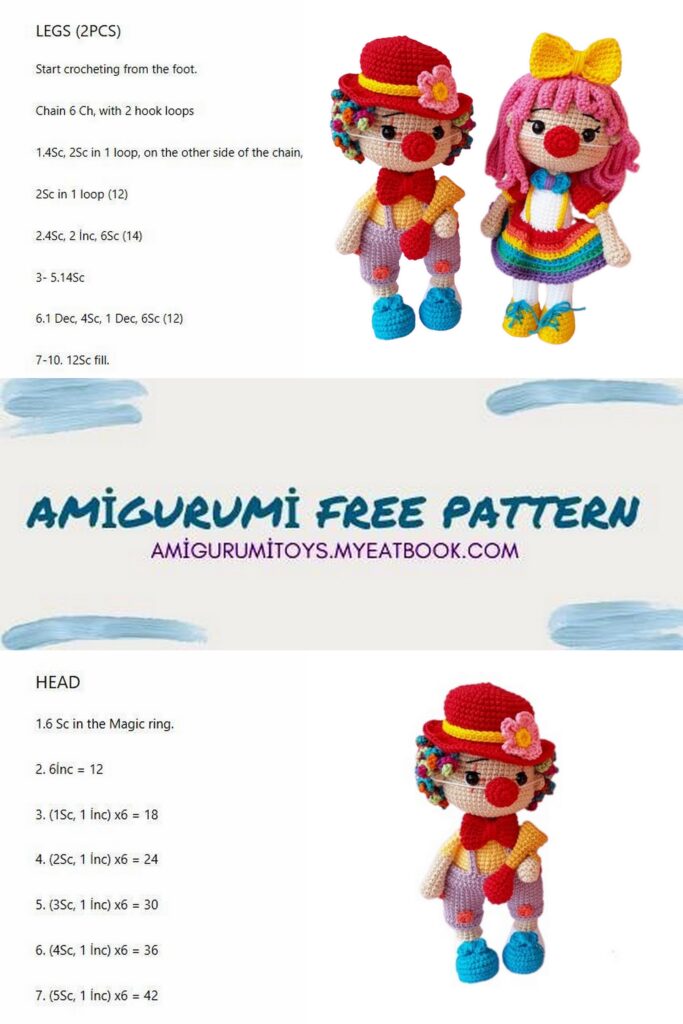
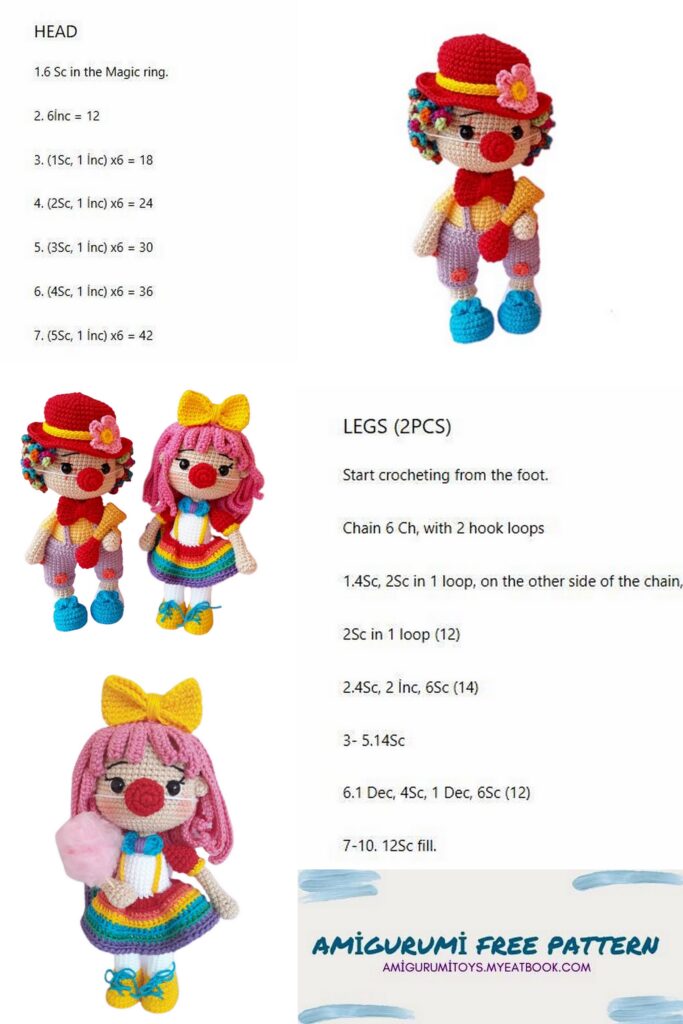
Shoe laces (blue)
In blue, do 4 chain. Work on the first chain: 3 dc, 3 chain, 1 sc, 3 chain, 3 dc, 3 chain, 1 sc. Cut the yarn, loop it around the center of the loop and sew it to the shoe.
Clothes balls (orange) make 7 sc into magic ring, cut the thread and finish off. Make several, glue or sew on clothing.
Clown nose (red)
1- 6 sc into magic ring (6)
2 – 6 inc (12)
3 – 1 sc 1 inc (6x) (18)
4 – 18 sc (18)
5 – 1 sc 1 dec (6x) (12)
Cut the thread and tie off. Thread a piece of white yarn long enough to go around the head and make a loop in the back.
Neck Tie (red)
1 – make 24 chain, close with 1 sc forming a circle.
2 – 7 sc, 5 sc, 7 sc, 5 sc (24)
3 to 6 – 7 sc, 5 sc in blo, 7 sc, 5 sc in blo (24).
Cut the yarn and loop around the center of the loop.
Sew the bow to the clown’s outfit or insert a thread long enough to tie around the clown’s neck.
Hair (blended yarn)
1st layer:
1st bunch: Make 10 chain and from the second chain counting from the needle, make:
6 inc in sc, 3 sc. Chain and turn.
2nd to 15th bunch bunch: 3 sc, 7 chain. From the second chain from the needle do: 6 inc in sc, 3 sc.
There will be 15 curls in total in this layer. Position and sew just behind the ears at the desired height.
2nd and 3rd layers:
Repeat the pattern of the first layer, adding only 1 curl. will be 16
curls altogether. Position and sew one a little higher than the other.
4th layer:
1st bunch: Make 9 chain and from the second chain from the needle, make: 7 inc in sc, 1 sc. Chain and turn.
2nd to 16th bunch bunch: 1 sc, 8 chain. From the second chain from the needle do: 7 inc in sc, 1 sc. When completing the sixteenth bunch, make 1 chain and sc along the entire length of the bunch cord. Sew so that the flesh-colored part of the head does not show.
Red Hat
1 – 6 sc into magic ring
2 – 6 inc (12)
3 – 1 sc and 1 inc (6X) (18)
4 – 2 sc and 1 inc (6X) (24)
5 – 3 sc and 1 inc (6X) (30)
6 – 4 sc and 1 inc (6X) (36)
7 – 5 sc and 1 inc (6X) (42)
8 – 6 sc and 1 inc (6X) (48)
9 – 7 sc and 1 inc (6X) (54)
10 to 12 – 54 sc (54)
13 – 7 sc and 1 dec (6x) (48)
14 – 6 sc and 1 dec (6x) (42)
15 – 42 sc (42)
16- 1 inc hdc and 1 hdc in blo (21x) 1 hdcem blo (63)
17 – 2 hdc and 1 inc hdc(21x) (84)
18 – 84 sc (84) Cut and fasten yarn.
With yellow thread, make a cord with 49 chain, close with 1 sc forming a circle of make 49 sc.
Cut and tie off the yarn, attach the string to the hat and sew or glue.
Hat flower (yellow and pink)
Brain (yellow)
1 – 10 sc into magic ring (10)
2 – 10 sc in flo (front loops). Cut and tie off the thread.
Petals (pink)
They will be woven into the loops left over from the core.
on the 1st loop do 3 chain and 2 dc, on the 2nd loop do 2 dc and 3 chain. Secure with 1 sc on the 3rd loop and repeat this process until you complete 5 petals. Cut and tie off the yarn and sew or glue the flower to the hat.
Horn (red and mustard)
1 – 6 sc into magic ring
2 – 6 inc (12)
3 – 1 sc and 1 inc (6X) (18)
4 and 5 – 18 sc (18)
6 – 1 sc and 1 dec (6X) (12)
7 – 12 sc (12)
8 – 1 sc and 1 dec (4x) (8)
9 – 8 sc (8)
Change the yarn to mustard color.
10 – 8 sc in blo (8)
11 – 8 sc in blo (8)
12 to 14 – 8 sc (8)
15 – 1 sc and 1 inc (4x) (12)
16 – 12 sc (12)
17 – 1 sc and 1 inc (6x) (18)
18 and 19 – 18 sc. Cut and tie off the thread.
Make a cord with 13 chain and sew it to the horn.
