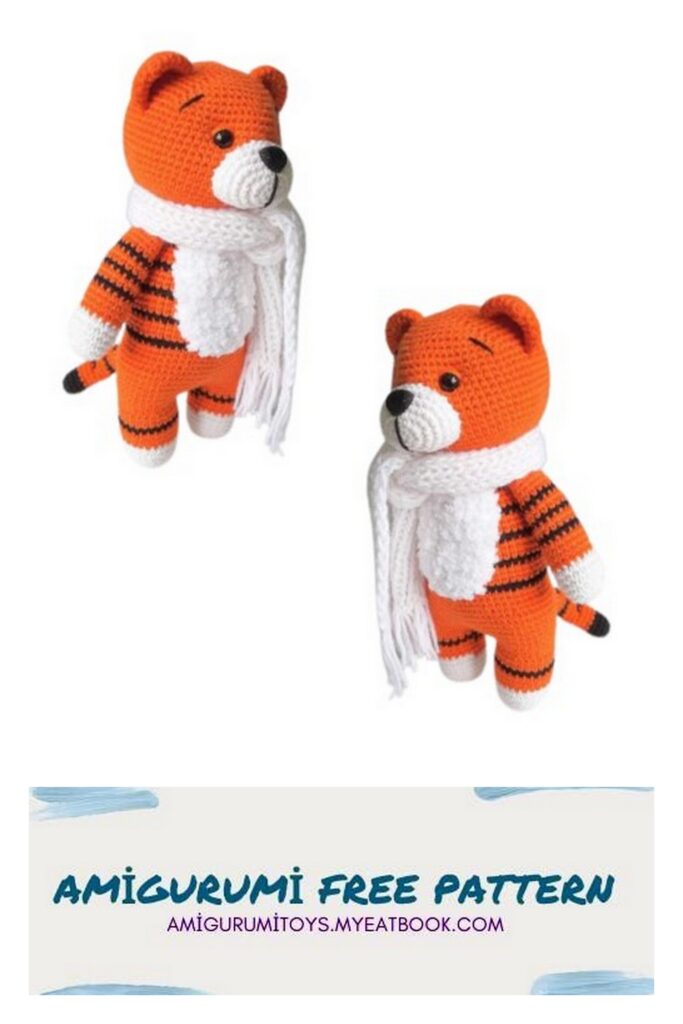
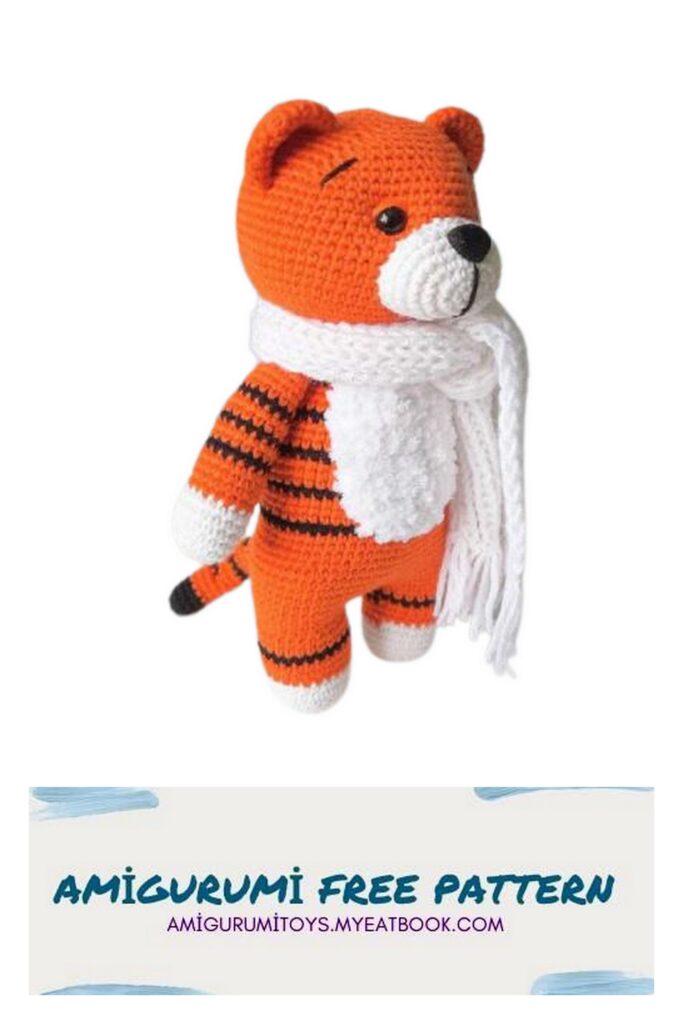
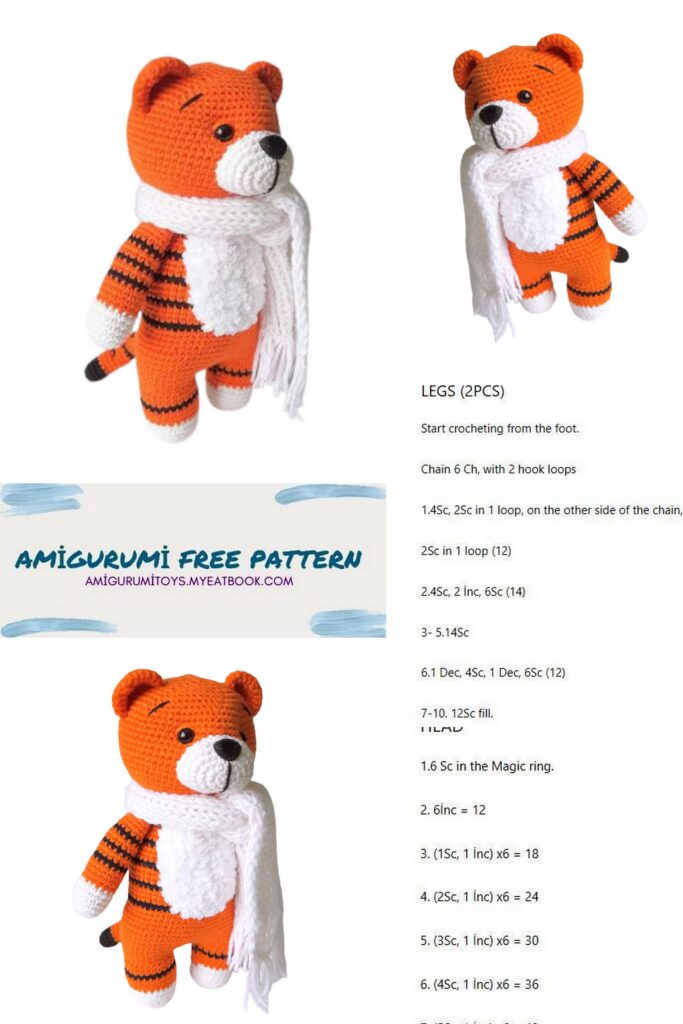
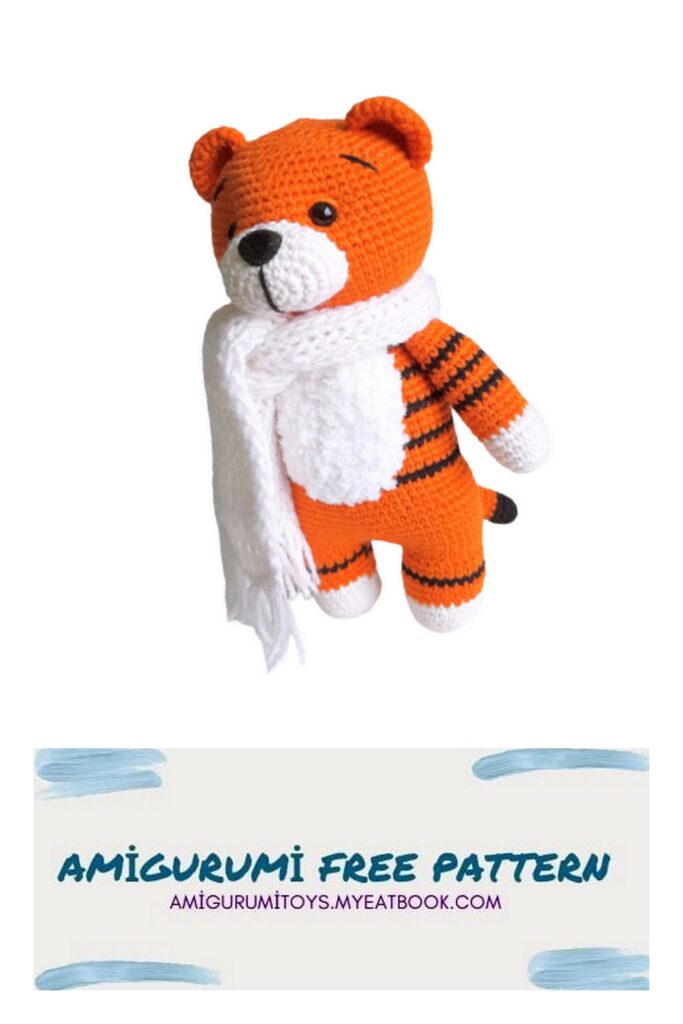
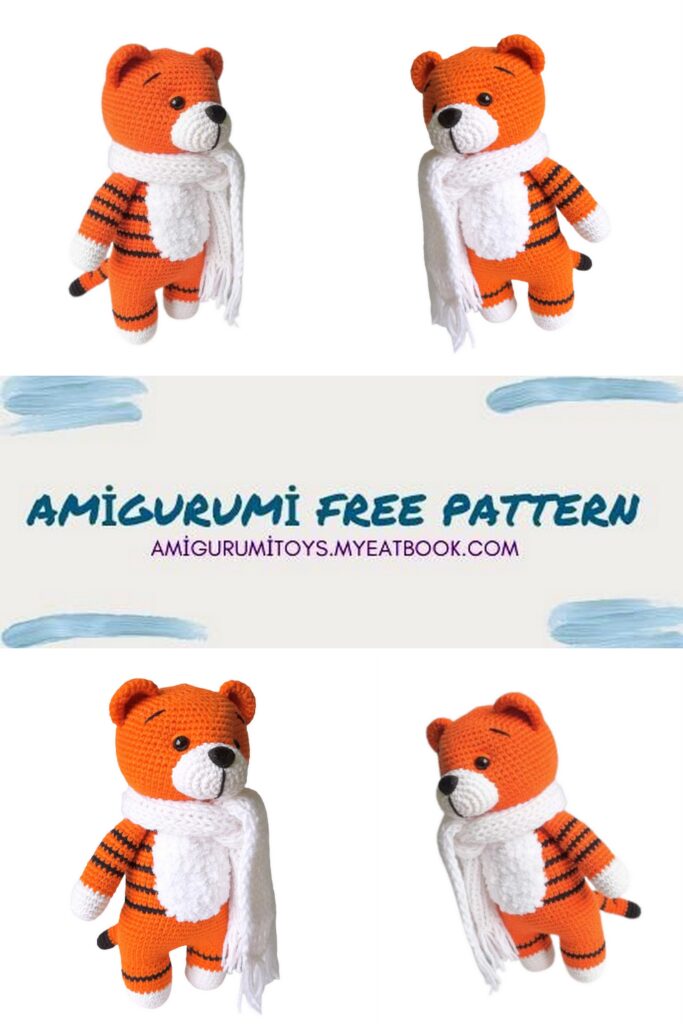
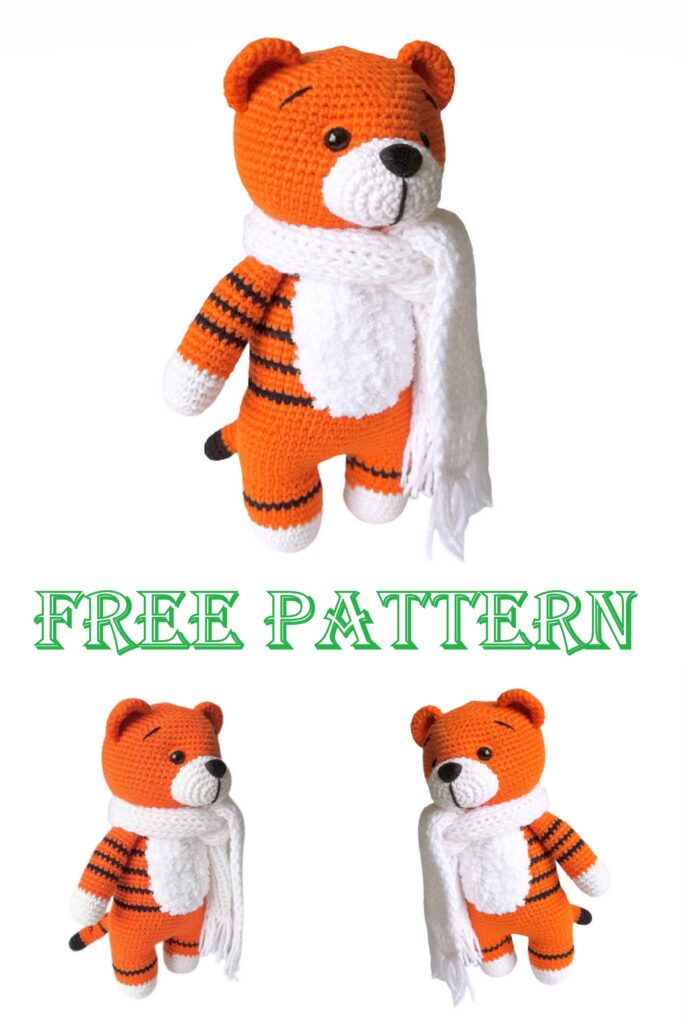
Tiger cub Theo
Necessary materials:
1 skein of Alize Cotton Gold Hobby (or any other equivalent) in orange, some white and black;
For the breast, a little Alize Softy (or Softy Plus);
For a scarf (any available yarn);
Eyes on a secure mount (from 8 to 10 mm);
Artificial spout on a secure fastening (from 8 to 12 mm) or brown thread for embroidery;
Hook (1.5 – 2mm)
Needle for stitching parts
Abbreviations
MR – amigurumi ring
SC – single crochet
DC – double crochet
CH – lifting loop
SL-ST – connecting post
The size of the toy, taking into account the indicated materials, is about 20 cm, but it all depends on your knitting density, the quality of materials and tools.
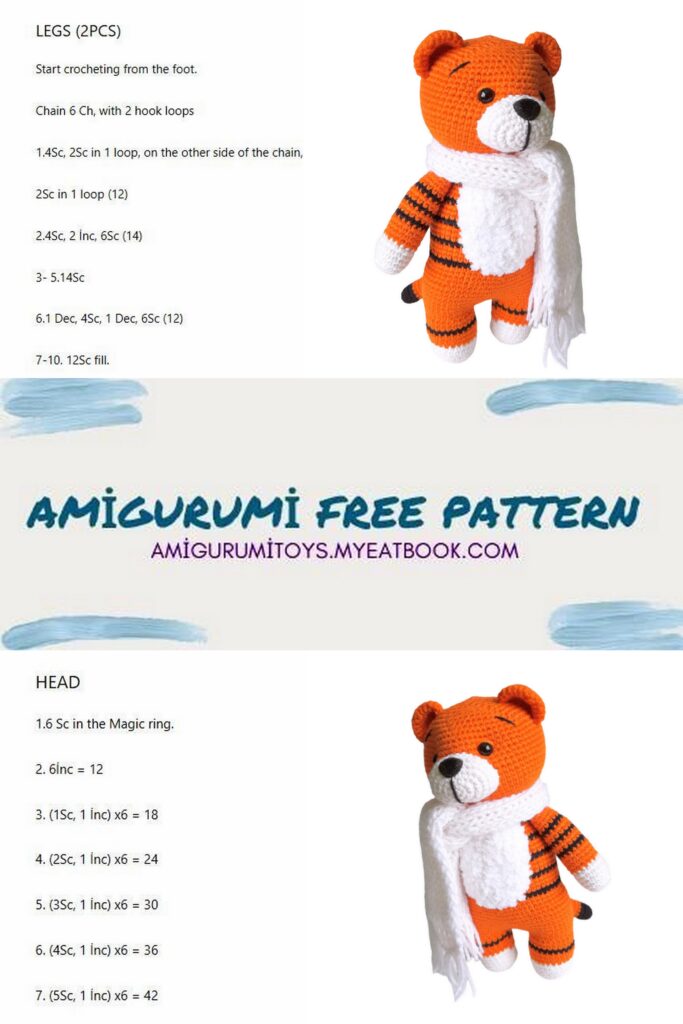
Upper paws.
Let’s start with white:
1. 6 SC to MR (6)
2.6 inc (12)
3. (1 sc, inc)*6 (18)
4 – 7.18 SC (18)
Continue in orange (then, starting from the 12th row, we attach a black thread, change it to orange in accordance with the description below and cut (black) only after the end of the 18th row)
8 – 11.18 SC (18)
12. Black color 18 SC (18)
13 – 14. Orange 18 SC (18)
15. Black color 18 SC (18)
16 – 17. Orange 18 SC (18)
18. Black color 18 SC (18)
19 – 26. Orange 18 SC (18)
27. Fold in half, knit 9 SC behind both sides
We knit two identical parts.
Tail.
Let’s start with black:
1. 6 SC to MR (6)
2.6 inc (12)
3 – 4.12SC (12)
5 – 30. Orange color 12 SC (12)
In the course of knitting, you can make several black SCs imitating stripes on the tail.
The toy is one-piece knitted, so then the legs-body-head are knitted in one piece. The upper paws and tail can be knitted or sewn on.
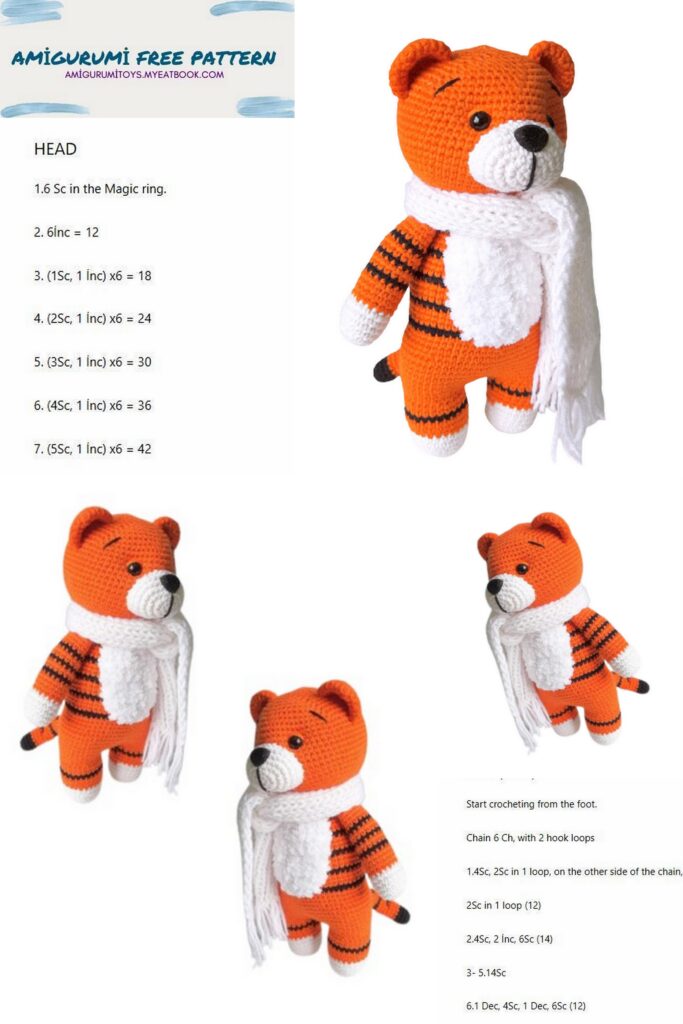
Lower paws. Body. Head.
We knit two identical parts. We do not cut the second thread, but continue to knit the body, attaching the first part.
First bottom leg.
Let’s start with white:
1. 6 SC to MR (6)
2.6 inc (12)
3. (1 sc, inc)*6 (18)
4. (2 sc, inc)*6 (24)
5 – 8.24 SC (24)
Continue in orange.
9 – 11.24 SC (24)
12. Black color 24 SC (24)
13 – 14. Orange 24 SC (24)
Finish knitting the first part, fasten the thread SL-ST and cut. In the same way, we knit the second lower foot, but we do not cut the threads (both colors: black and orange), but continue to knit the body. We change the black thread in accordance with the description below to orange and cut (black) only after the end of the 43rd row).
15. 4 CH, 24 SC on the first part, 4 SC on the CH, 24 SC on the second part, 4 SC on the CH (56)
16.56SC (56)
17. 6 SC, inc, (5 SC, inc)*3, (2 SC, inc)*2, (5 SC, inc)*3, 6 SC, inc (66)
18 – 23.66 SC (66)
In the 22nd or 23rd row, you can knit a tail symmetrically along the body on the side where there is no connection of black and orange threads. This side will be the back. For example, 30 SC, 6 SC with ponytail, 30 SC (66)
24. (9 SC, dec)*6 (60)
25.60SC (60)
26. 14SC, dec, 28SC, dec, 14SC (58)
27. Black color 58 SC (58)
28. Orange color 14 SC, dec, 26 SC, dec, 14 SC (56)
29. (12SC)*4 (52)
30.52SC (52)
31. Black color 52 SC (52)
32. Orange color 52 SC (52)
33. 12SC, dec, 24SC, dec, 12SC (50)
34.50SC (50)
35. Black color 50 SC (50)
36. Orange color 50 SC (50)
37. 12SC, dec, 22SC, dec, 12SC (48)
38.48SC (48)
39. Black color 48 SC (48)
40. Orange color 48 SC (48)
41. (6 SC, dec)*6 (42)
42.42SC (42)
43. Black color 42 SC (42)
Here the black thread can be fastened SL-ST and cut.
44. Orange color (5 SC, dec) * 6 (36)
45.36SC (36)
46. (4SC, dec)*6 (30)
47.30SC (30)
48. 3 SC, 9 SC with the first upper foot, 6 SC, 9 SC with the second upper foot, 3 SC (30)
Next, we begin to knit the head
49. (4SC, inc)*6 (36)
50. (5SC, inc)*6 (42)
51. (6 SC, inc)*6 (48)
52. (7SC, inc)*6 (54)
53. (8SC, inc)*6 (60)
54. (9SC, inc)*6 (66)
55. (10 SC, inc)*6 (72)
56 – 66.72 SC (72)
At this stage, you can insert the eyes – between 62 and 63 side by side.
67. (10 SC, dec)*6 (66)
68. (9SC, dec)*6 (60)
69. (8SC, dec)*6 (54)
70. (7SC, dec)*6 (48)
71. (6 SC, dec)*6 (42)
72. (5SC, dec)*6 (36)
73. (4SC, dec)*6 (30)
74. (3 SC, dec)*6 (24)
75. (2SC, dec)*6 (18)
76. (1SC, dec)*6 (12)
77.6 dec. Pull the hole, fasten the thread.
Muzzle.
We knit in white:
1. 6 SC to MR (6)
2.6 inc (12)
3. 2 SC, (3SC in 1st)*2, 4SC, (3SC in 1st)*2, 2SC (20)
4. 4SC, 3inc, 7SC, 3inc, 3SC (26)
5. 6SC, 2inc, 11SC, 2inc, 5SC (30)
6 – 7.30 SC
Fasten and cut the thread, leaving the required length for sewing.
Insert spout between 3 and 4 side by side.
Sew the muzzle to the head so that the distance to the lower edge of the eyes is as small as possible. Don’t forget to add filler!
IMPORTANT! To make the junctions of the black and orange threads on the body invisible, we turn this side exactly in front. And based on this position, we sew the muzzle to the head.
Ears.
We knit 2 identical parts.
1. 6 SC to MR (6)
2.6 inc (12)
3. (1 sc, inc)*6 (18)
4. (2 sc, inc)*6 (24)
5 – 6.24 SC (24)
Ears sew symmetrically to the head.
Next, we knit the breast in white from Alize Softy (or Softy Plus) in the shape of an oval according to any pattern or arbitrarily so that it fits the size of the toy from the 25th-26th row to the neck level. Symmetrically sew to the body. If the breast is the right size, then it will completely cover the junctions of the black and orange threads.
Next, embroider the eyebrows and muzzle with a black thread and the eyelids above the eyes with an orange thread.
Congratulations, your tiger cub is ready!