Necessary materials:
1. Yarn: green (olive), beige, black, yellow and brown for decoration. I have all the Pekhorka “Children’s Novelty” yarn) or take the yarn at your discretion.
2. Hook suitable for your yarn (I have # 1.75)
3. Filler for stuffing (holofiber or synthetic winterizer)
4. Needle for stitching parts, glue, plastic eyes 7mm
Finished toy size about 13cm
Subject to knitting with these materials.
Abbreviations
SC – single crochet
İNC – increase
DEC – decrease
CH – air loop
SL-ST – connecting post
pp – half loop


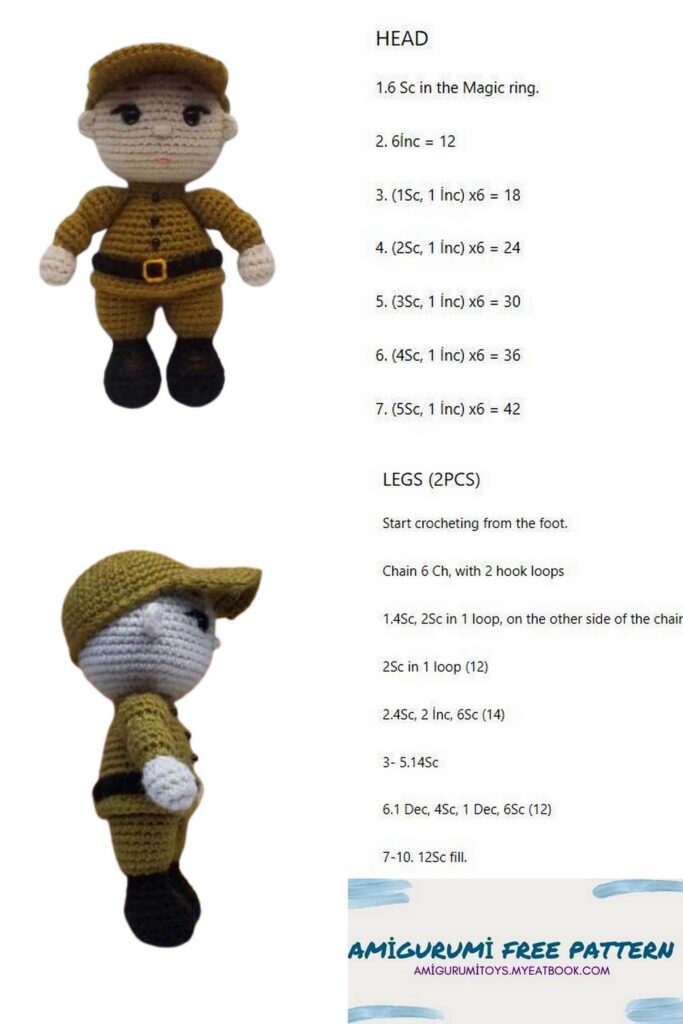
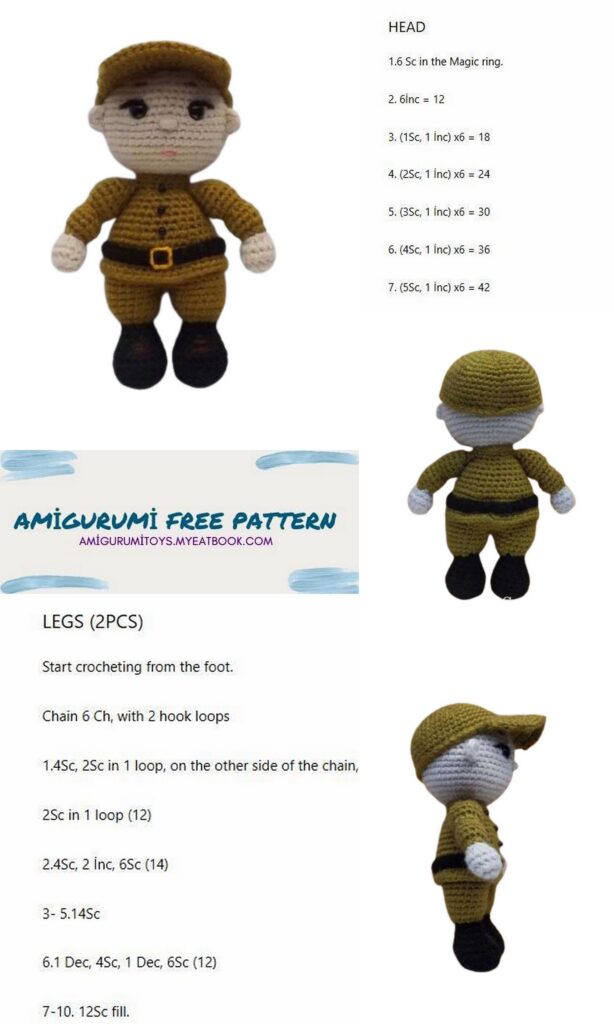
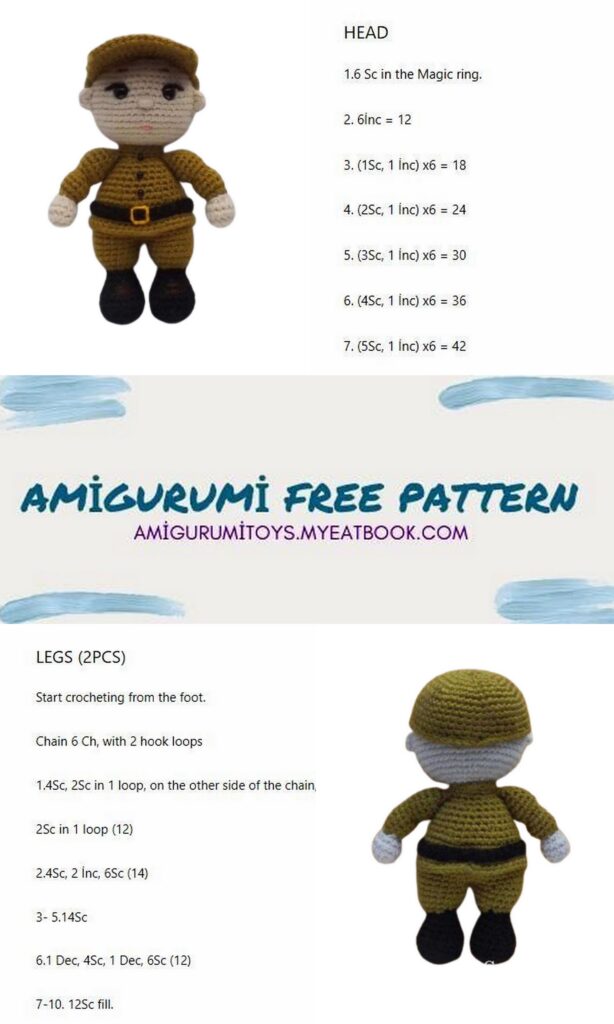
Legs + torso + head (knit in one piece):
Legs 2pcs:
We start knitting in black.
1st row: 6SC in amigurumi ring
2nd row: (İNC) x 6 times = 12SC
3 row: (1SC – İNC) x 6 times = 18SC
4 row: behind the back wall of the loop 18SC
5-6 rows: 18SC (2 rows)
7th row: 3SC – 6DEC – 3SC = 12SC
8 row: 12SC
9 row: (2SC – DEC) x 3 times = 9SC
10th row: 9SC
Change the color of the thread to green:
11th row: (İNC) x 9 times = 18SC
12-14 rows: 18SC (3 rows)
We knit the second leg in the same way, but do not cut the thread, as we will continue to knit the torso.
Next, we connect the legs:
Place your feet together with your toes pointing towards you. Now on each leg, mark 1 loop with a marker in the place where the legs touch (this should be the middle of the thigh). The beginning of the series remains the same.
Row 15: Continue on leg 2 SC to marker – work 1CH – 18SC on first leg, 1SC on CH, SC to marker = 38SC
Row 16: work SC to CH – work 1İNC in CH – 18SC on other leg – 1İNC in CH – SC to marker =40SC
Row 17: Work SC to back side of CH – work 2İNC inc of previous row – SC to marker = 42SC
18-19 rows: 42SC (2 rows)
20 row: behind the back wall of the loop 42SC
21st row: 42SC
22 row: (5SC – DEC) x 6 times = 36SC
23rd row: 36SC
24 row: (DEC – 4SC) x 6 times = 30SC
25-26 rows: 30SC (2 rows)
27 row: (3SC – DEC) x 6 times = 24SC
28th row: 24SC
29 row: (DEC – 2SC) x 6 times = 18SC
Change the color to beige, but do not cut off the green thread yet.
30 row: beige for the back wall of the loop 18SC
31-32 rows: 18SC (2 rows)
Leave the head for now, and for the remaining half loops of the 30th row we will knit with a green thread 2 rows of 18SC. Cut the thread.
We continue to knit the head in beige:
33rd row: (İNC) x 18 times = 36SC
34 row: (2SC – İNC) x 12 times = 48SC
35-46 rows: 48SC (12 rows)
47 row: 3SC – DEC – (6SC – DEC) x 5 times – 3SC = 42SC
48 row: (5SC – DEC) x 6 times = 36SC
49 row: 2SC – DEC – (4SC – DEC) x 5 times – 2SC = 30SC
50 row: (3SC – DEC) x 6 times = 24SC
51 row: 1SC – DEC – (2SC – DEC) x 5 times – 1SC = 18SC
52 row: (1SC – DEC) x 6 times = 12SC
53rd row: 6DEC Finish knitting, cut the thread.
For the remaining half loops of the 20th row, we will knit with a green thread 2 rows of 42SC.
Cut the thread.
Ears 2 pcs
They knit the same way.
Knit in beige.
1 row: 5SC into the amigurumi ring tighten, but do not connect.
Finish knitting, leave the thread for sewing.
Hands 2pcs.
They knit the same way.
We start knitting in beige.
1st row: 6SC in amigurumi ring
2nd row: (İNC) x 6 times = 12SC
3-4 rows: 12SC (2 rows)
5 row: (DEC) x 6 times = 6SC
Change the color of the thread to green:
6th row: (İNC) x 6 times = 12SC
7-9 rows: 12SC (3 rows)
10 row: (1SC – DEC) x 4 times = 8SC
11th row: 2İNC – 1SC – 2İNC – 1SC – 2İNC = 14SC
12-15 rows: 14SC (4 rows)
16 row: (DEC) x 7 times = 7SC
Row 17: Fold edges together and work 3SC in both sides.
Finish knitting, leave the thread for sewing.

Belt.
We knit in black:
Dial a chain of CH equal to the circumference of the waist.
Row 1: Starting from 2nd st, work SC to end of row.
Finish knitting, leave the thread for sewing.
Cap.
We knit in green:
1st row: 7SC in amigurumi ring
Knitted toys by Svetlana Lyutova
2 row: (İNC) x 7 times = 14SC
3 row: (1SC – İNC) x 7 times = 21SC
4 row: (2SC – İNC) x 7 times = 28SC
5 row: (3SC – İNC) x 7 times = 35SC
6 row: (4SC – İNC) x 7 times = 42SC
7 row: (5SC – İNC) x 7 times = 49SC
8-10 rows: 49SC (3 rows)
11 row: DEC – 47SC = 48SC
12-13 rows: 48SC (2 rows)
Next, we knit the visor in rotary rows:
14 row: for the front half loops we knit (2SC – İNC) x 4 times – 3 SC = 19SC – CH – turn
15 row: DEC – (3SC – İNC) x 3 times – 2SC – DEC = 19SC – CH – turn
16 row: DEC – 15SC – DEC = 17SC – CH – turn
17 row: DEC – 2SC – İNC – (3SC – İNC) x 2 times – 2 SC – DEC = 18SC – CH – turn
18 row: DEC – 14SC – DEC =16SC – CH -turn
19 row: DEC – 2SC – İNC – 6S C – İNC – 2SC – DEC-16SC – CH – turn
20 row: 16SC
Finish knitting, cut the thread.
Attach the green thread to the back of the cap and tie off the cap with the SL-ST visor. Leave the thread for sewing.
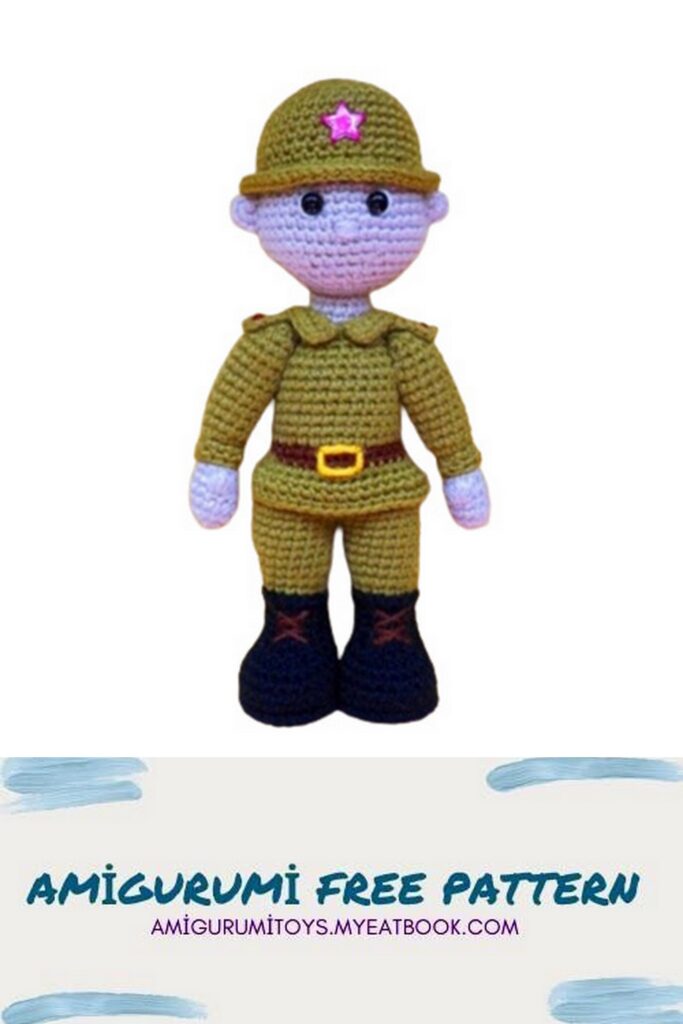
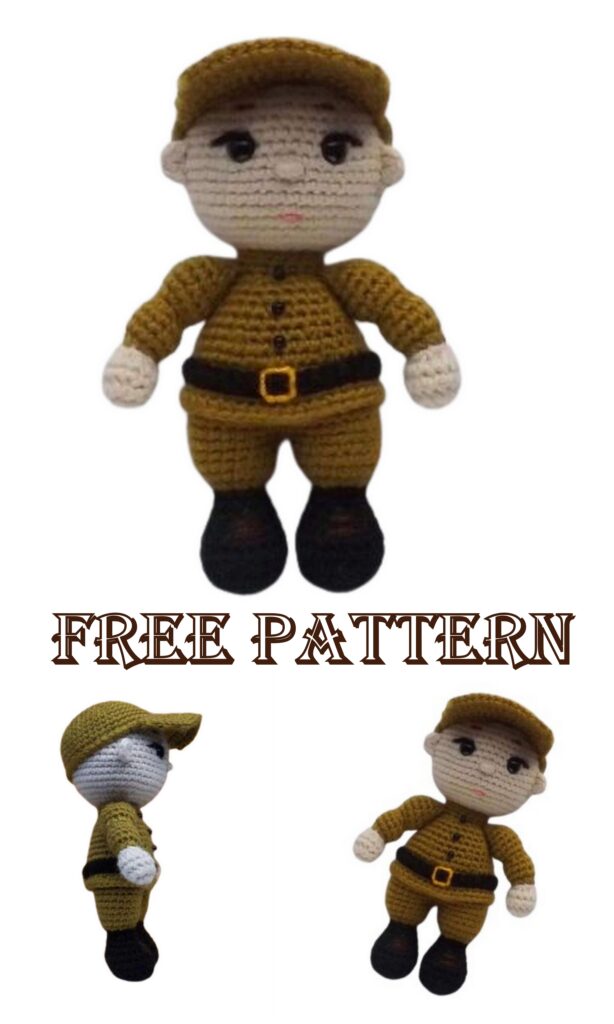
Decorating a toy.
You can come up with the design yourself or be guided by the photo.
We sew the hands behind 3SC and it will also be necessary to fix the hands with a thread just below the sewing point so that they do not bulge and fit snugly to the body.
We sew the belt and embroider a buckle on it.
We decorate the head: sew on the ears, glue the eyes (I have a distance between the eyes of 5SC), embroider the nose, eyebrows, mouth.
You can also embroider shoelaces, glue or embroider buttons, pockets, etc.
Sew the cap to the head.
Our soldier is ready!
Thank you for knitting with me!
Experiment, create! Create your unique and unique image of each toy!
Give joy to your children, friends and family!