Information about the master class:
✓ The toy is knitted in a spiral (unless otherwise noted)
✓ To mark the beginning of the row, use a special marker, or a thread in a contrasting color
✓ The master class does not contain crochet tutorials. You must have skills!!!
✓ The master class contains a complete description of the process of knitting toys + photos of details
Abbreviations
CH – air loop
SC – single crochet
DC – double crochet
İNC – increase (two columns are knitted in one loop)
DEC – decrease (two columns are connected together)
SL-ST – connecting post
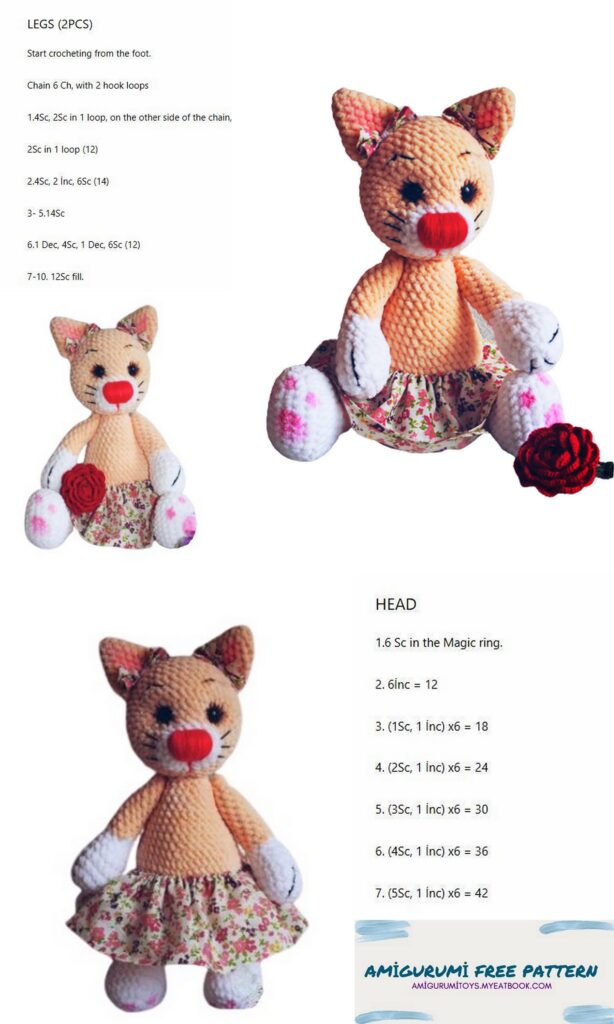
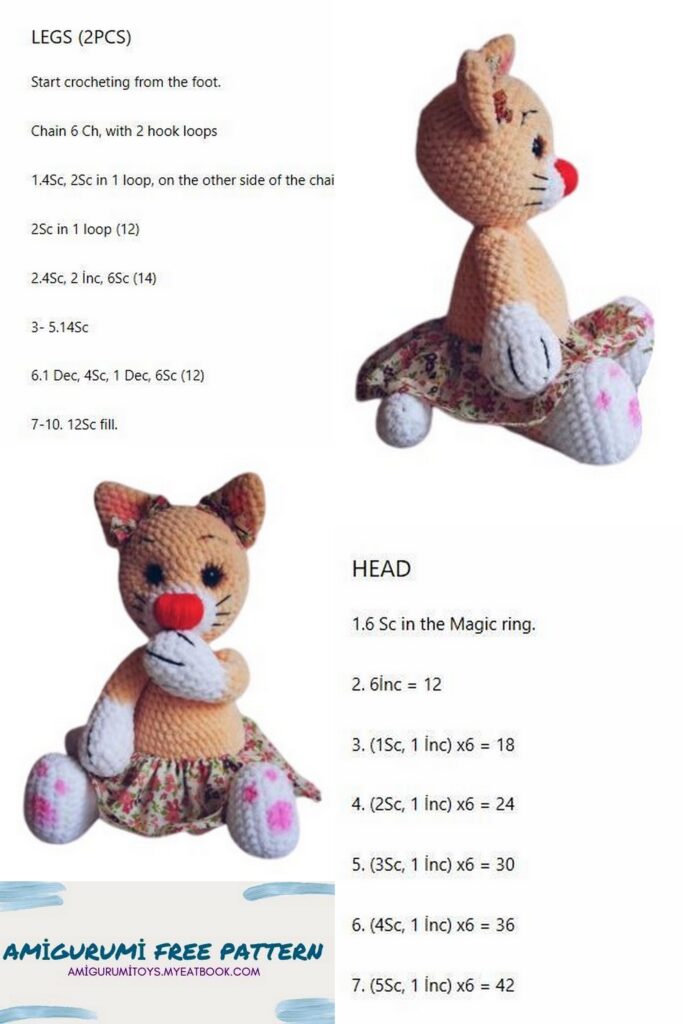
HEAD
We knit in a spiral. We use white yarn.
Hook number 5.0
Row 1: 2 CH in the second loop from the hook, we knit 6 SC (12)
Row 2: 6 İNC (12)
Row 3: (1 SC, İNC) * 6 times (18)
Rows 4-5: 18 SC (3 rows)
Change to mustard color
Row 6: 1 SC and move the marker – this will be the beginning of the row, 3 SC, İNC* 3 times, 6 SC, İNC* 3 times, 3 SC (24)
Row 7: (İNC, 2 SC) * 8 times (32)
Insert eyes between 7-8 rows, leaving a gap of 5 columns
Row 8: 5 SC, (İNC, 1 SC)*10 times, İNC, 5 SC (42)
Row 9-12: 42 SC (4 rows)
Row 13: 42 SC (42) by working 24 SC to move the marker, this compensates for the shortening of the side that can occur when working in the circle (do if necessary)
Rows 14-15: 42 SC (2 rows)
Row 16: (DEC, 5 SC) * 6 times (36)
Row 17: 36 SC (36)
Row 18: 1 SC and move the marker – this will be the beginning of the row, (DEC, 4 SC) * 6 times (30)
Row 19: (DEC, 3 SC) * 6 times (24)
Row 20: 24 SC (24)
Now you can insert a special fastener, frame, button hinge, or bolt through the center of the head: between 12 and 13 rows.
Now we start filling with filler.
NOTES: If desired, you can simply sew the head to the body.
Row 21: (DEC, 1 SC)* 8 times (16)
Continue stuffing, giving the desired shape, make sure the stuffing is even on all sides.
Row 22: 16 SC (16)
Row 23: (DEC)* 8 times (8) decrease tighter
We finish the PSC, leave the thread for stitching
Finish stuffing to round the back of the head.
We collect the half loops of the last row with a needle and tighten them. We hide the thread inside the head, cut it off.
EARS (2 parts)
Row 1: Cast on 2 CH with mustard thread and end in a loop. Knit
4 SC, then knit in a circle (4)
Row 2: 4 İNC (8)
Row 3: (3 SC, İNC)*2 times (10)
Row 4: (4 SC, İNC) * 2 times (12)
Row 5: (5 SC, İNC) * 2 times (14)
Row 6: (6 SC, İNC) * 2 times (16)
Row 7: (7 SC, İNC) * 2 times (18)
Do not fill. Fasten the thread, cut. Sew with strong thread
(for example, iris in three additions and a long needle)
Ears:
Place the ears symmetrically on each side of the head. Sew on.
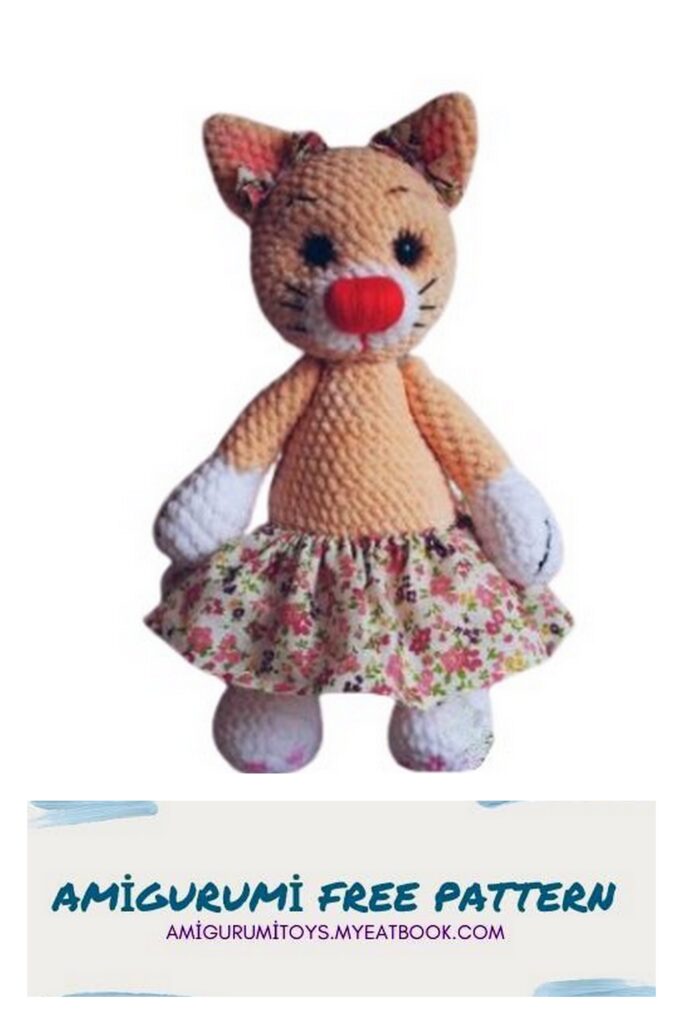
Embroider eyebrows, mouth, mustache, nose, guided by the photo.
Make eye tinting with dry pastels.
HANDLES (2 parts)
We knit with a white thread in a circle. Hook number 5.0
Row 1: 5 CH, 2 SC in second from hook, 2 SC, 3 SC in last st. Next, knit on the other side of the chain: 2 SC, 1 SC in the first loop of the chain (10)
Row 2: İNC* 2 times, 2 SC, İNC* 3 times, 2 SC, İNC (16)
Row 3: (İNC, 7 SC)* 2 times (18)
Rows 4-5: 18 SC (2 rows)
Row 6: (4 SC, DEC)* 3 times (15)
Row 7: (3 SC, DEC)* 3 times (12)
Row 8: (DEC, 4 SC)* 2 times (10)
Change the thread to mustard
Rows 9-18: 10 SC (10 rows)
Do not stuff tightly.
Row 19: Dec to close the hole.
Break the thread, hide the tip.
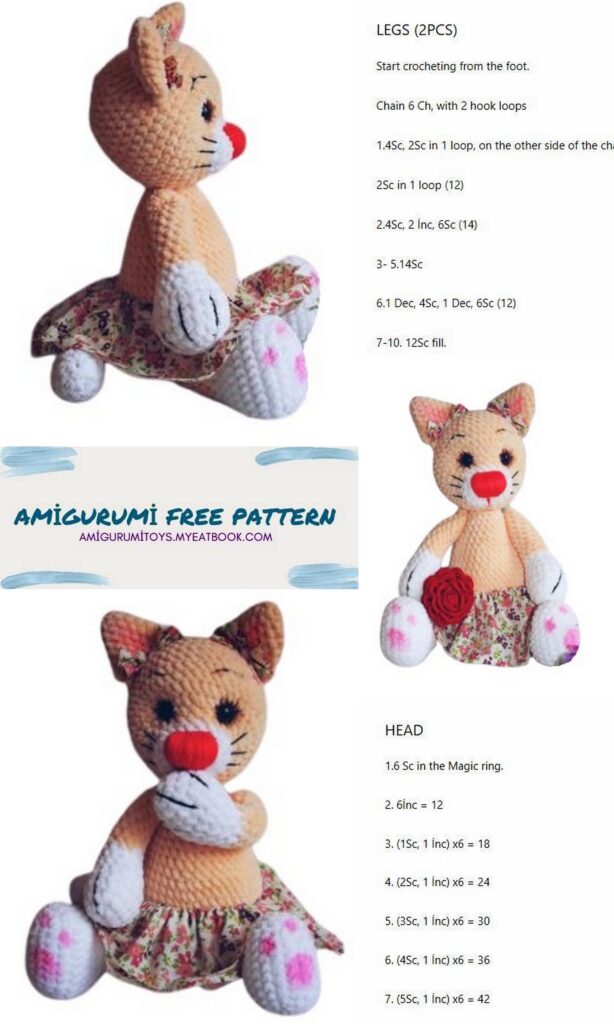
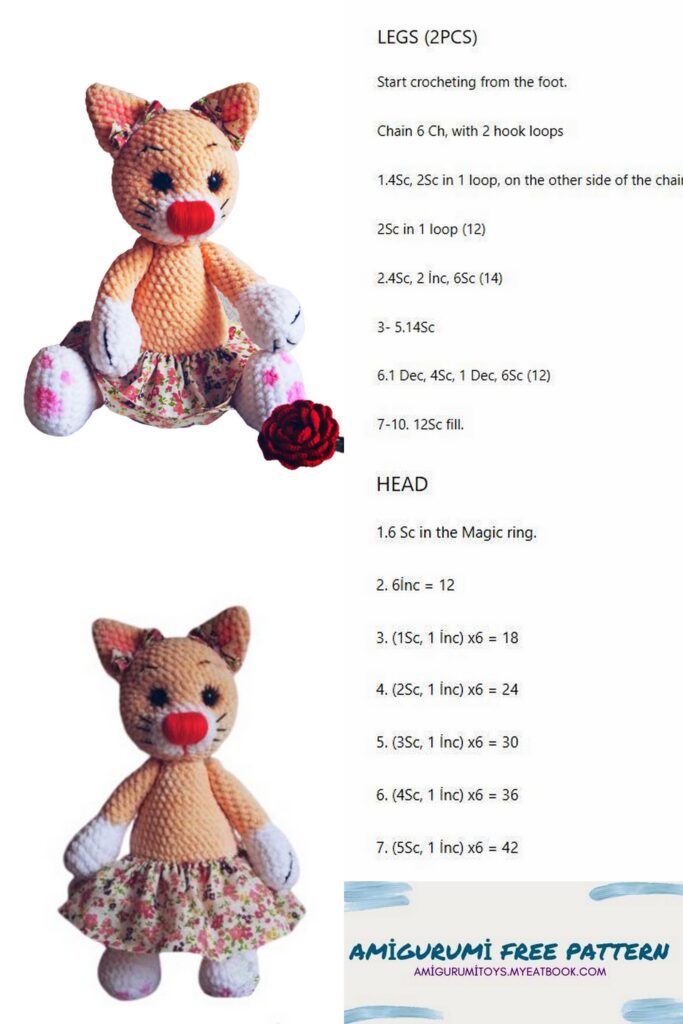
LEGS (2 parts)
White thread. Hook №5.0
Row 1: Cast on a chain of 9 CH, 2 SC in the second loop from the hook, 6 SC, 3 SC in the last loop of the chain. Next, knit on the other side of the chain: 6 SC, 1 SC in the first loop of the chain (18)
We put a marker and start knitting in a circle.
Row 2: İNC* 2 times, 6 SC, İNC* 3 times, 6 SC, İNC (24)
Row 3: (1 SC, İNC)* 2 times, 6 SC, (1 SC, İNC)* 3 times, 7 SC, İNC (30)
Rows 4-6: 30 SC (30)
Row 7: 10 SC, 2 DEC, 2 SC, 2 DEC, 10 SC (26)
Row 8: 2SC, DEC, 6SC, 3DEC, 6SC, DEC, 2SC (21)
Row 9: 1 SC, DEC, 3 SC, 2 DEC, 1 SC, 2 DEC, 3 SC, DEC, 1 SC (15)
Row 10: (3 SC, DEC)* 3 times (12)
Change the thread to mustard
Rows 11-20: 12 SC (10 rows)
We fill with filler tightly enough
Row 21: Dec to close the hole.
We fix the thread, cut it, hide the tip.
TRUNK ASSEMBLY
Knit with mustard thread. Down up. Hook №5.0
Row 1: 2 CH in the second loop from the hook, we knit 6 SC (6)
Row 2: 6 İNC (12)
Row 3: (SC, İNC) * 6 times (18)
Row 4: (2 SC, İNC) * 6 times (24)
Row 5: (3 SC, İNC) * 6 times (30)
Row 6: (4 SC, İNC) * 6 times (36)
Row 7: (5 SC, İNC) * 6 times (42)
Row 8: (6 SC, İNC) * 6 times (48)
Rows 9-14: 48 SC (6 rows)
Row 15: (6 SC, DEC) * 6 times (42)
Row 16: (5 SC, DEC) * 6 times (36)
Rows 17-18: 36 SC (2 rows)
Row 19: (4 SC, DEC) * 6 times (30)
Row 20: 30 SC (30)
Row 21: (3 SC, DEC) * 6 times (24)
Rows 22-23: 24 SC (2 rows)
Row 19: (2 SC, DEC) * 6 times (18) Stuff with holofiber
Row 21: (1 SC, DEC) * 6 times (12)
We fix the thread, cut it, hide the tip.
Sew the head to the body. To make it even, first attach it with pins. We insert the wire into the head and the tip into the neck. Approximately 20 cm.
I fasten the glasses and legs to a movable thread fastening.
I use a very strong nylon thread (sold in fishing stores) and a long needle. Or a thread of iris in several additions We fasten the arms and legs (see the figure for an example) We fix a strong thread on the inside of the paw at the intended point, pierce the body through and pry the second paw at the same point from the inside, capturing 1-2 SC. We pass the needle through the body in the opposite direction and again pierce the paw at the same point. After doing this operation several times, we tighten the thread so that the paws do not hang out, and we bring it to the armpit or to the place of the future attachment of the tail, we fix it. We make the navel tightening between 12 and 13 next to the bottom.
TAIL
Row 1: 2 CH in the second loop from the hook, we knit 6 SC (6)
Row 2: 6 İNC (12)
Rows 3-6: 12 SC (4 rows)
Change the thread to mustard
Rows 7-23: 12 SC (17 rows)
Fasten the thread, leave the tip for sewing.
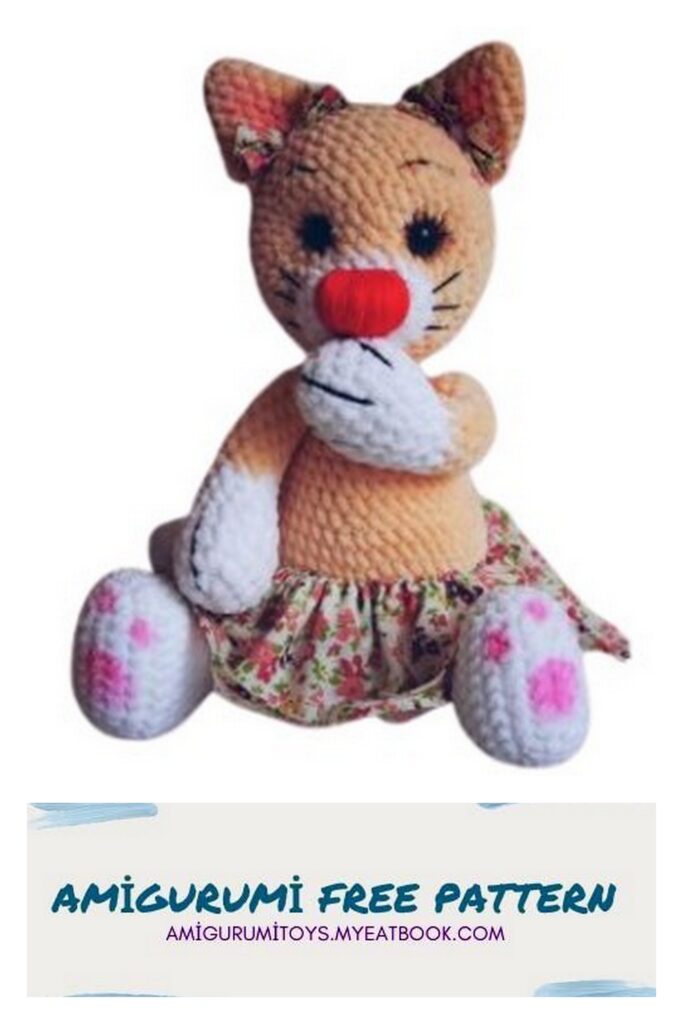
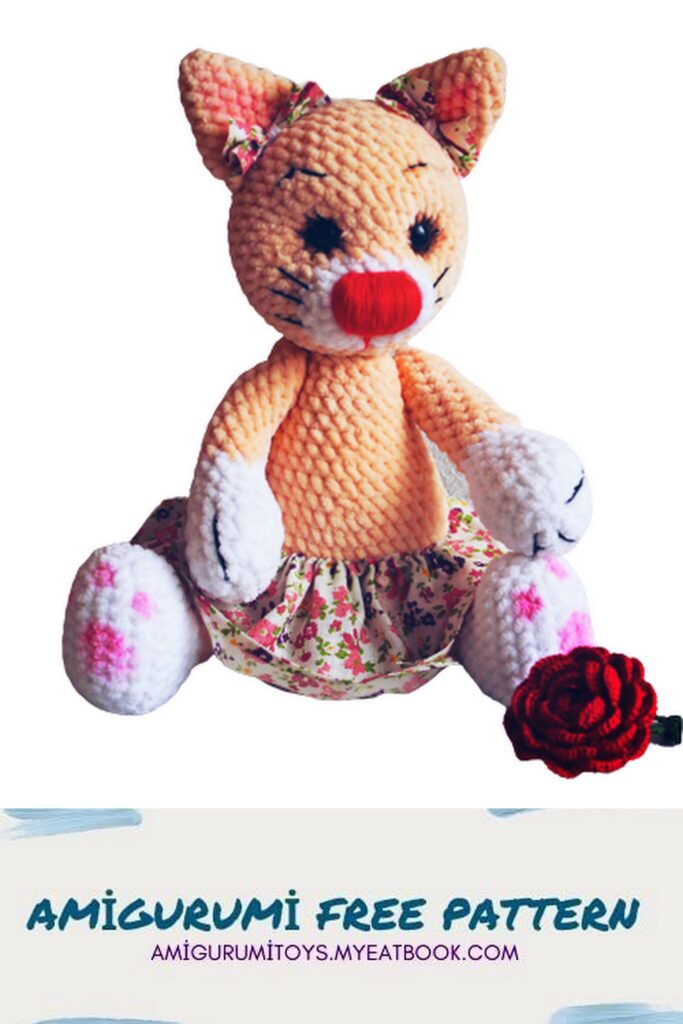
We reconcile and sew the tail in place. Make sure that the tail does not prevent the cat from turning gray, but also does not sit too high.
Insert wire as desired.
Decorate at your choice.