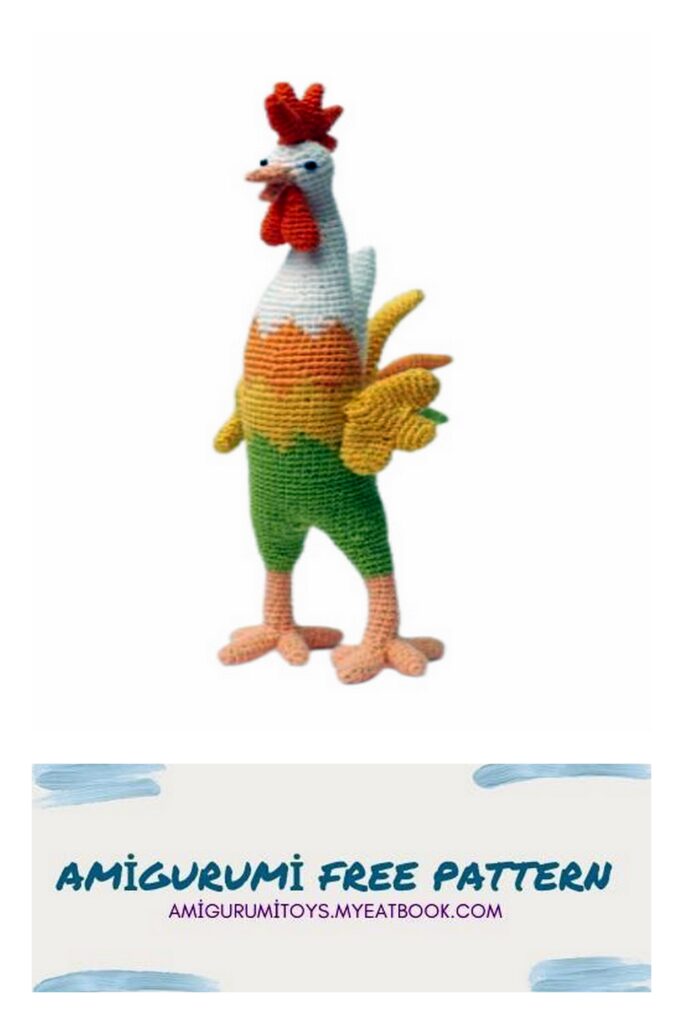
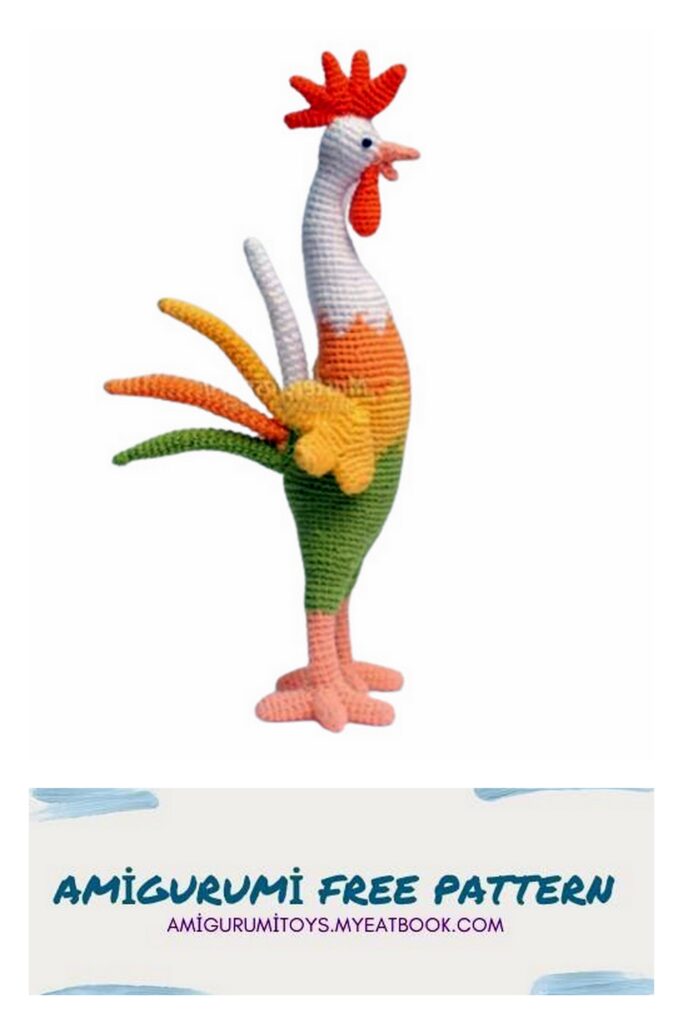
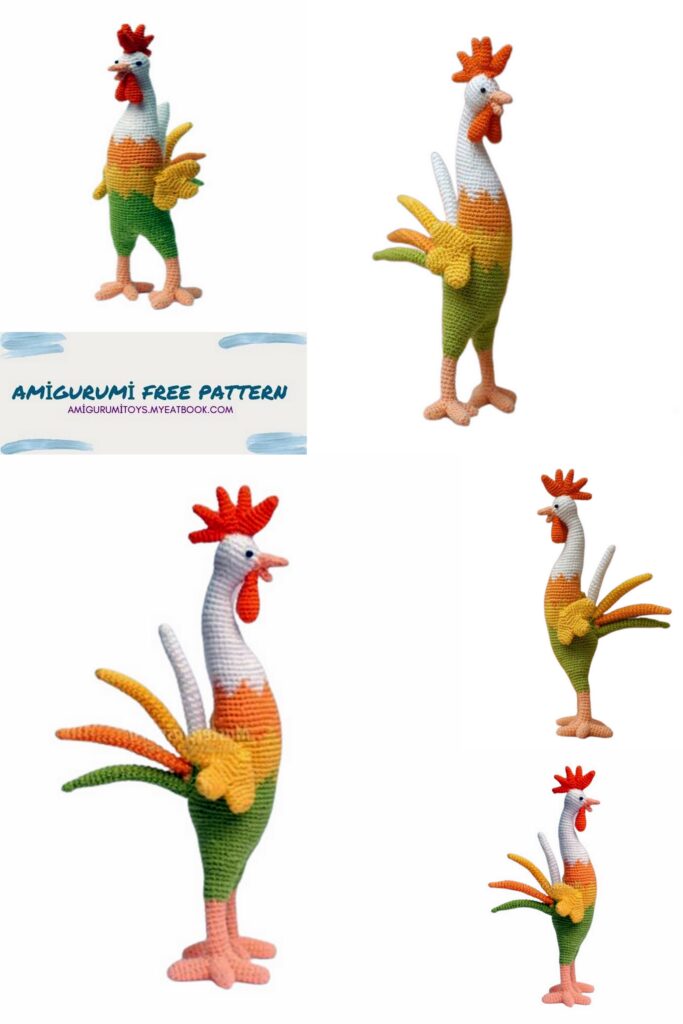
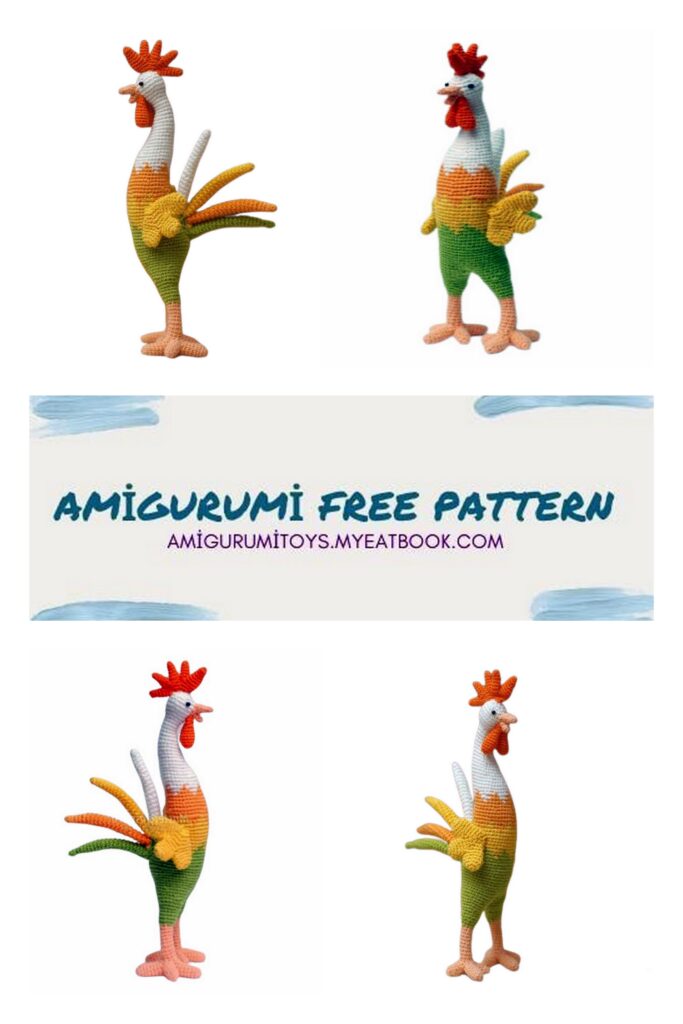
We continue to share the latest amigurumi recipes. In this article we shared the recipe for cute cock. We will continue to share new recipes with you every day.
Materials
To tie a singing cock we need:
yarn (I used mercerized cotton) of white, yellow, orange, green and peach flowers;
a hook suitable for our yarn (I have a hook number 1);
a needle for sewing knitwear;
filler (synthetic winterizer);
beads for the eyes.
Abbreviations :
ch = chain stitch
sl-st = slip-stitch
sc = single crochet
hdc = half double crochet
dc = double crochet
inc = increase
dec = decrease
BLO = back strand only
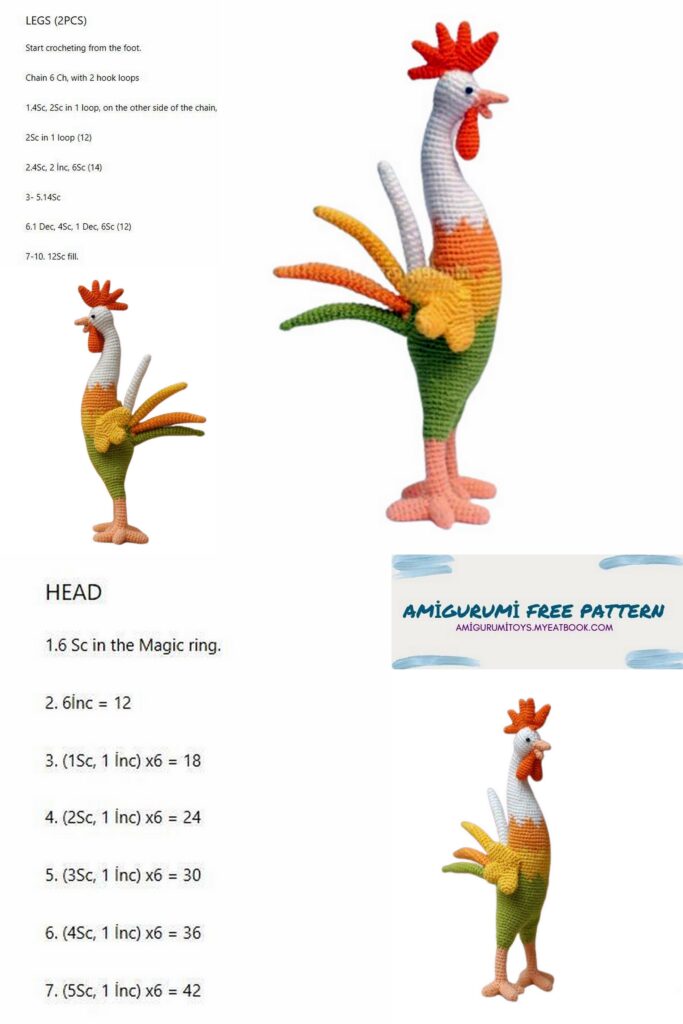
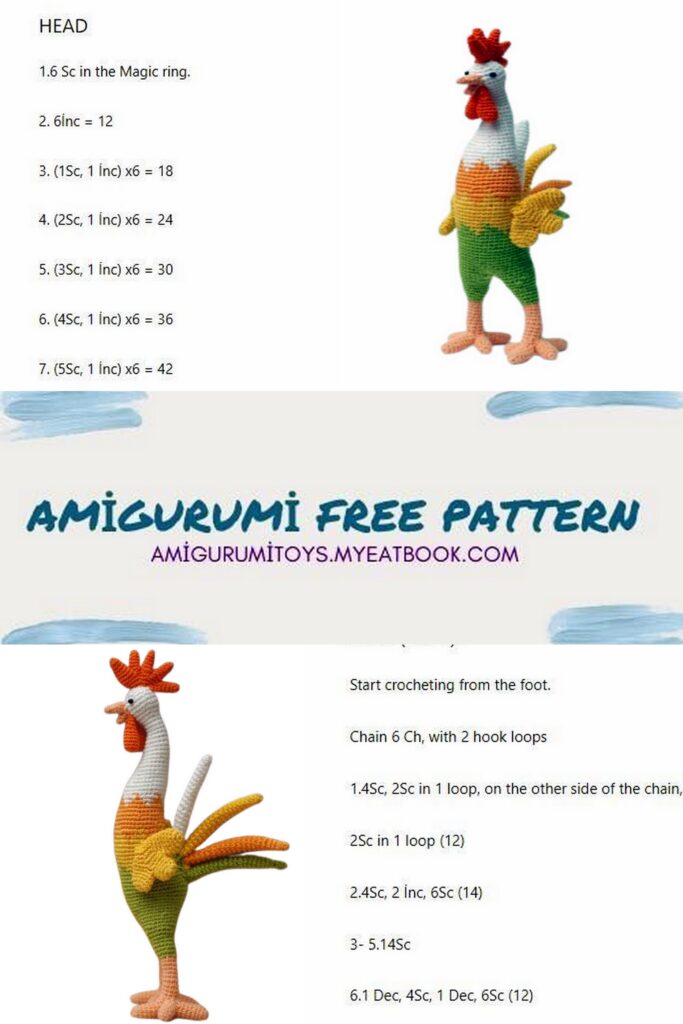
Paws
First, the cockerel needs paws on which he can stand.
Stability in birds is achieved by four-fingered, i.e. in four toes. Two fingers look to the sides, one to the back, one forward. So we will tie four fingers.
Middle finger
We make an amigurumi ring and collect 6 columns without nakida (hereinafter referred to as sc.)
1 row. 6 sc.
2 row. 6 + 3 = 9 sc. Double every second column.
3 – 8 rows. 9 sc.
Side finger
1 row. 6 sc.
2 row. 6 + 3 = 9 sc.
3 – 6 rows. 9 sc.
It is necessary to make four fingers of one and the other type, put in they are quite tight filler, it depends on how much the figure will be stable.
Fold the fingers in the way they will be in the paw
We will connect them together for the sides ( After that, you need to take a needle and sew the bottom surface so that there are no holes left, while shaping the foot (
Raise 9 loops: winding the hook for the upper loops (2 – 3 per each finger) stretch and do 9 sc.
While connected a little, it is necessary to supplement the syntepon where it is not enough.
6-16 rows. We do 10 rows
Next, go to the green yarn, here begins shin.
Body
1 row. 9 + 4 = 13 sc. İncrease do in every second column.
2 row. 13 sc.
3 row. 13 + 3 = 16 sc. Double every fourth.
4 – 5 rows. 16 sc.
6 row. 16 + 4 = 20 sc. Double every fourth.
7 row. 20 sc.
8 row. 20 + 4 = 24 sc. Double every fifth.
9 row. 24 sc. Turn and make 6 sc, 1 lifting loop (pp, or
simple air loop) and so repeat 2 more times. Will do on
Both legs
Fold your legs and tie them together (Figure 9).
10 – 15 rows. We knit together the entire resulting circle. 45 sc.
16 row. Behind between the legs we will make 3 increase for the tail in 2
column. 45 + 3 = 48.
17 row. 48 sc.
18 row. 48 + 2 = 50 sc. İncrease there.
19 row. 50 sc.
20 row. 50 – 2 = 48 sc. Decrease where added. Gradually
report filler.
21 row. 48 sc.
22 row. 48 – 3 = 45 sc.
23 row. 45 sc.
24 row. 45 – 3 = 42 sc. Decrease
25 row. 42 sc. We start to knit a zigzag (jacquard), using which we turn to yellow (scheme 1). 1 yellow, 5 green columns
Note. Change of color thread should occur as with the classic way to crochet jacquard.
26 row. 42 sc. 3 yellow, 3 green
27 row. 42 sc. 5 yellow, 1 green.
28 row. 42 sc. The row is completely yellow (Figure 11).
29 – 33 rows. 42 sc.
34 row. 42 sc. Again, add orange to the pattern. one
orange, 5 yellow, 1 orange, 5 yellow, etc.
35 row. 42 sc. 3 orange, 3 yellow.
36 row. 42 sc. 5 orange, 1 yellow.
37 row. 42 sc. All orange (Figure 12).
38 row. 42 – 3 = 39 sc. Decrease is evenly distributed.
39 row. 39 sc. Do not forget the filler.
40 row. 39 – 3 = 36 sc. Decrease from the chest.
41 row. 36 sc.
42 row. 36 sc. We begin the transition to white. 1 white, 5 yellow.
43 row. 36 sc. 3 white, 3 yellow.
44 row. 36 sc. 5 white, 1 yellow (Figure 13).
45 row. 36 – 3 = 33 sc. All white. Decrease from the chest.
46 row. 33 sc.
47 row. 33 – 3 = 30 sc.
48 row. 30 – 3 = 27 sc.
49 row. 27 sc.
50 row. 27 – 3 = 24 sc.
51 row. 24 sc.
52 row. 24 – 3 = 21 sc.
53 row. 21 sc.
54 row. 21 – 3 = 18 row.
55 row. 18 sc.
56 row. 18 – 3 = 15 sc.
57 row. 15 sc.
58 row. 15 – 3 = 12 sc.
59 – 61 rows. 12 sc (Figure 14).
Here we have a neck. Just put the filler tightly.
62 row. 12 + 6 = 18 sc. Double every second column.
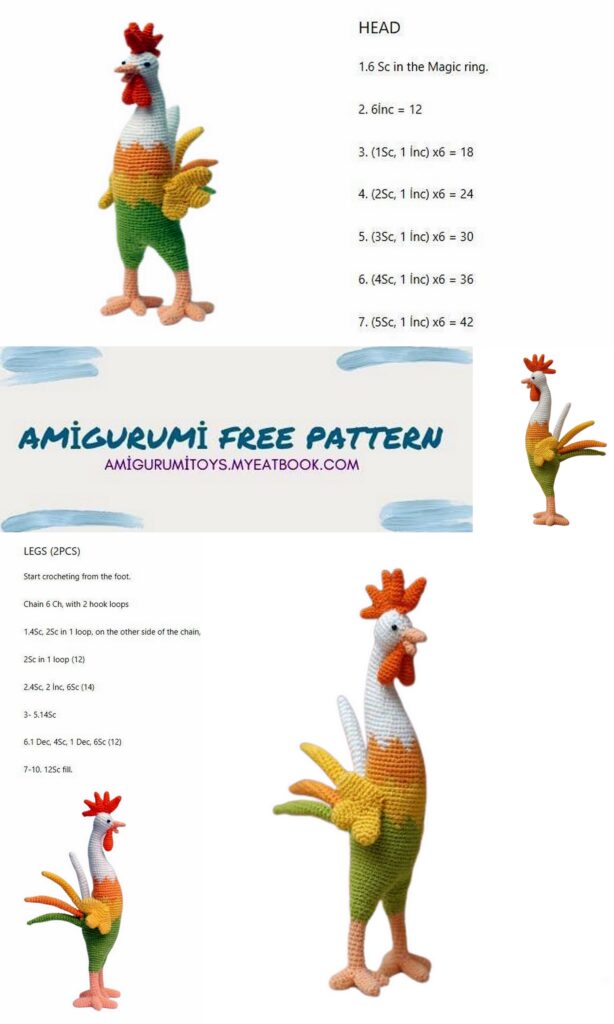
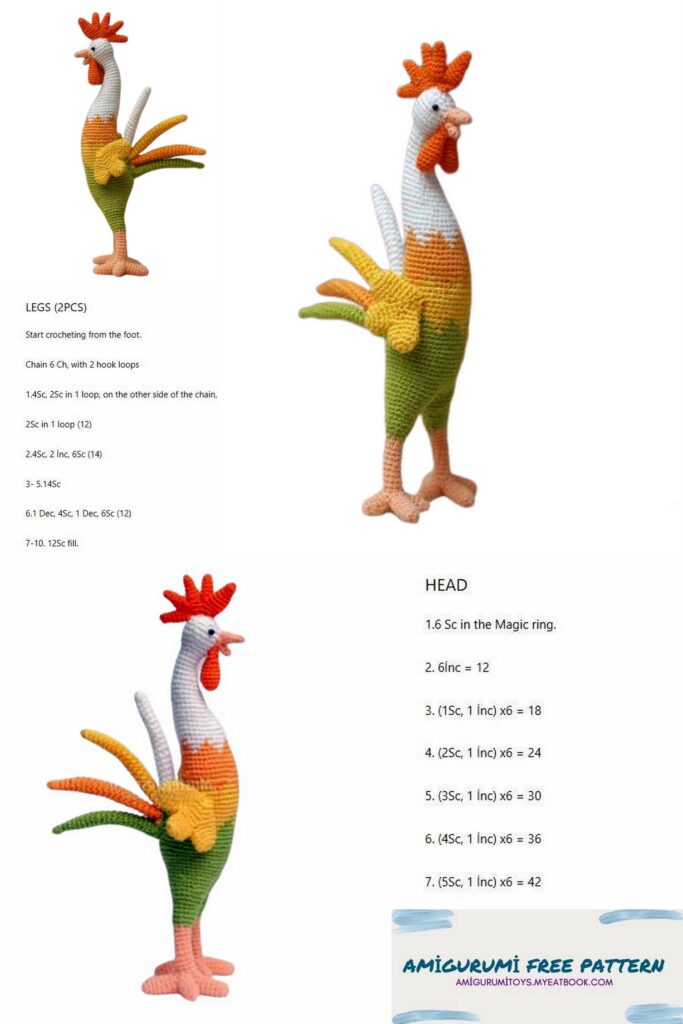
Start making head
63 row. 18 + 6 = 24 sc. Double every third.
64 – 66 rows. 24 sc.
67 row. 24 – 6 = 18 sc.
68 row. 18 – 6 = 12 sc. Put the filler.
69 row. 12 – 6 = 6 sc.
70 row. Close the knitting, knitting through the column, tighten thread and hide the inside of the knitting end of the thread
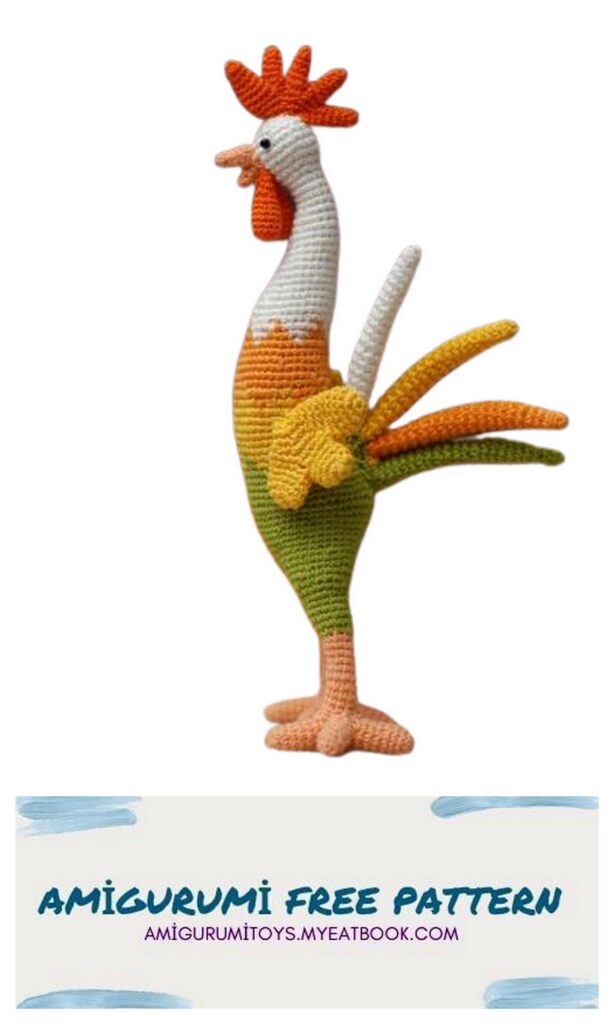
Tail
The tail will be made with individual feathers of those colors that
used to make carcasses.
1 row. 5 sc.
2 row. 5 sc.
3 row. 5 + 3 = 8 sc.
4 – 20 rows. 8 sc.
Beard
1 row. 6 sc. (Figure 17).
2 row. 6 + 6 = 12 sc. (Figure 18).
3 – 6 rows. 12 sc.
7 row. 12 – 3 = 9 sc.
8 row. 9 sc.
9 row. 9 – 3 = 6 sc.
10 row. 6 sc.
11 row. Close the knitting.
Scallop
1 row. 5 sc.
2 row. 5 sc.
3 row. 5 + 2 = 7 sc.
4 row. 7 sc.
5 row. 7 + 2 = 9 sc.
6 row. 9 sc.
We’ll make 3 such teeth, they will be in the middle, we will tie them by the sides
Smaller tooth
1 – 2 rows. 5 sc.
3 row. 5 + 2 = 7 sc.
4 – 5 rows. 7 sc.
Larger tooth
1 – 2 rows. 5 sc.
3 row. 5 + 2 = 7 sc.
4 row. 7 sc.
5 row. 7 + 2 = 9 sc.
6 – 7 rows. 9 + 2 = 11 sc.
1 row. We fold all the cloves and tie them to the sides and tie them along
single crochet perimeter. 30 sc. Little tooth –
last in the scallop.
2 row. In the second row of strapping, we decrease. 30 – 6 = 24 sc.
3 row. 24 – 6 = 18 sc. (Figure 22).
Beak
Upper beak
1 row. 4 sc.
2 row. 4 + 2 = 6 sc.
3 row. 6 + 2 = 8 sc.
4 – 5 rows. 8 sc.
Lower beak
1 row. 4 sc.
2 row. 4 + 1 = 5 sc.
3 row. 5 sc.
Sew together (Figure 23).
Putting a cock. İncrase beak, comb, beard, tail and
eyes
Our cock is clearly not enough wings.
Wings
1 row. 6 sc.
2 row. 6 + 6 = 12 sc. (Figure 26).
3-5 rows. 12 sc.
We knit two more such things for one wing, and only for
two wings – 6 parts.
We will connect them on each side (Figure 27).
6 row. We tie around the perimeter 28 sc. roundabout.
7 row. 28 – 4 = 24 sc.
8 row. 24 – 4 = 20 sc.
9 row. 20 – 6 = 14 sc.
10 row. 14 – 4 = 10 sc.
11 row. 10 – 4 = 6 sc.
So did both wings
It remains only to sew the wings and the cockerel will sing his ode to the sun