SYMBOLS
MR – amigurumi ring
SC – single crochet
HDC – half double crochet
İNC – increase
DEC – decrease
CH – air loop
(… SC) – the total number of bars in the row
SL-ST – connecting post
Note! The toy is knitted in a circle, without lifting air loops (a new row begins immediately with knitting single crochets). If an air lifting loop is required, I will indicate.
REQUIRED MATERIALS AND TOOLS
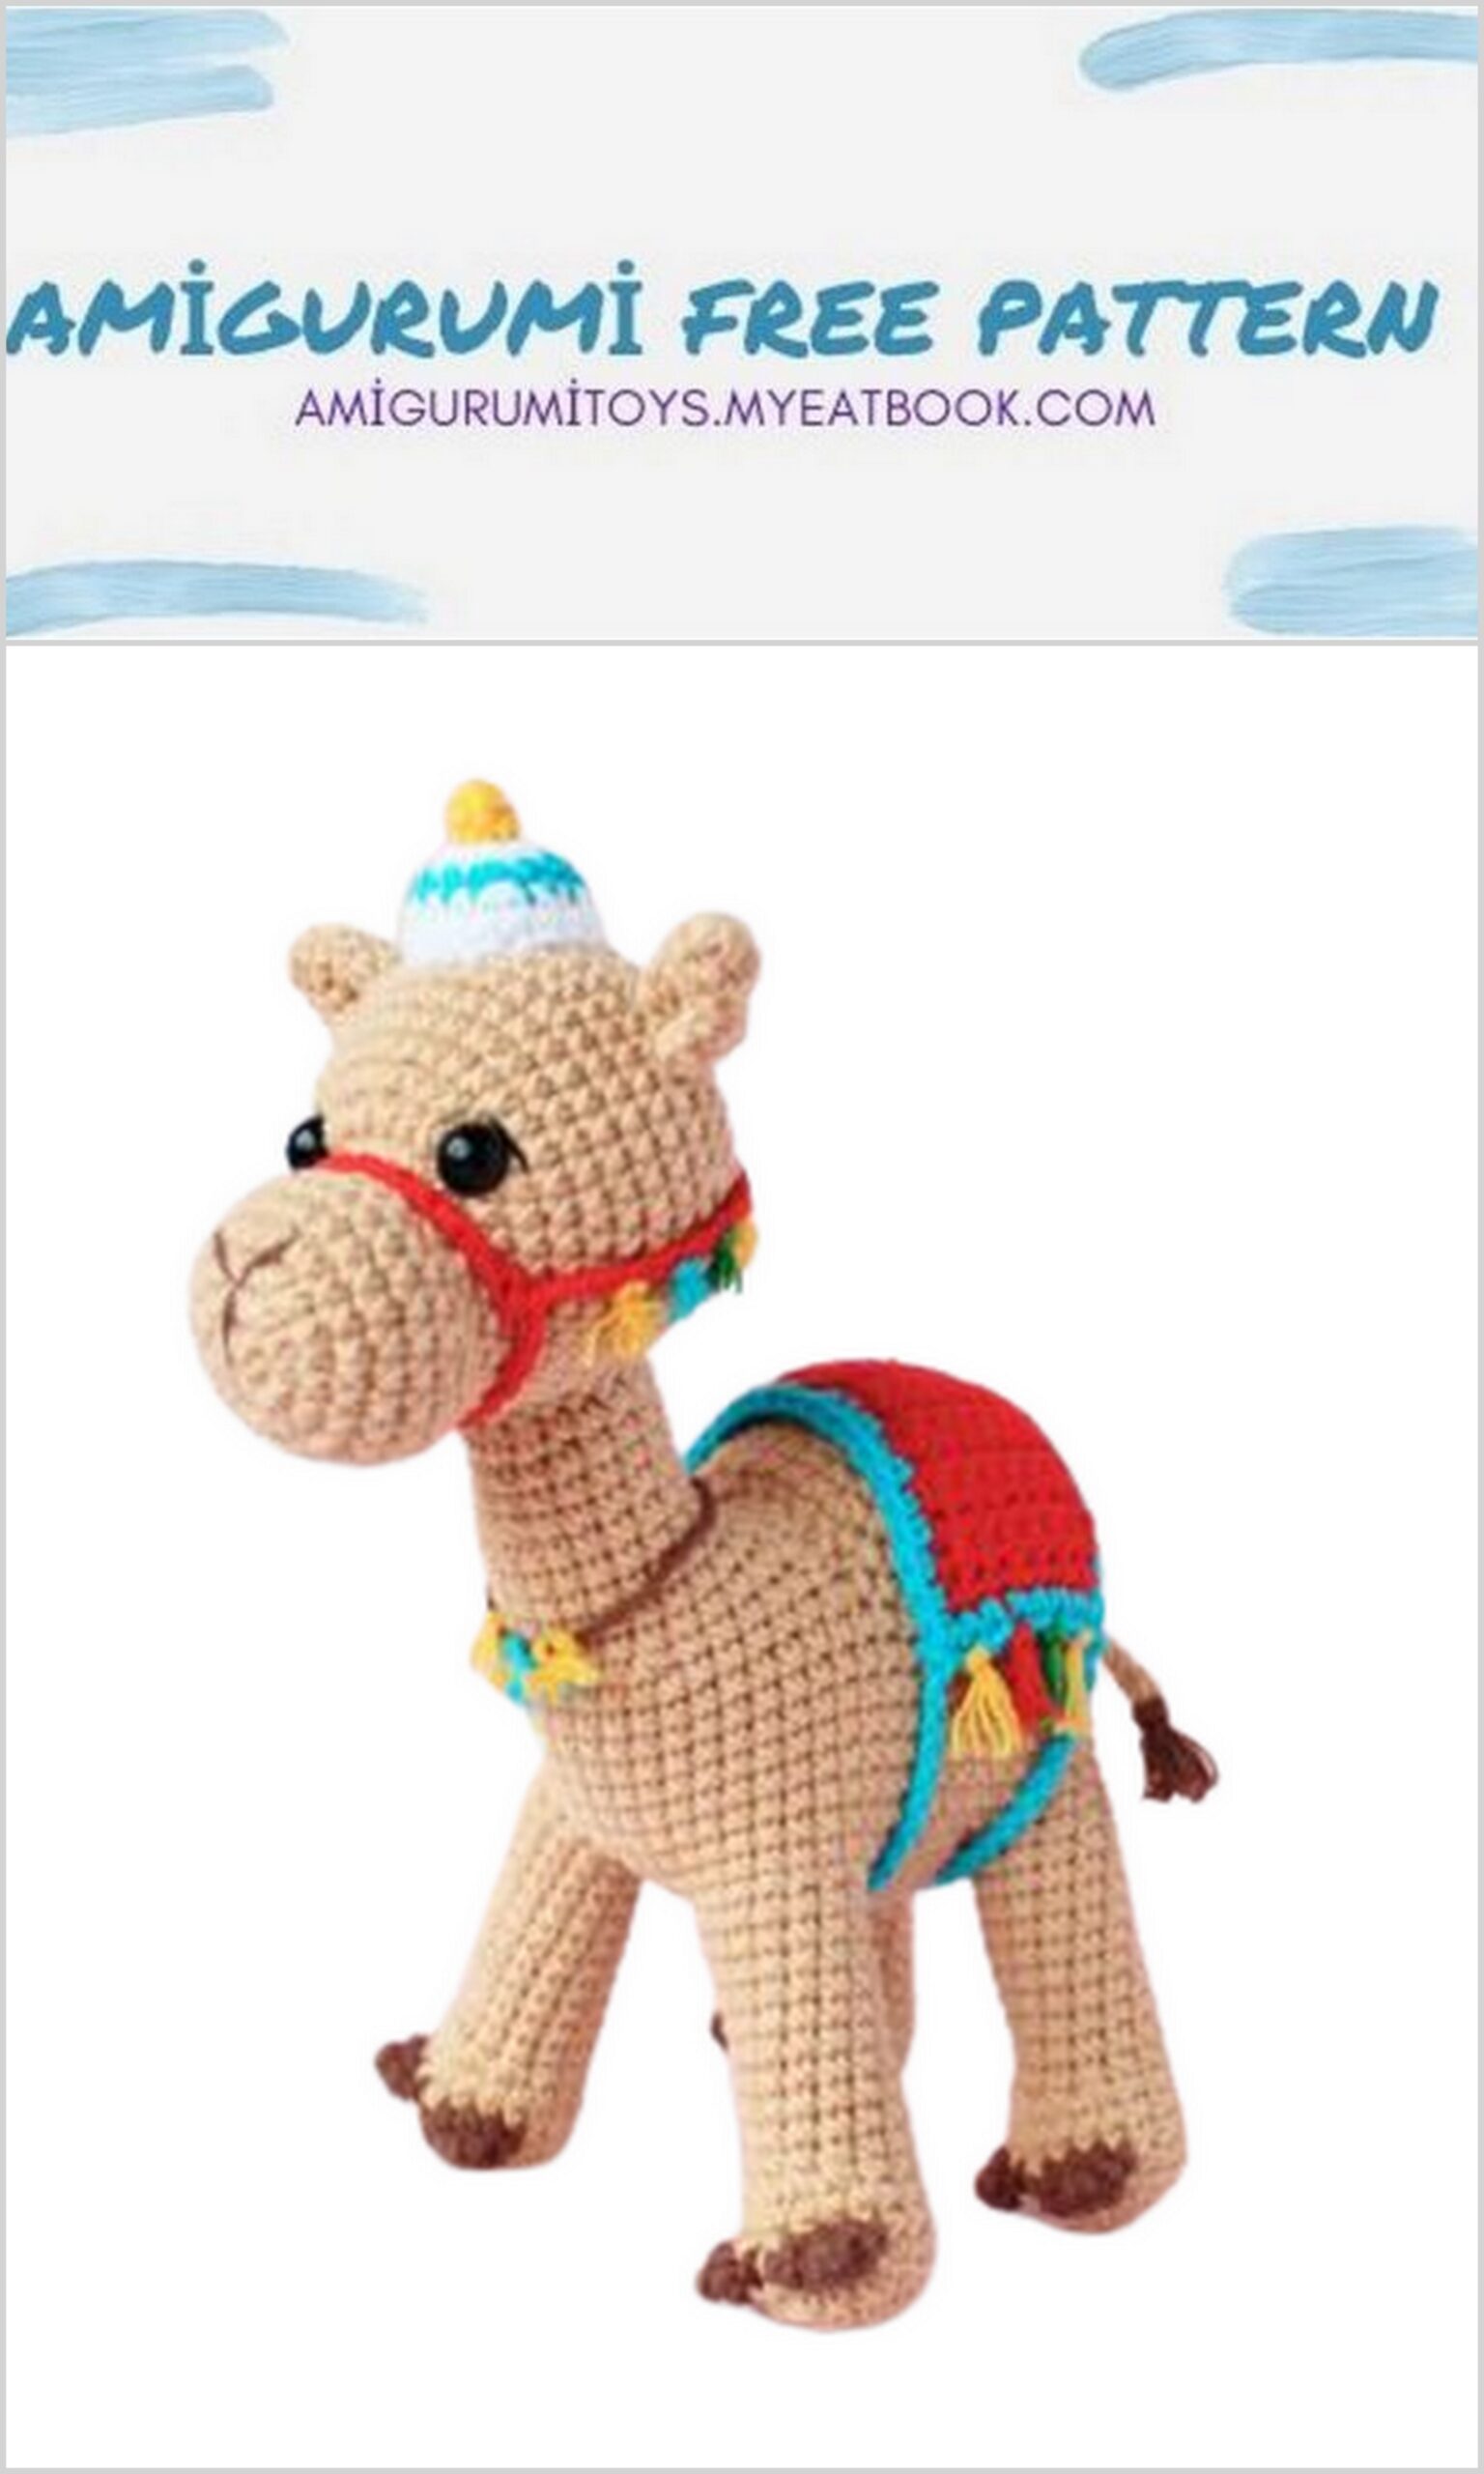
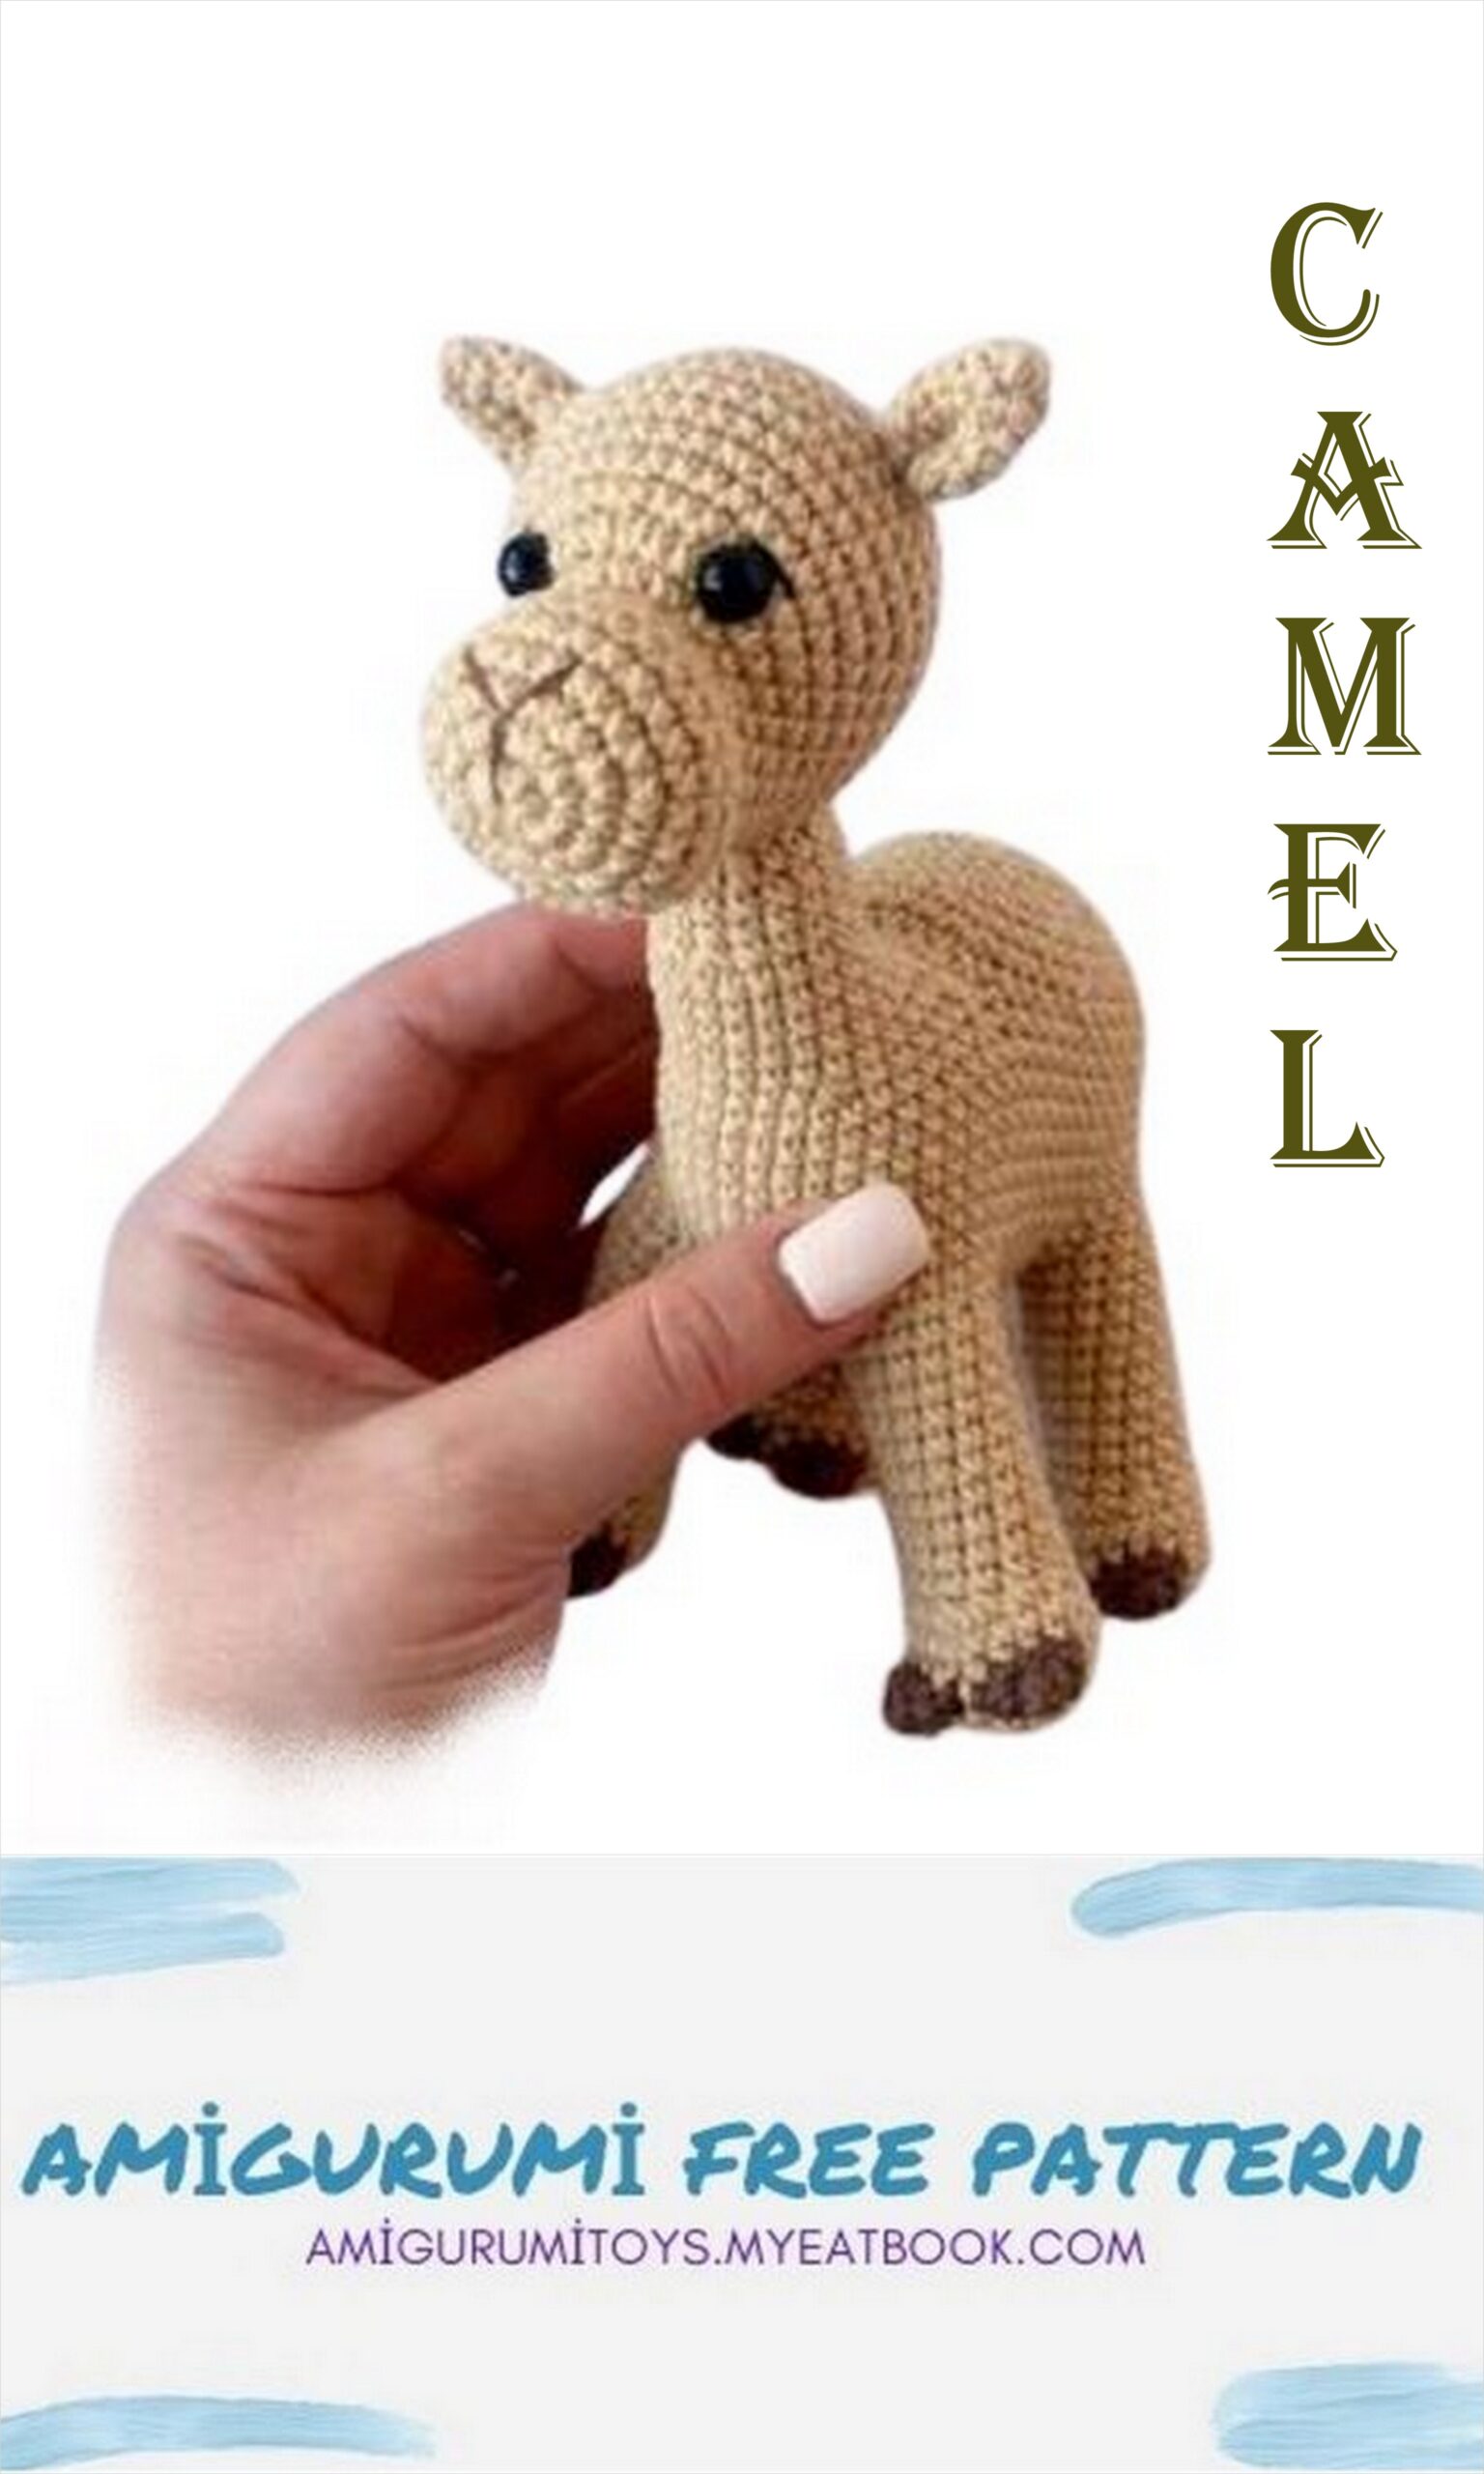
1) Yarn for baby camel
YarnArt JEANS: (07) – beige (main body color)
Alize Cotton Gold: (493) – brown (claws, tassel on tail)
Yarn for accessories
Alize Cotton Gold: (493) – brown (neckband);
YarnArt JEANS: (90) – red (reins, saddle); (33) – blue (saddle);
(62/01) – white (hat); (35/88) – yellow (pompom on a hat)
Tassel yarn
YarnArt JEANS: (90) – red; (33) – blue; (35/88) – yellow
Alize Cotton Gold: (126) – green
2) Hook 2.25 mm.
3) Thin black thread for embroidery of the upper eyelids
4) Threads for embroidering the spout. I used thread Alize Cotton Gold (493) – brown. I stratified into separate thin threads.
5) Eyelets on a 8.0 mm safety mount. If you use a hook of a different size, then select the size of the eye yourself.
6) Holofiber
7) Regular needle
8) Basting pins
9) Scissors
DESCRIPTION
Ears (2 parts):
We start knitting with a thread of the main color (07).
1) MR, 6SC
2) 6SC
3) (1SC, İNC)*3 (9SC)
4) 1SC, İNC, (2SC, İNC)*2, 1SC (12SC)
5) 12SC
6) (1SC, DEC)*4 (8SC)
In the next loop we knit SL-ST, cut off the thread, leaving the tip for sewing. We insert this tip into the needle, fold the eye in half and sew with a few stitches.
Head
We start knitting with a thread of the main color (07). Stuff your head with holofiber as you knit.
1) MR, 7SC
2) 7 inch (14 SC)
3) (1 SC, İNC)*7 (21 SC)
4) 1SC, İNC, (2SC, İNC)*6, 1SC (28SC)
5-7) 28 SC (3 rows)
8) 1SC, DEC, (2SC, DEC)*6, 1SC (21SC)
9) 3SC, İNC, (6SC, İNC)*2, 3SC (24SC)
10) 9 SC, 6 NC, 9 SC (30 SC)
11) 9 SC, (1 SC, İNC)*3, (İNC, 1 SC)*3, 9 SC (36 SC)
12-13) 36 SC (2 rows)
14) 3 SC, İNC, (5 SC, İNC)*5, 2 SC (42 SC)
15) 42SC
16) 3 SC, İNC, (6 SC, İNC)*5, 3 SC (48 SC)
17-18) 48 SC (2 rows)
At this stage, we will insert the eyes. See photos on the next page.
19) 3SC, DEC, (6SC, DEC)*5, 3SC (42SC)
20) 42SC
21) (5SC, DEC)*6 (36SC)
22) 36SC
23) 2SC, DEC, (4SC, DEC)*5, 2SC (30SC)
24) (3SC, DEC)*6 (24SC)
25) 1SC, DEC, (2SC, DEC)*5, 1SC (18SC)
26) (1SC, DEC)*6 (12SC)
27) 6 Dec
In the next loop we knit SL-ST, cut the thread, tighten the ring and hide the thread.
Sew the ears on rows 19-20, the distance between the ears is 12-14 SC.
We embroider the upper eyelids with a thin black thread.
We embroider a nose. I unravel the yarn
Alize Cotton Gold (493) – brown, consisting of 4 threads, and I take only 2 threads from there.
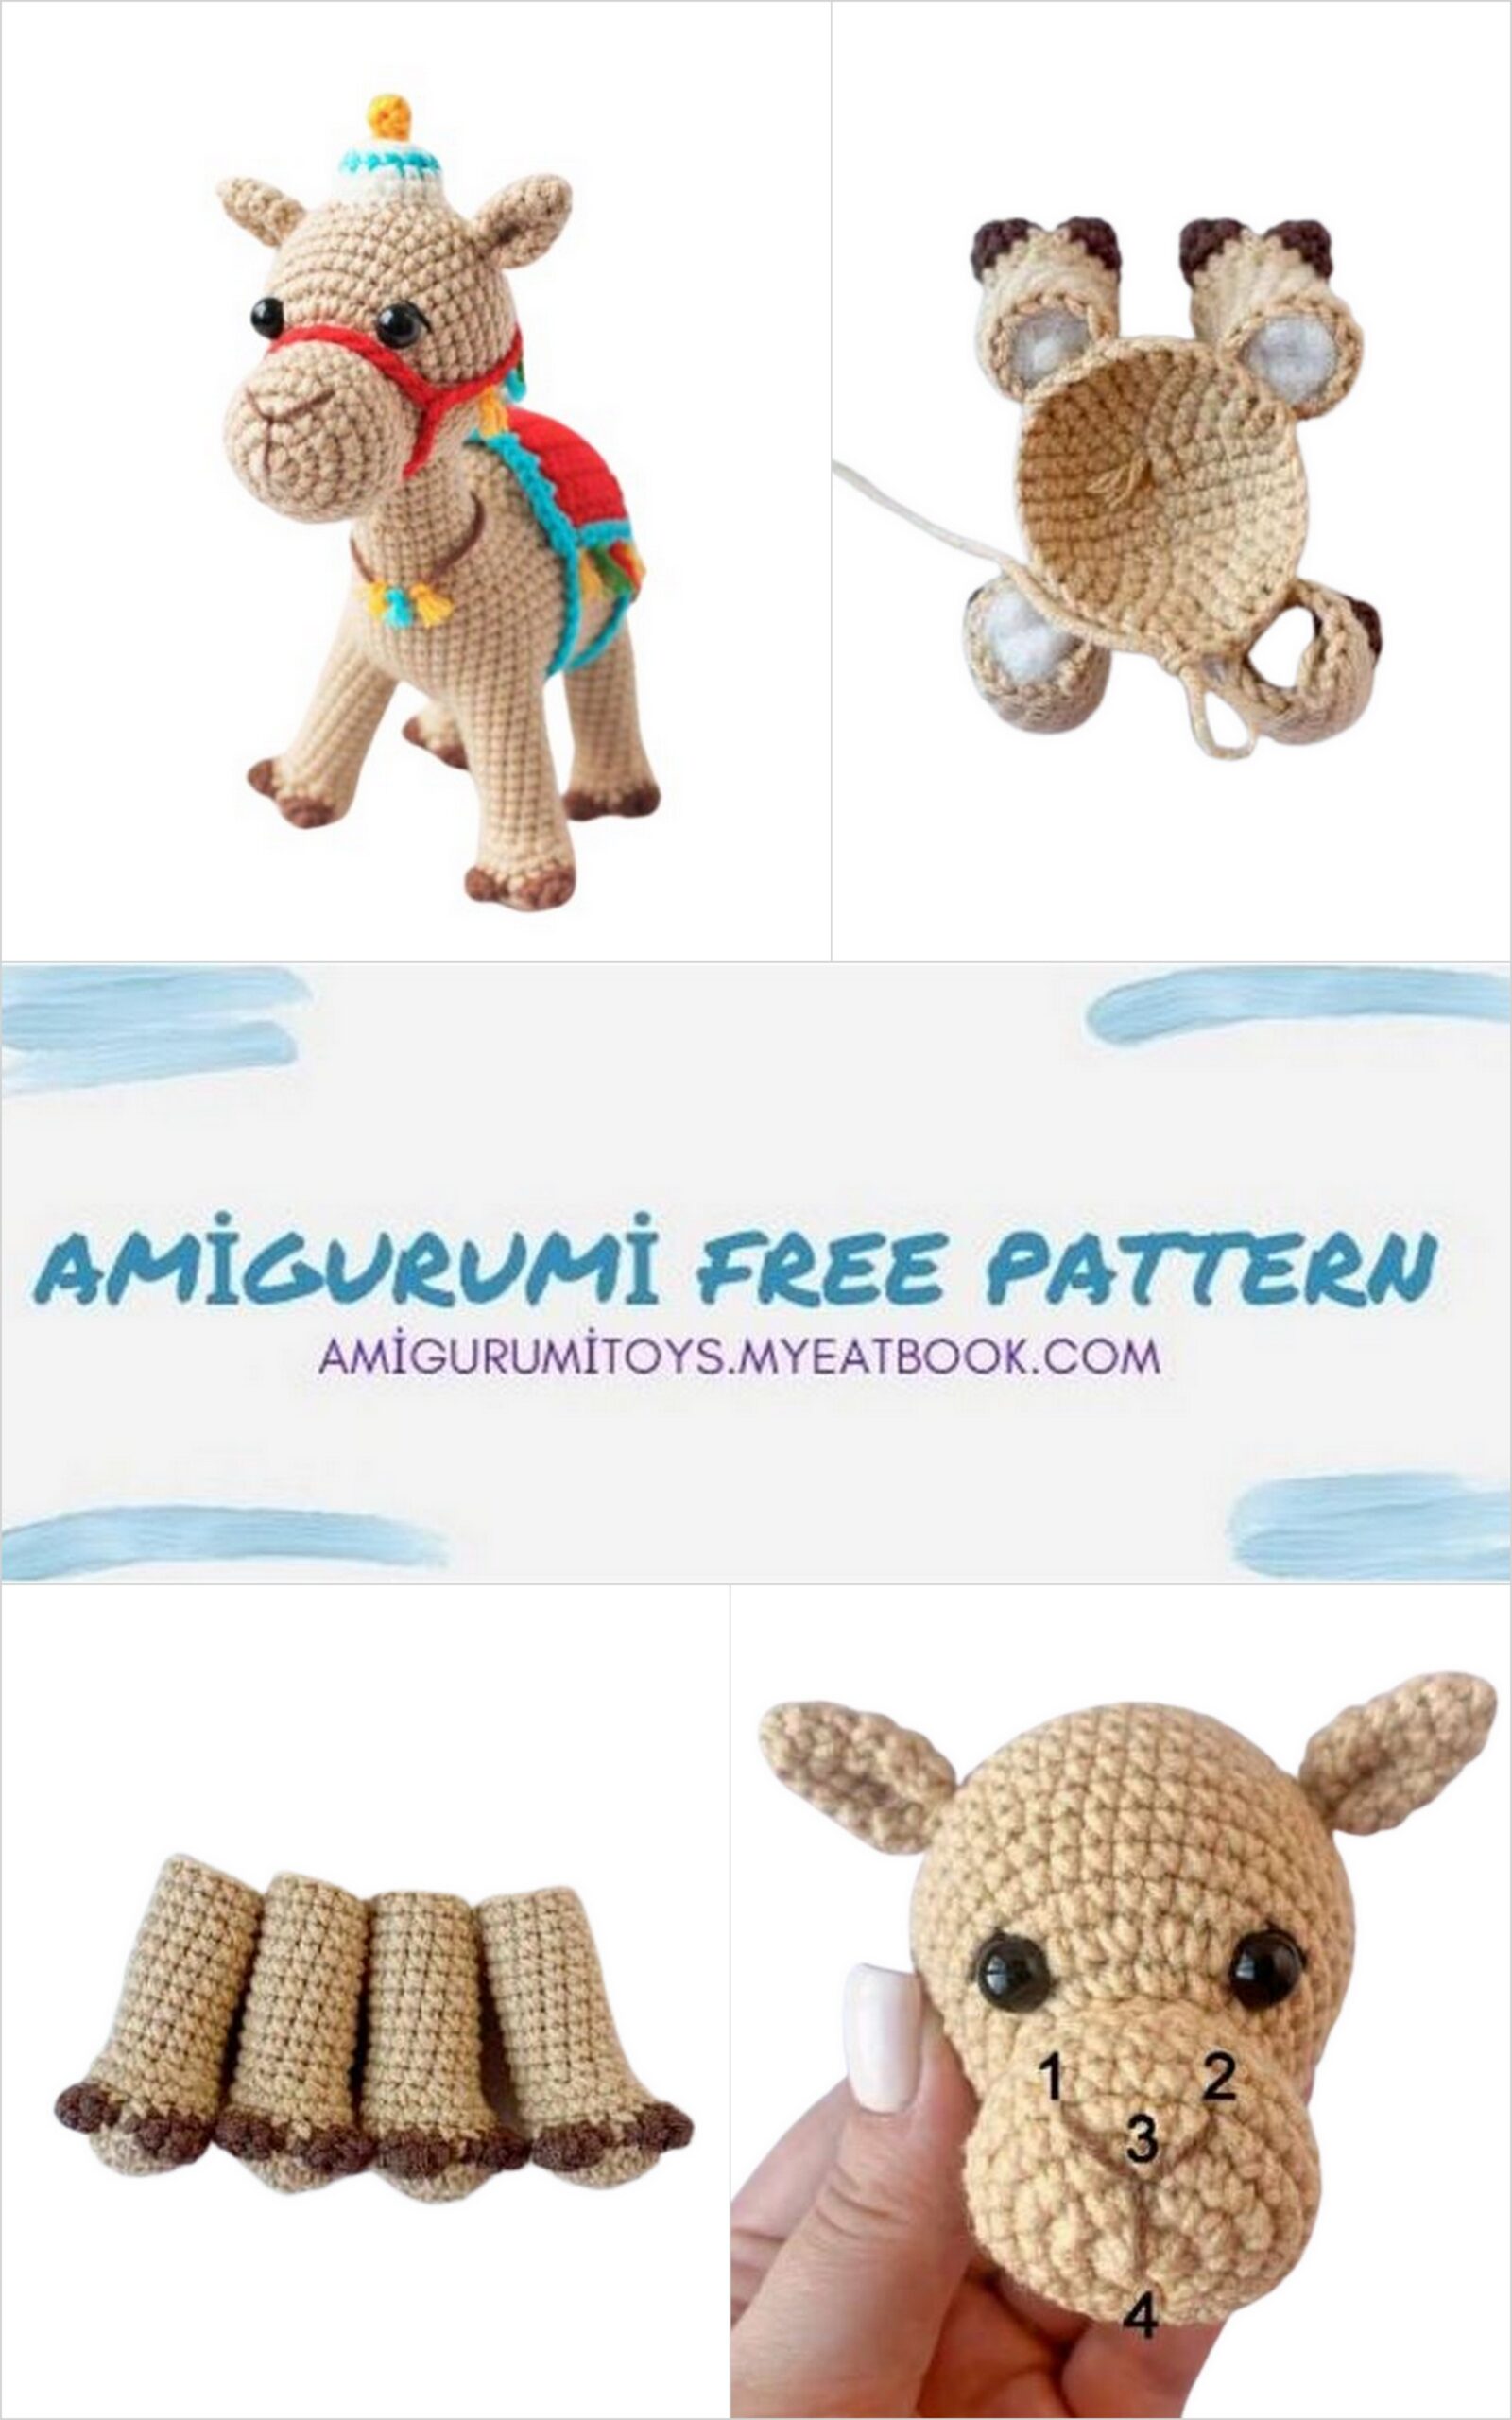
Head shaping:
The top points are between 4 and 5 side by side. The distance between
points 4-5 SC. The third point is 2 rows lower in the center.
The fourth point is located in the center of MR.
Claws (8 pcs):
We start knitting with a brown thread (493).
1) MR, 4SC
2) 4 NC (8 SC)
In the next loop we knit SL-ST, 1 CH, cut the thread, do not leave the tip. We bend the part, give it the shape of a claw (I forgot to take a photo of the claws).
Legs (4 pcs):
We start knitting with a thread of the main color (07). Stuff your leg
holofiber in the course of knitting.
1 item:
1) MR, 6SC
2) 6 inch (12 SC)
In the next loop we knit SL-ST,
1 CH, cut the thread, do not leave the tip.
2 detail:
1) MR, 6SC
2) 6 inch (12 SC)
We do not cut the thread. We put the second part in front of us.
We fold 2 parts with wrong sides to each other, we continue knitting, while tying both parts.
3) (1SC, İNC)*6 (18SC)
We put a marker
4) !!!Important!!! In this row we will knit claws. We knit all the loops for the back walls of the loop, we knit the claws for both walls of the loop. At the same time, we will capture the loops on the claws only on one side. In the next row we will capture the rest.
5 SC, (tie claws on the back side of 4 SC), (tie claws on the back side of 4 SC), 5 SC (18 SC)
5) !!!Important!!! In this row, we will continue to tie in the claws, and we knit all the loops already for both walls of the loop.
5 SC, (tie claws on the front side of 4 SC), (tie claws on the front side of 4 SC), 5 SC (18 SC)
6) 18SC
7) 5SC, 4DEC, 5SC (14SC)
8-17) 14 SC (10 rows)
In the next loop we knit SL-ST, 1 CH, cut the thread, do not leave the tip.
We start knitting with a thread of the main color (07). Stuff your body with holofiber while knitting. Pay special attention to the legs and hump on the back. Get stuffing done on time.
1) 6 CH, start knitting from the 2nd loop from the hook. 4 SC, 3 SC in the last st of the chain, 3 SC on the reverse side, İNC in the last st (12 SC)
2) İNC, 3 SC, 3 İNC, 3 SC, 2 İNC (18 SC)
3) 1 SC, İNC, 3 SC, (1 SC, İNC)*3, 3 SC, (1 SC, İNC)*2 (24 SC)
4) 2 SC, İNC, 3 SC, (2 SC, İNC)*3, 3 SC, (2 SC, İNC)*2 (30 SC)
5) 3 SC, İNC, 3 SC, (3 SC, İNC)*3, 3 SC, (3 SC, İNC)*2 (36 SC)
6) In this row we will tie the legs. Refer to the diagram on the next page.
We have 36 loops in a circle. Distribute the loops so that the legs are even, I will write a diagram, taking into account my knitting density. We will have 4 loops on the front and back of the body of the toy. We leave 6 loops on the side parts. And 4 loops each, we will knit the legs on the “corner” parts.
!!!IMPORTANT!!! The claws of the legs should look strictly straight. The technique of how to correctly calculate the loops and tie the legs can be viewed in the MK video on my Yandex Zen channel in the 2nd part.
Body:
1 SC, (we knit the leg, grabbing
4 SC), 6 SC, (we knit the leg, grabbing 4 SC), 4 SC, (we knit
leg, capturing 4 SC), 6 SC, (knit the leg, capturing 4 SC),
2SC (36SC).
I do not tie 1 SC, I put a marker. Place a marker at the end of the row in the middle, dividing 4 SC.
7) In this row, we will continue to knit the legs along the remaining loops from the outside. We do not touch those loops that were knitted in the last row.
!!!IMPORTANT!!! The corners of the legs before the 1st loop and after the last loop, knit with decreases so that no holes form. This stage of work can be viewed on my channel on Yandex Zen in the 2nd part.
2 SC, (we knit the legs 10 SC along the remaining loops), 6 SC, (we knit the legs 10 SC along the remaining loops), 4 SC,
(we knit the legs 10 SC along the remaining loops), 6 SC,
(we knit the legs 10 SC on the remaining loops), 2 SC (60 SC)
8-15) 60 SC (8 rows)
16) Next, find 2 center loops on the front.
We count 11 loops in each direction (the central loops are also counted). You should get 22 loops, which we will leave on the front. For convenience, use markers.
Below in the diagram, I will write my number of loops that I need to knit before and after these markers.
20 SC (before 1st marker), 10 CH, 18 SC (start in st after 2nd marker) (48 SC)
17) 48 SC (we knit along the air chain for the upper half loops.
Do not forget to fill with holofiber in the process of knitting, pay special attention to the legs.
18) 2SC, DEC, (4SC, DEC)*7, 2SC (40SC)
19) 40SC
20) (3SC, DEC)*8 (32SC)
21) 32SC
22) 1SC, DEC, (2SC, DEC)*7, 1SC (24SC)
23) 24SC
24) (1SC, DEC)*8 (16SC)
25) 8 DEC
In the next loop we knit ss, cut the thread, tighten the ring and hide the tip.
Neck:
1) When knitting the first row on the neck, we focus on the diagram below.
Also, this stage of work can be seen in the MK video on my Yandex Zen channel in the 2nd part.
We turn the toy so that 10 CH, which we knitted in the 16th row, are located closer to us, and 22 loops on the neck are from us.
We start counting from right to left. In the 5th half loop we knit 1 CH and here 1 SC. Next work 4 SC, DEC (last st on chain, side st on body, 1st st on body of 22 sts), 20 SC, DEC (last st of 22 sts, side st on body, 1st st on chain from CH), 3 SC (30 SC) Put a marker.
2) skip CH, start knitting immediately from the 1st SC:
4SC, DEC, 5SC, DEC, 6SC, DEC, 5SC, DEC, 2SC
+ 1 offset column (26 SC)
3) 2SC, DEC, 18SC, DEC, 2SC (24SC)
4) 1SC, DEC, 18SC, DEC, 1SC (22SC)
5) DEC, 18SC, DEC (20SC)
6-7) 20 SC (2 rows)
8) 9 SC, 2 DEC, 7 SC (18 SC) – reductions must be strictly in the center of the front.
9-10) 18 SC (2 rows)
11) 7 SC, 5 HDC, 6 SC (18) – HDC must be strictly centered on the front.
In the next loop we knit SL-ST, cut the thread, leaving the tip for sewing.
We start knitting with a thread of the main color (07).
We retreat from the edge of the thread 10-15 cm. We knit 10 CH, and from the 2nd loop from the hook we knit 9 sl-st, 1 CH, cut the thread, leaving the tip.
Making a tassel for a ponytail. I cut Alize Cotton Gold brown yarn (493) into 3 pieces of 10-15 cm. I delaminate them into separate thin threads (each with 4). As a result, I get 12 thin threads.
I insert the hook into the tip of the tail, grab all these threads and make a brush, cut to the desired length. (photo on pages 19-20).
Tail:
Sew the head to the body. We sew the tail between 9 and 10 next, if you count from MR on the hump (I have a tail sewn a little to the side).
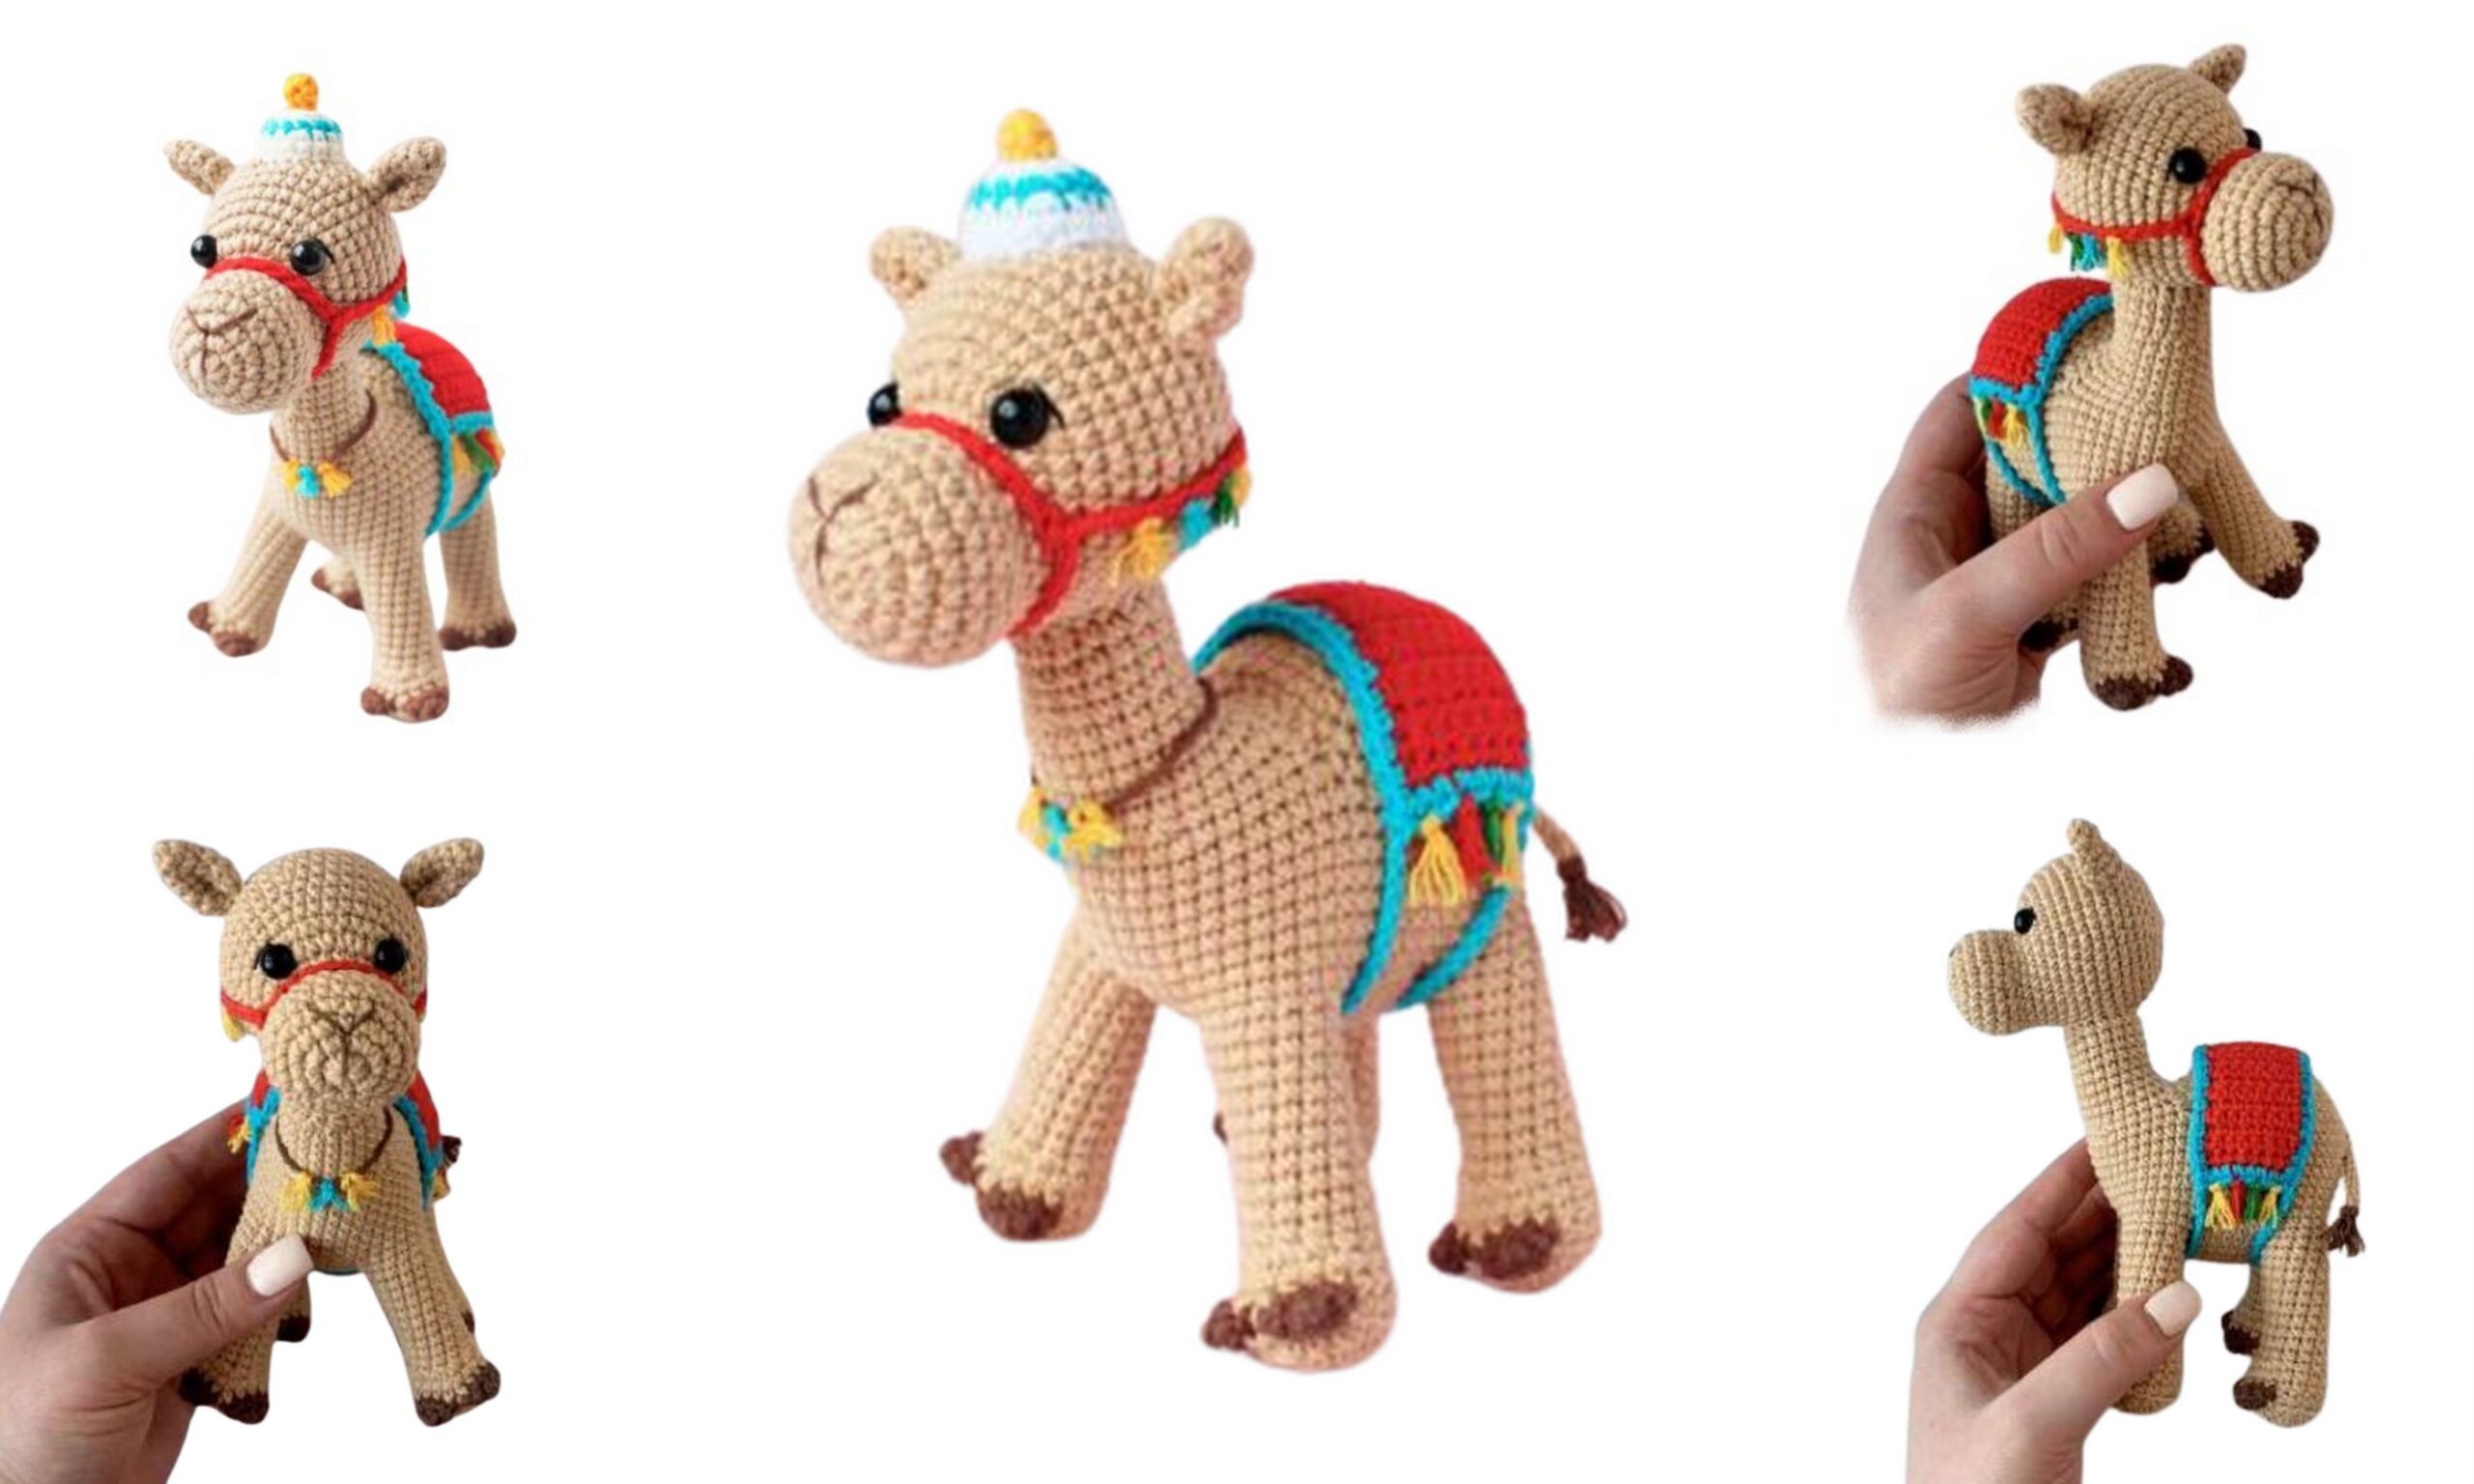
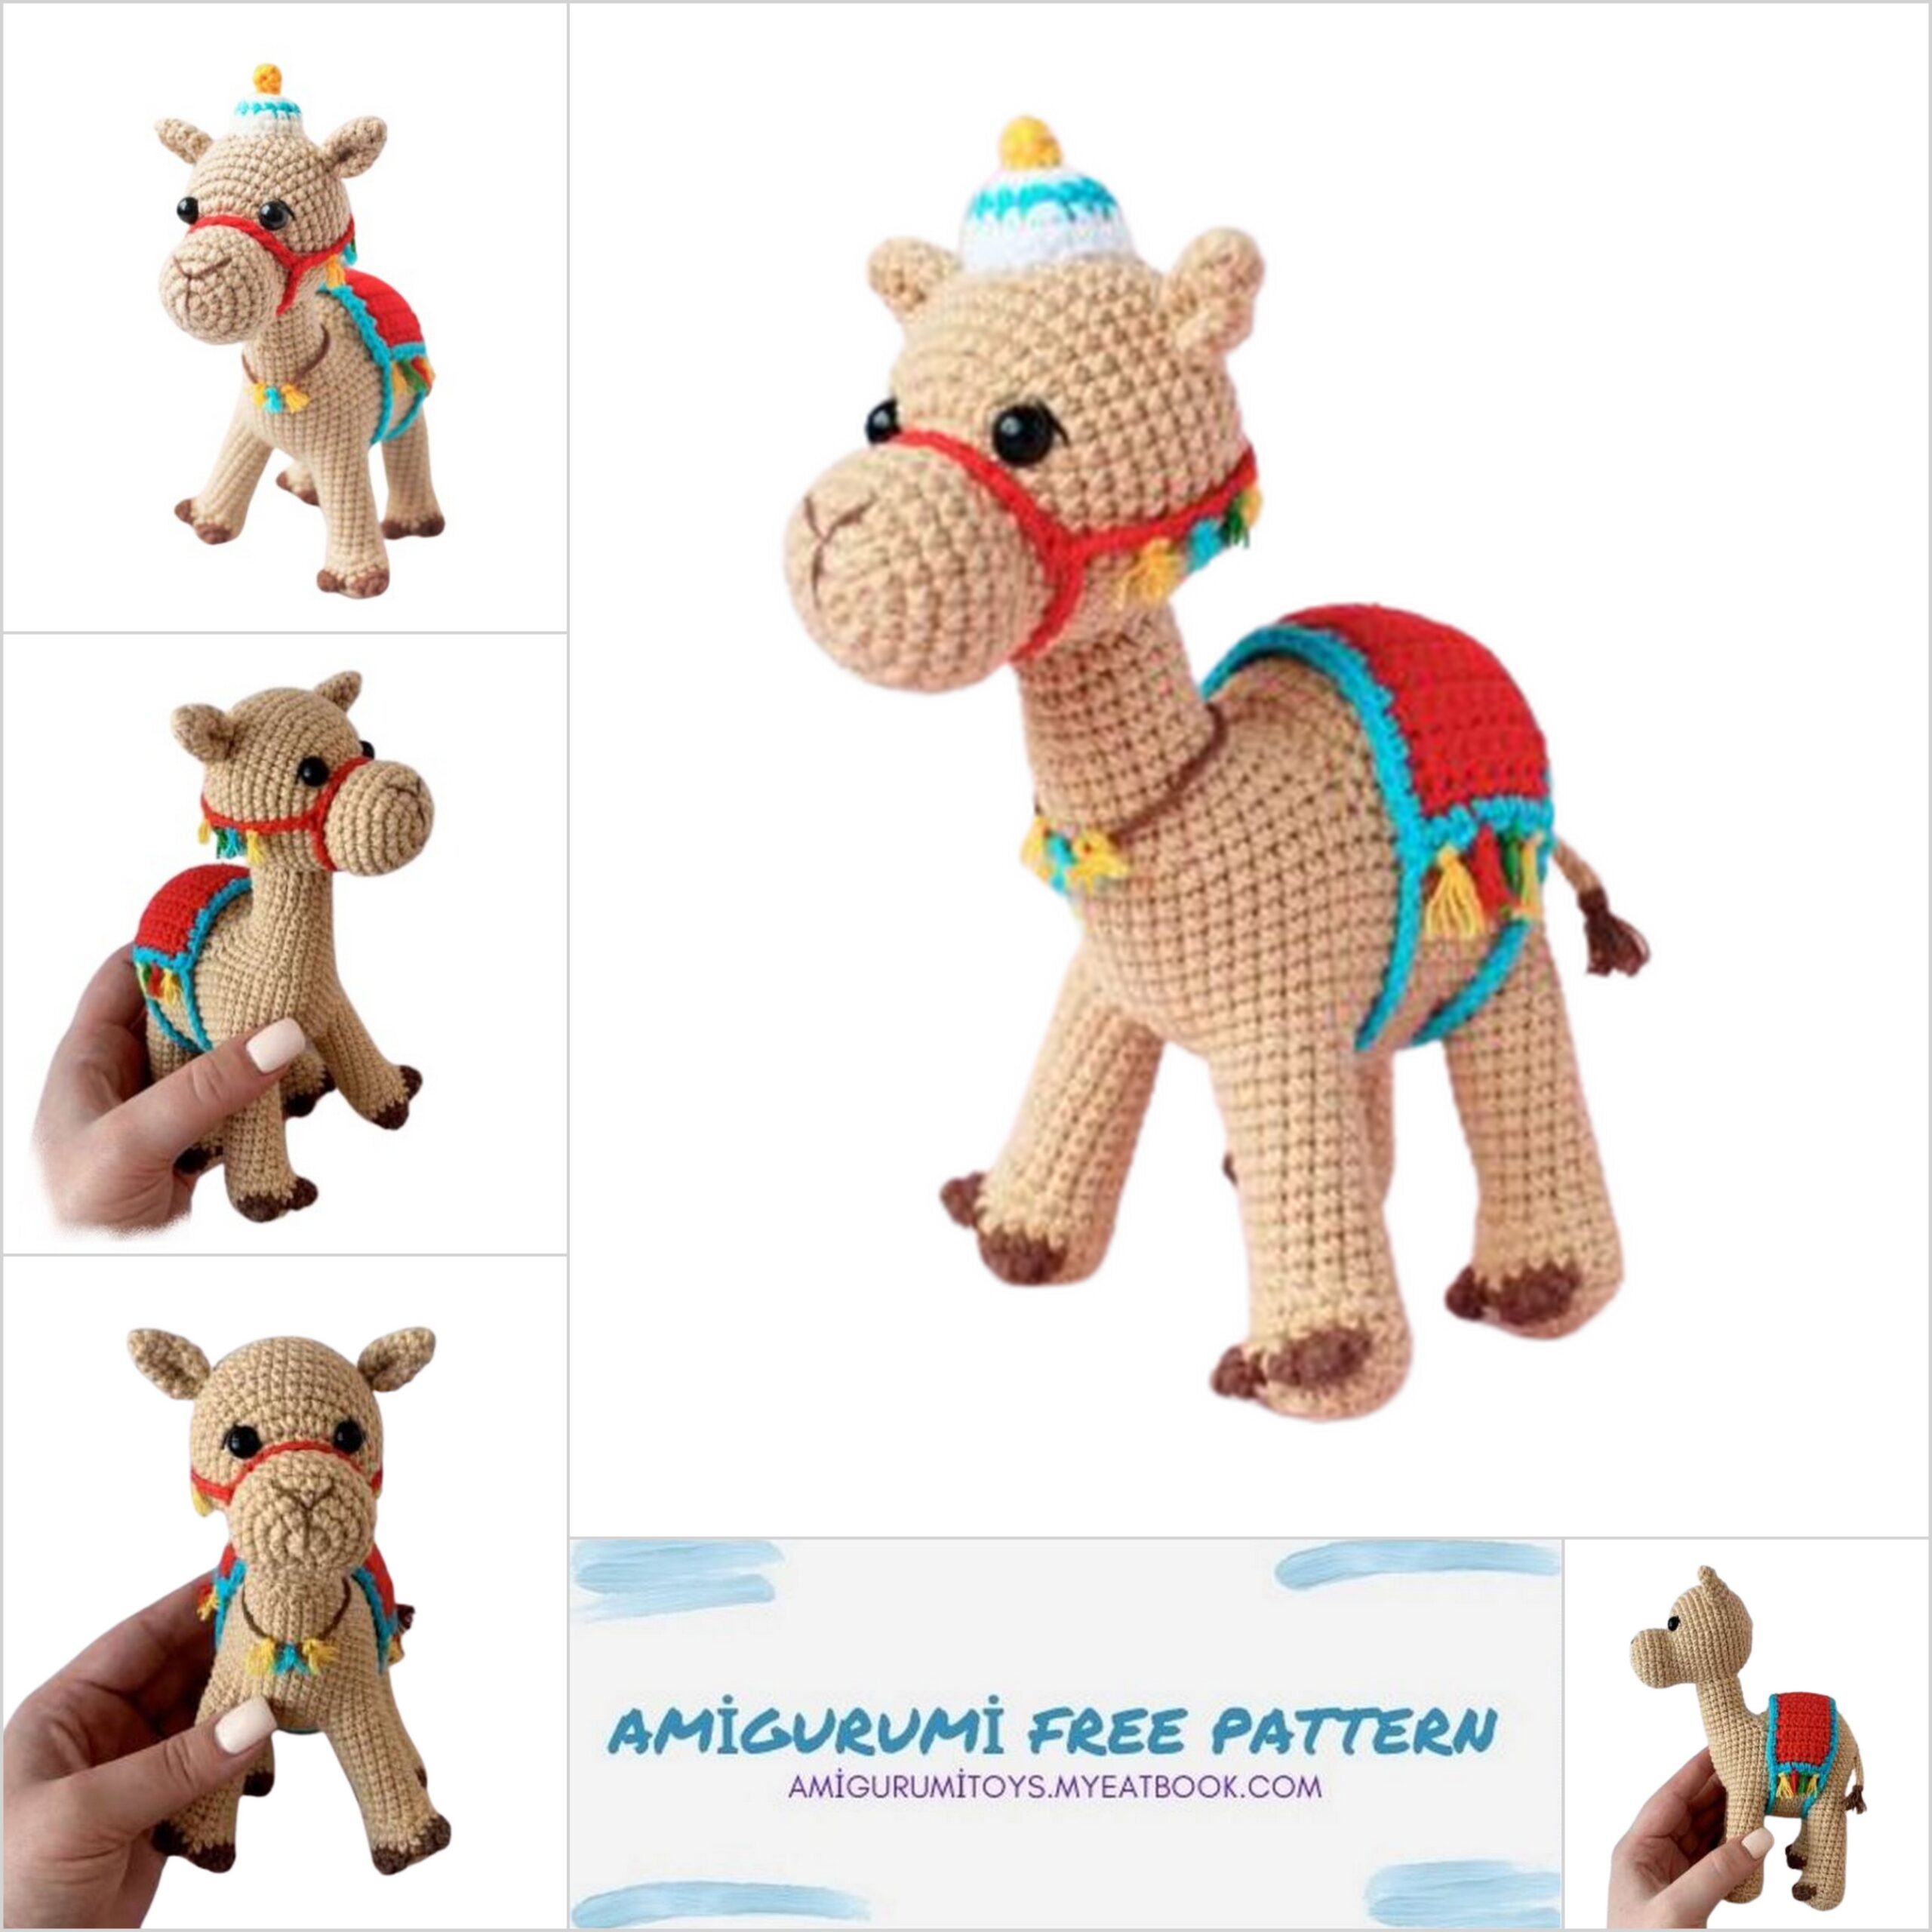
Accessories:
Beanie
We start knitting with a white thread (01/62).
1) MR, 6SC
2) 6 inch (12 SC)
Change color to blue (33)
3) (3SC, İNC)*3 (15SC)
Change color to white (01/62)
4) (4SC, İNC)*3 (18SC)
5) 18SC
In the next loop we knit SL-ST, cut the thread, leaving the tip for sewing.
Pompon
We start knitting with a yellow thread (35/88)
1) MR, 4SC
2) 4SC
In the next loop we knit SL-ST, 1 CH, cut the thread, leave at the end for sewing.
We insert this tip into the needle and sew on the top of the cap.
Saddle
We start knitting with a red thread (90).
1) We retreat from the edge of 10-15 cm, we collect a chain of 8 CH, from the 2nd loop from the hook we knit 7 SC, 1 CH, turn (7 SC)
2-20) 7 SC, 1 CH, turn (19 rows)
21) 7SC
We knit 1 CH, cut the thread, leaving a small tip.
strapping
Refer to the diagram and photo on the next page.
We lay our canvas so that the tip that we have left at the end of knitting is located on the top left. We attach the thread to the first extreme loop on the right side. We knit 1 CH and knit 2 SC here. Next we knit: 5 sc, 3 sc in one loop, 20 sc on the side, 3 sc in one loop, 5 sc, 3 sc in one loop, 20 sc
on the side, 1 SC in the 1st loop (from where knitting began). CH
skip and knit SL-ST in the 1st SC (he is now the middle one).
We collect 27 CH, do SL-ST in the middle SC from the opposite side, 1 CH, cut the thread, hide the tip.
On the other side we attach the thread to the middle SC, knit 27 CH, do SL-ST to the middle SC on the opposite side, 1 CH, cut the thread, hide the tip.
Saddle brushes
One strand for one brush I have consists of 4 thin threads after layering yarn YarnArt JEANS and Alize Cotton Gold.
4 yellow tassels (35/88) – 2 on each side
2 red tassels (90) – 1 on each side
2 green tassels (126) – 1 on each side
We fasten the brushes through 1 SC, be guided by the diagram below and
photos on the next page.
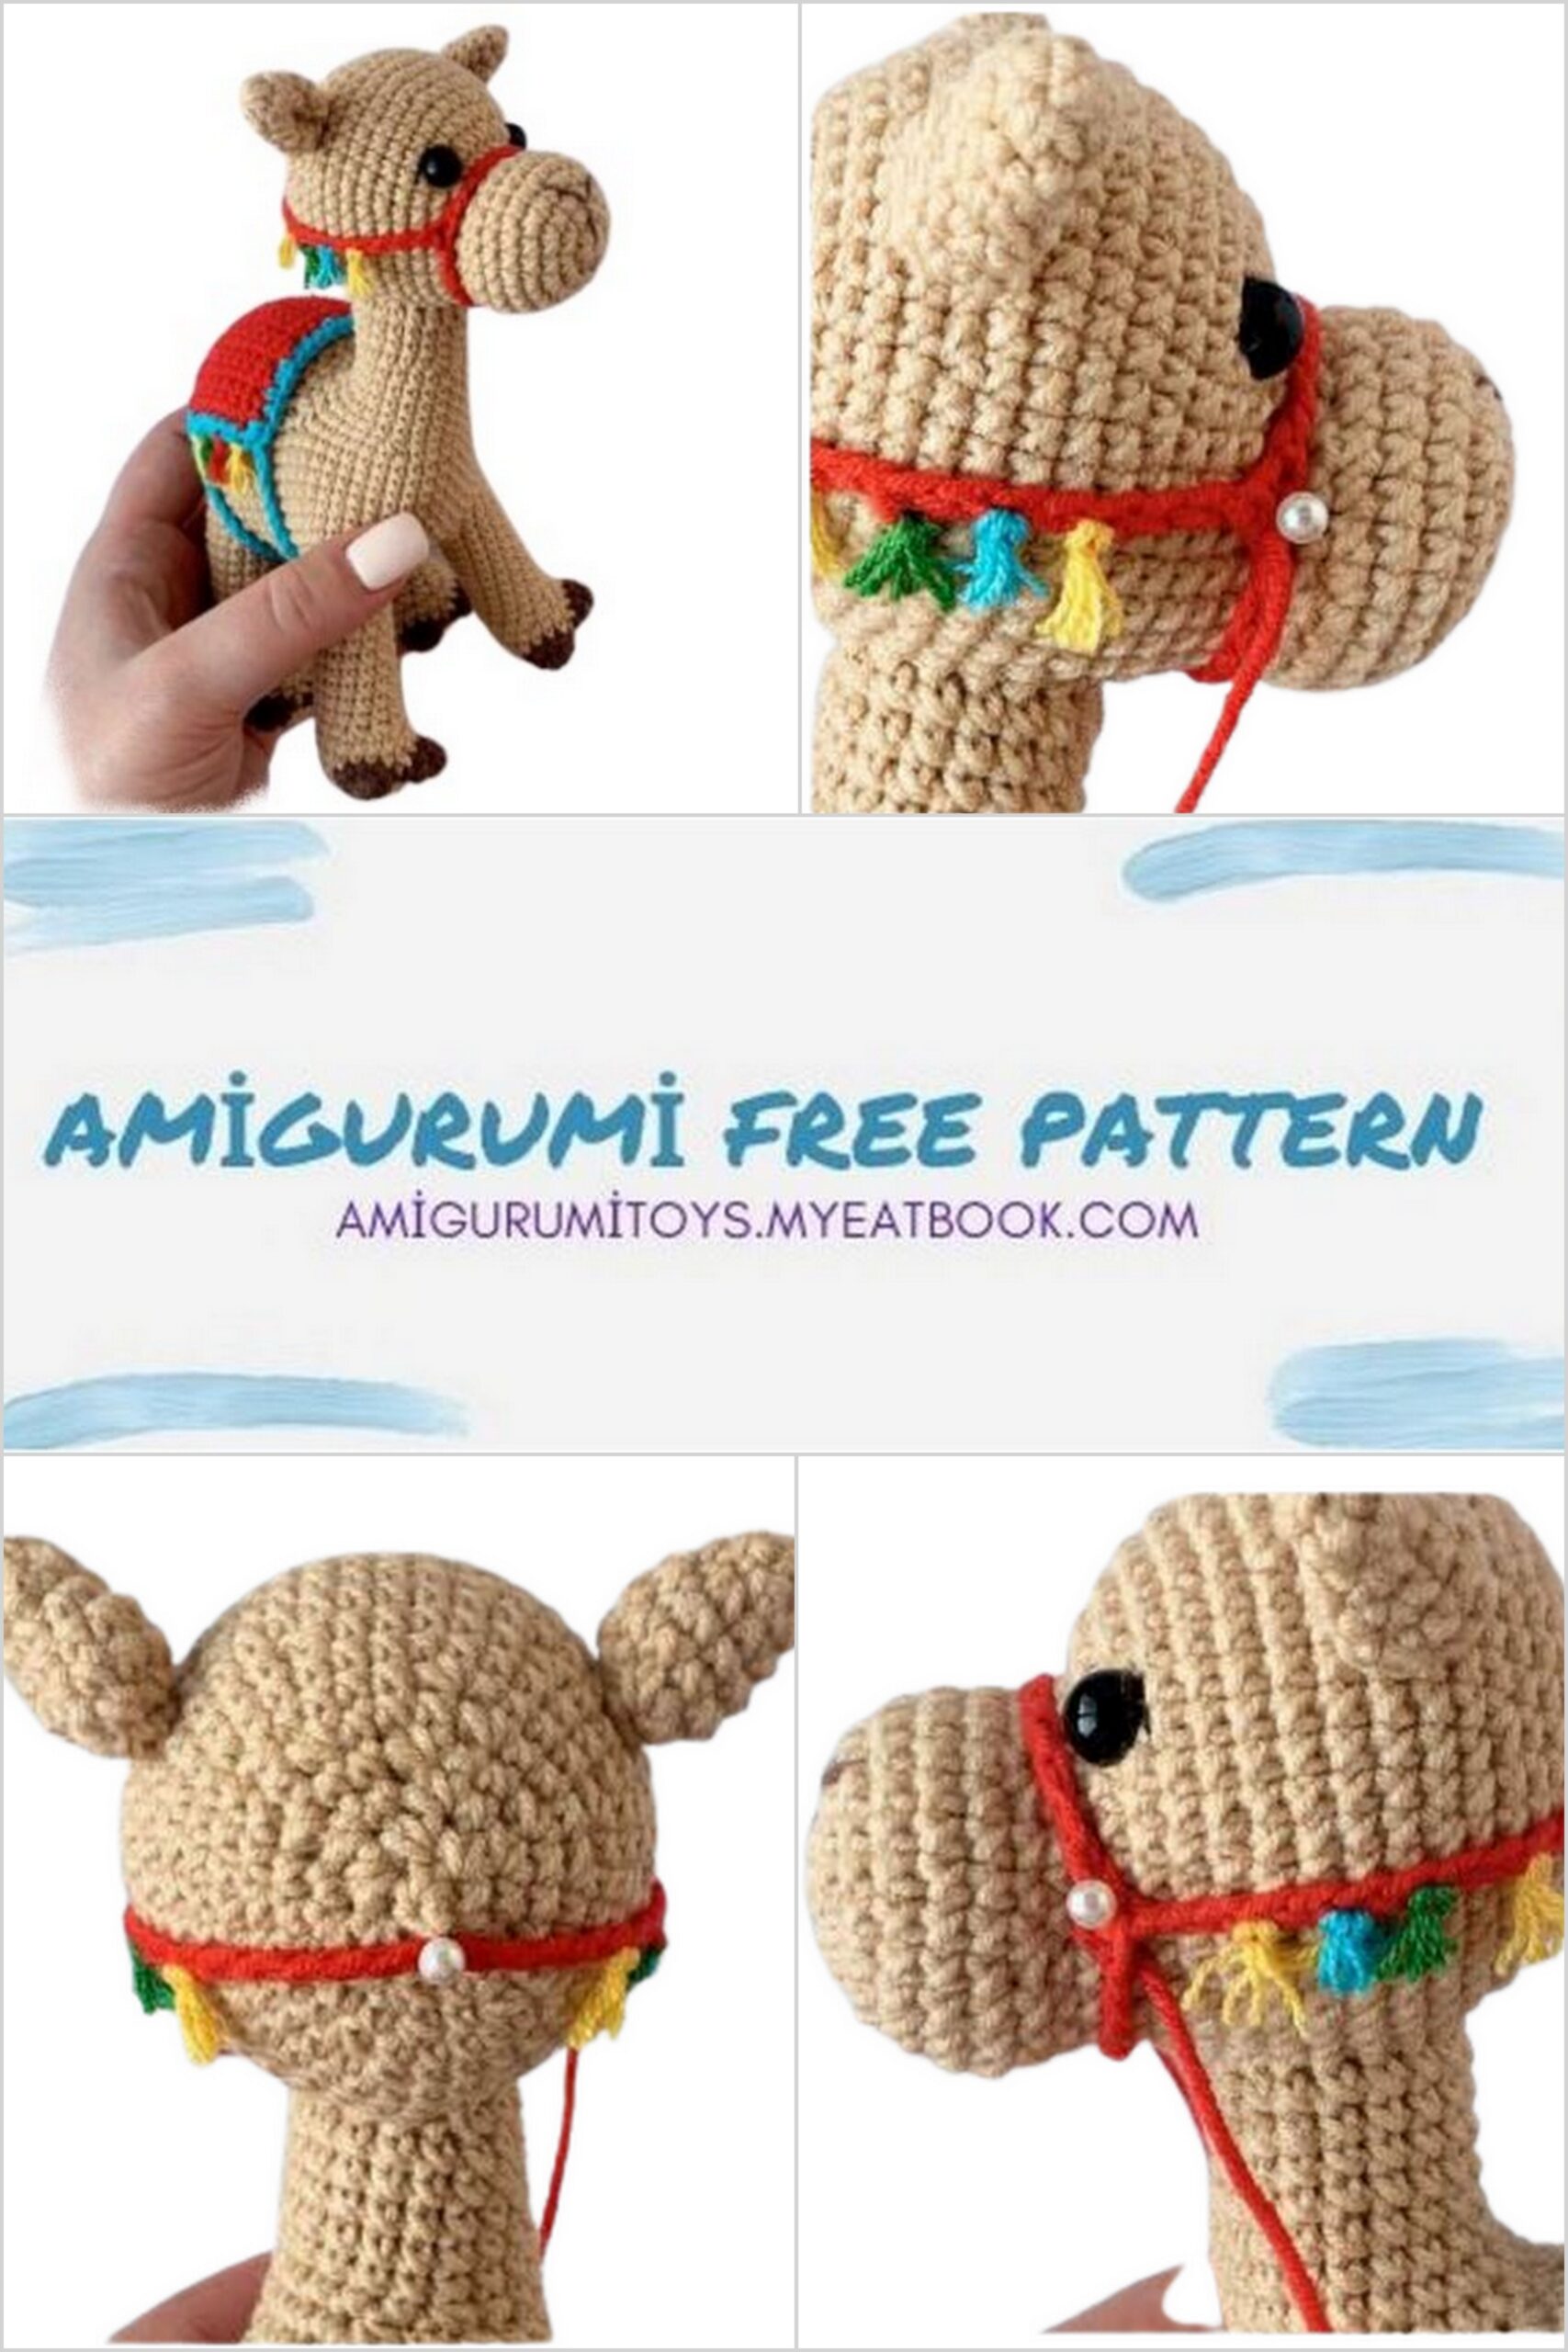
Reins
We start knitting with a red thread (90). We retreat from the edge of 10-15 cm.
We collect a chain of 24 CH, close the ring SL-ST. We continue, cast on a chain of 29 CH and make SL-ST in the 12 loop on the ring, if we count to the left. Knit 1 CH, cut the thread, leaving the tip is longer.
We make tassels on the right and left sides of the reins, navigate
to the diagram below.
4 yellow tassels (35/88) – 2 on each side
2 blue tassels (33) – 1 on each side
2 green tassels (126) – 1 on each side
We put the reins on the head. Insert the long tip into the needle
which we left and fix 3 points with 1-2 stitches (see photo on next page). When you fix the third point, there
you can tie this tip into a knot with the first remaining thread, and hide them in the canvas.
Neck accessory
Cut the thread from the yarn Alize Cotton Gold brown (493)
25-30 cm. We fasten 3 tassels in the middle: 2 yellow tassels (35/88);
1 blue brush (33).
We put this rope around the neck and tie it into 2 knots at the back.
This rope needs to sit a little loose.
We insert one of the tips into the needle and sew a little on the back of the neck, after which we hide the threads.
Finishing touches
We sew a cap on the head of a camel cub between the ears.
Congratulations, your toy is ready!
I will be very pleased if you share your finished work with me and leave your feedback about this Master Class