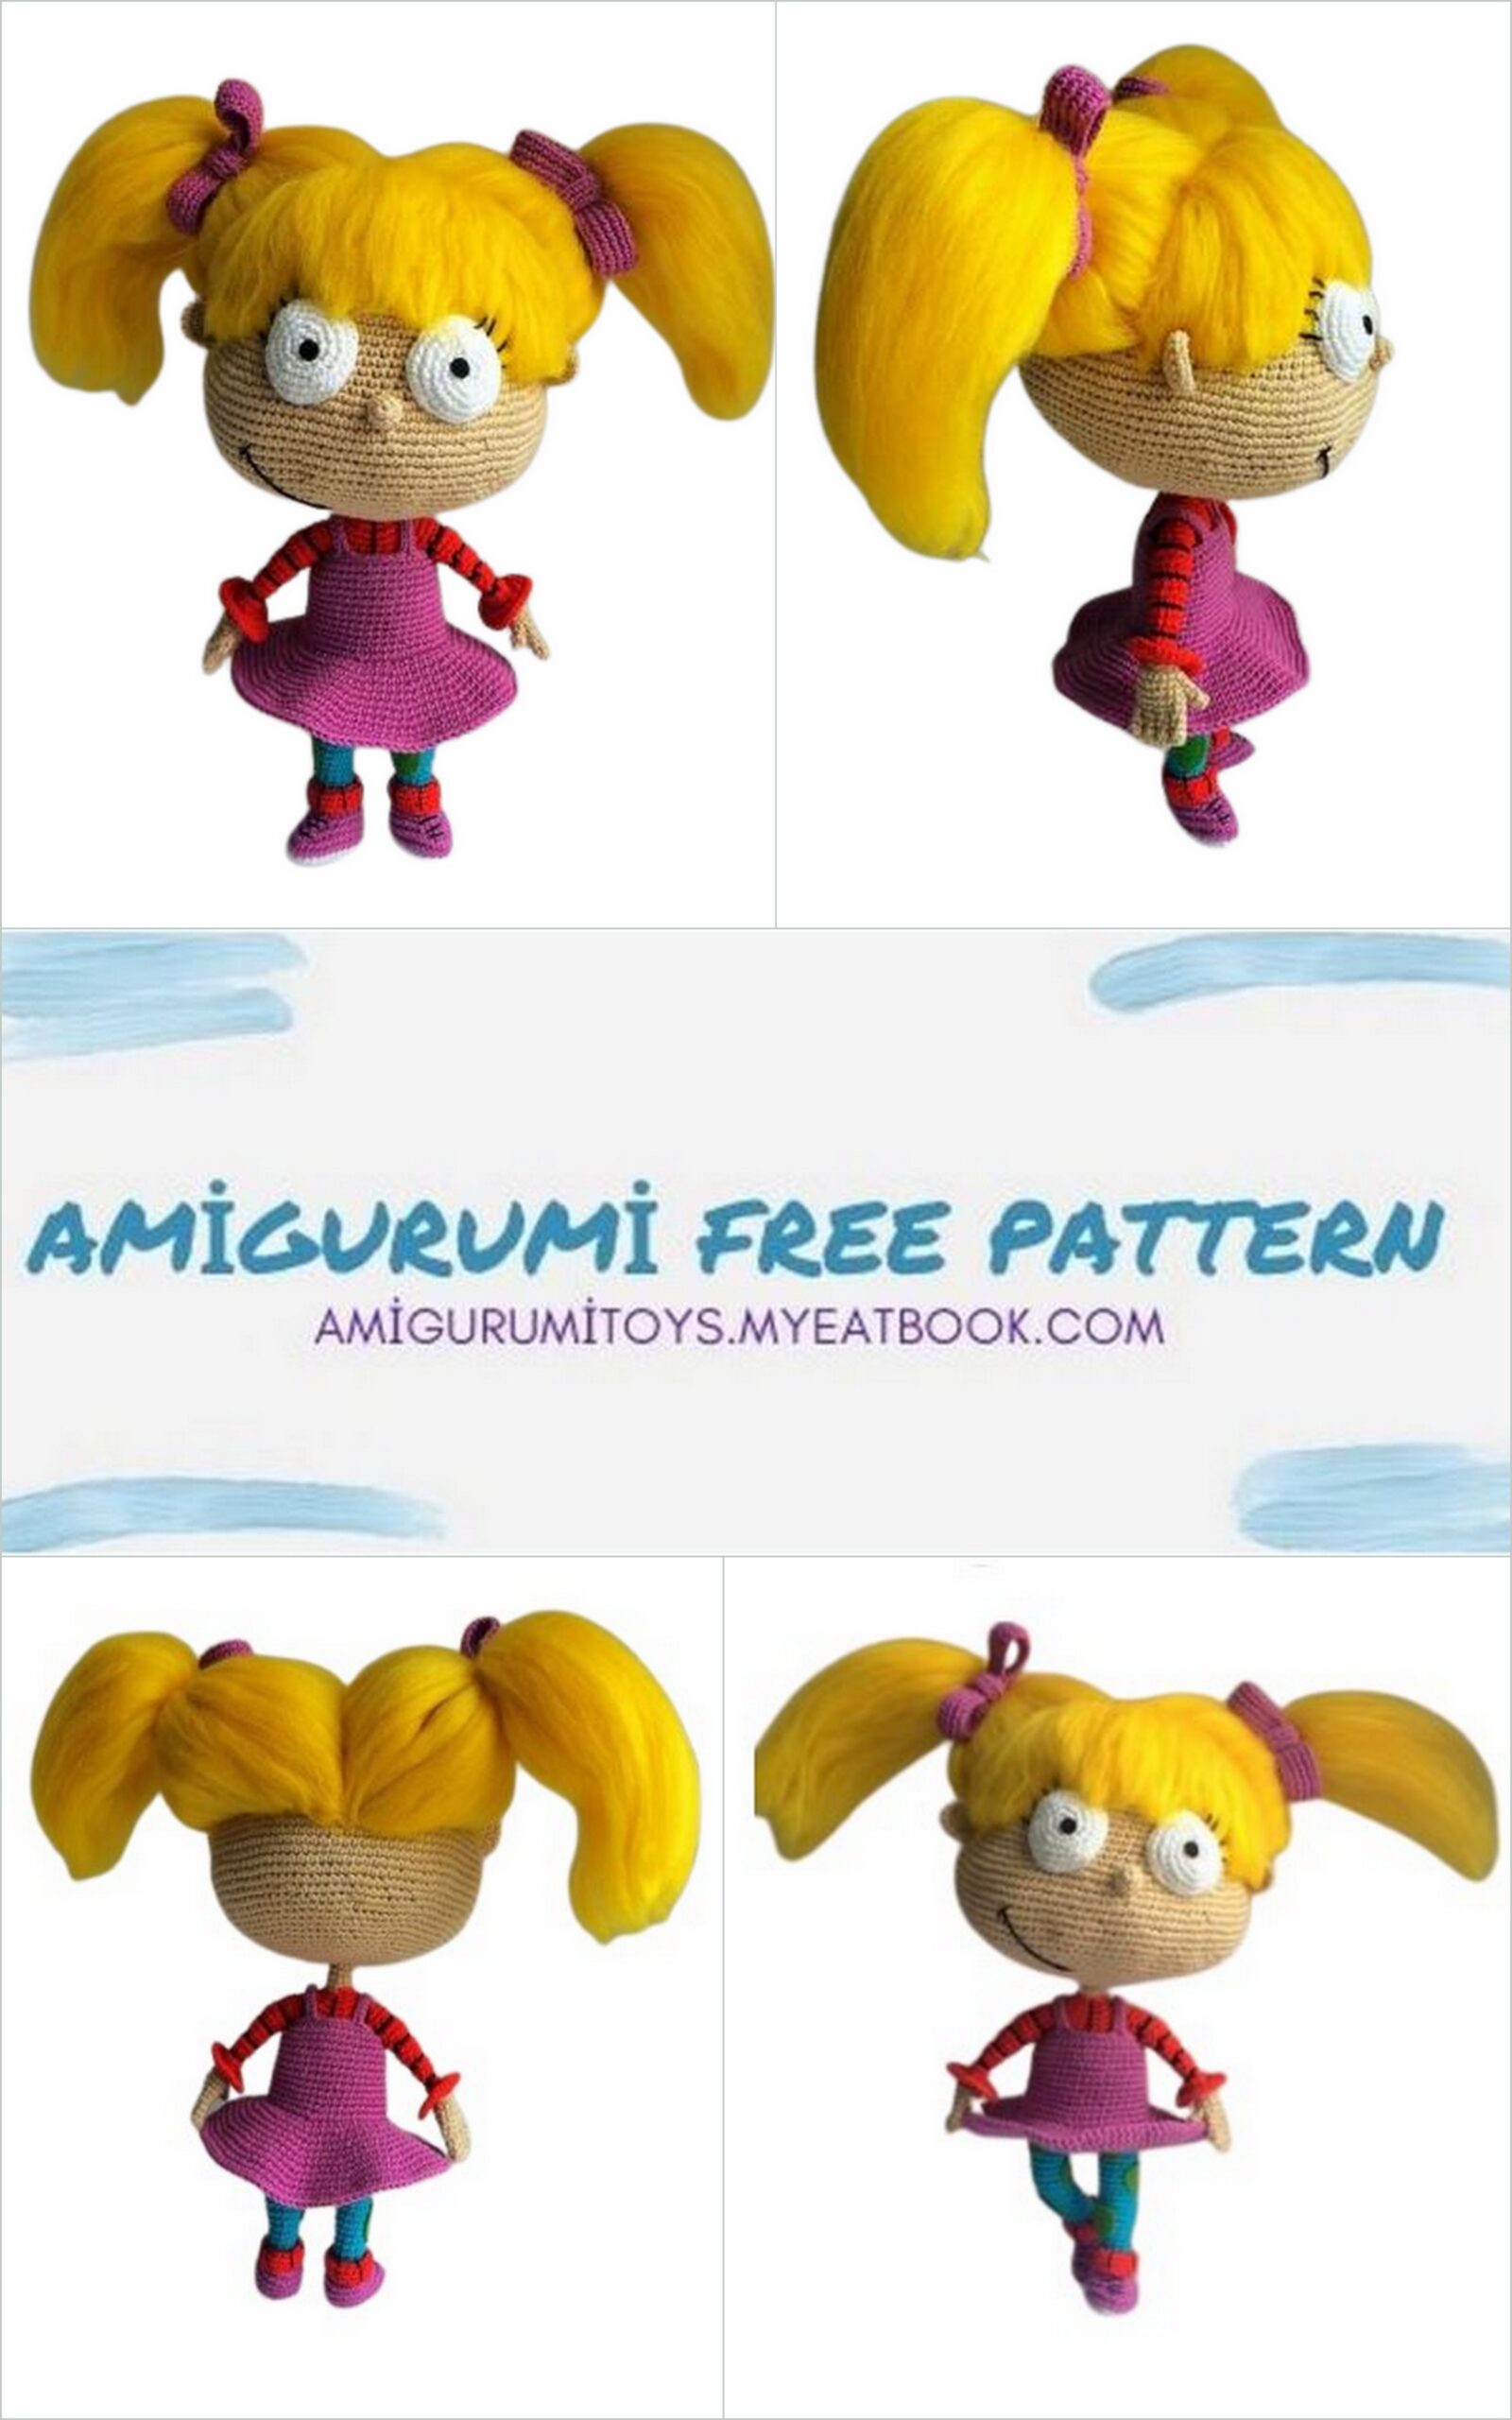
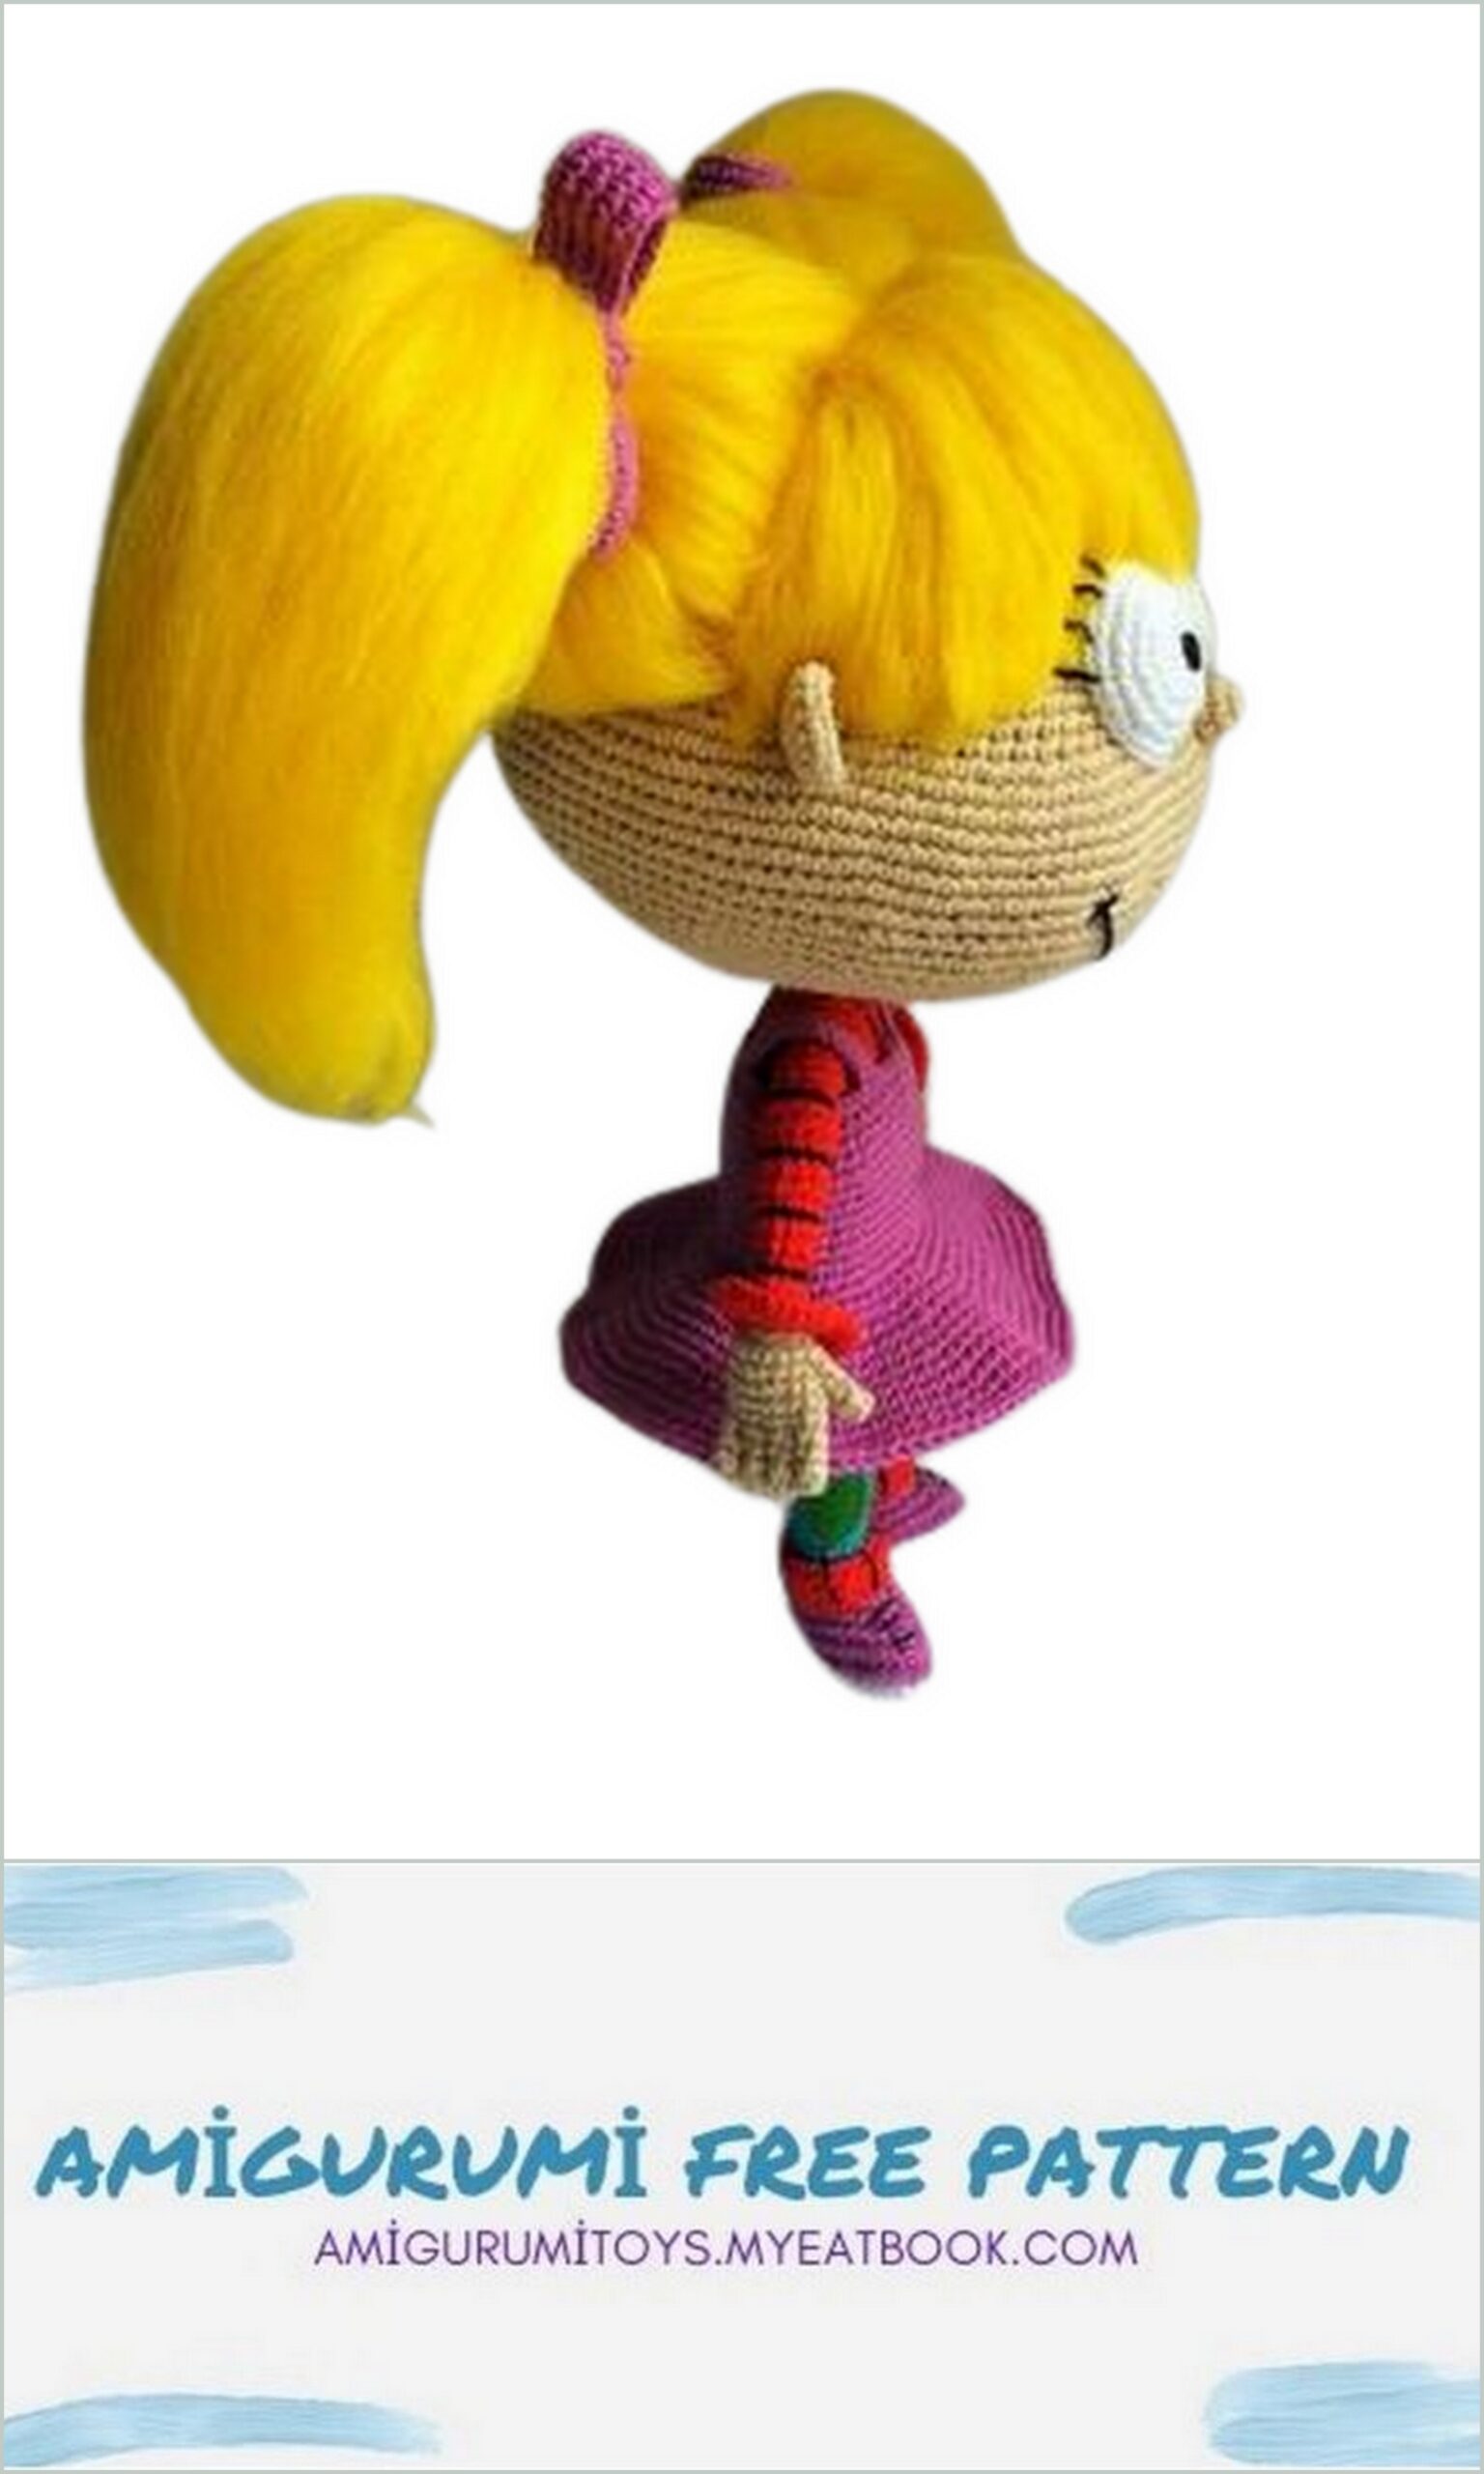
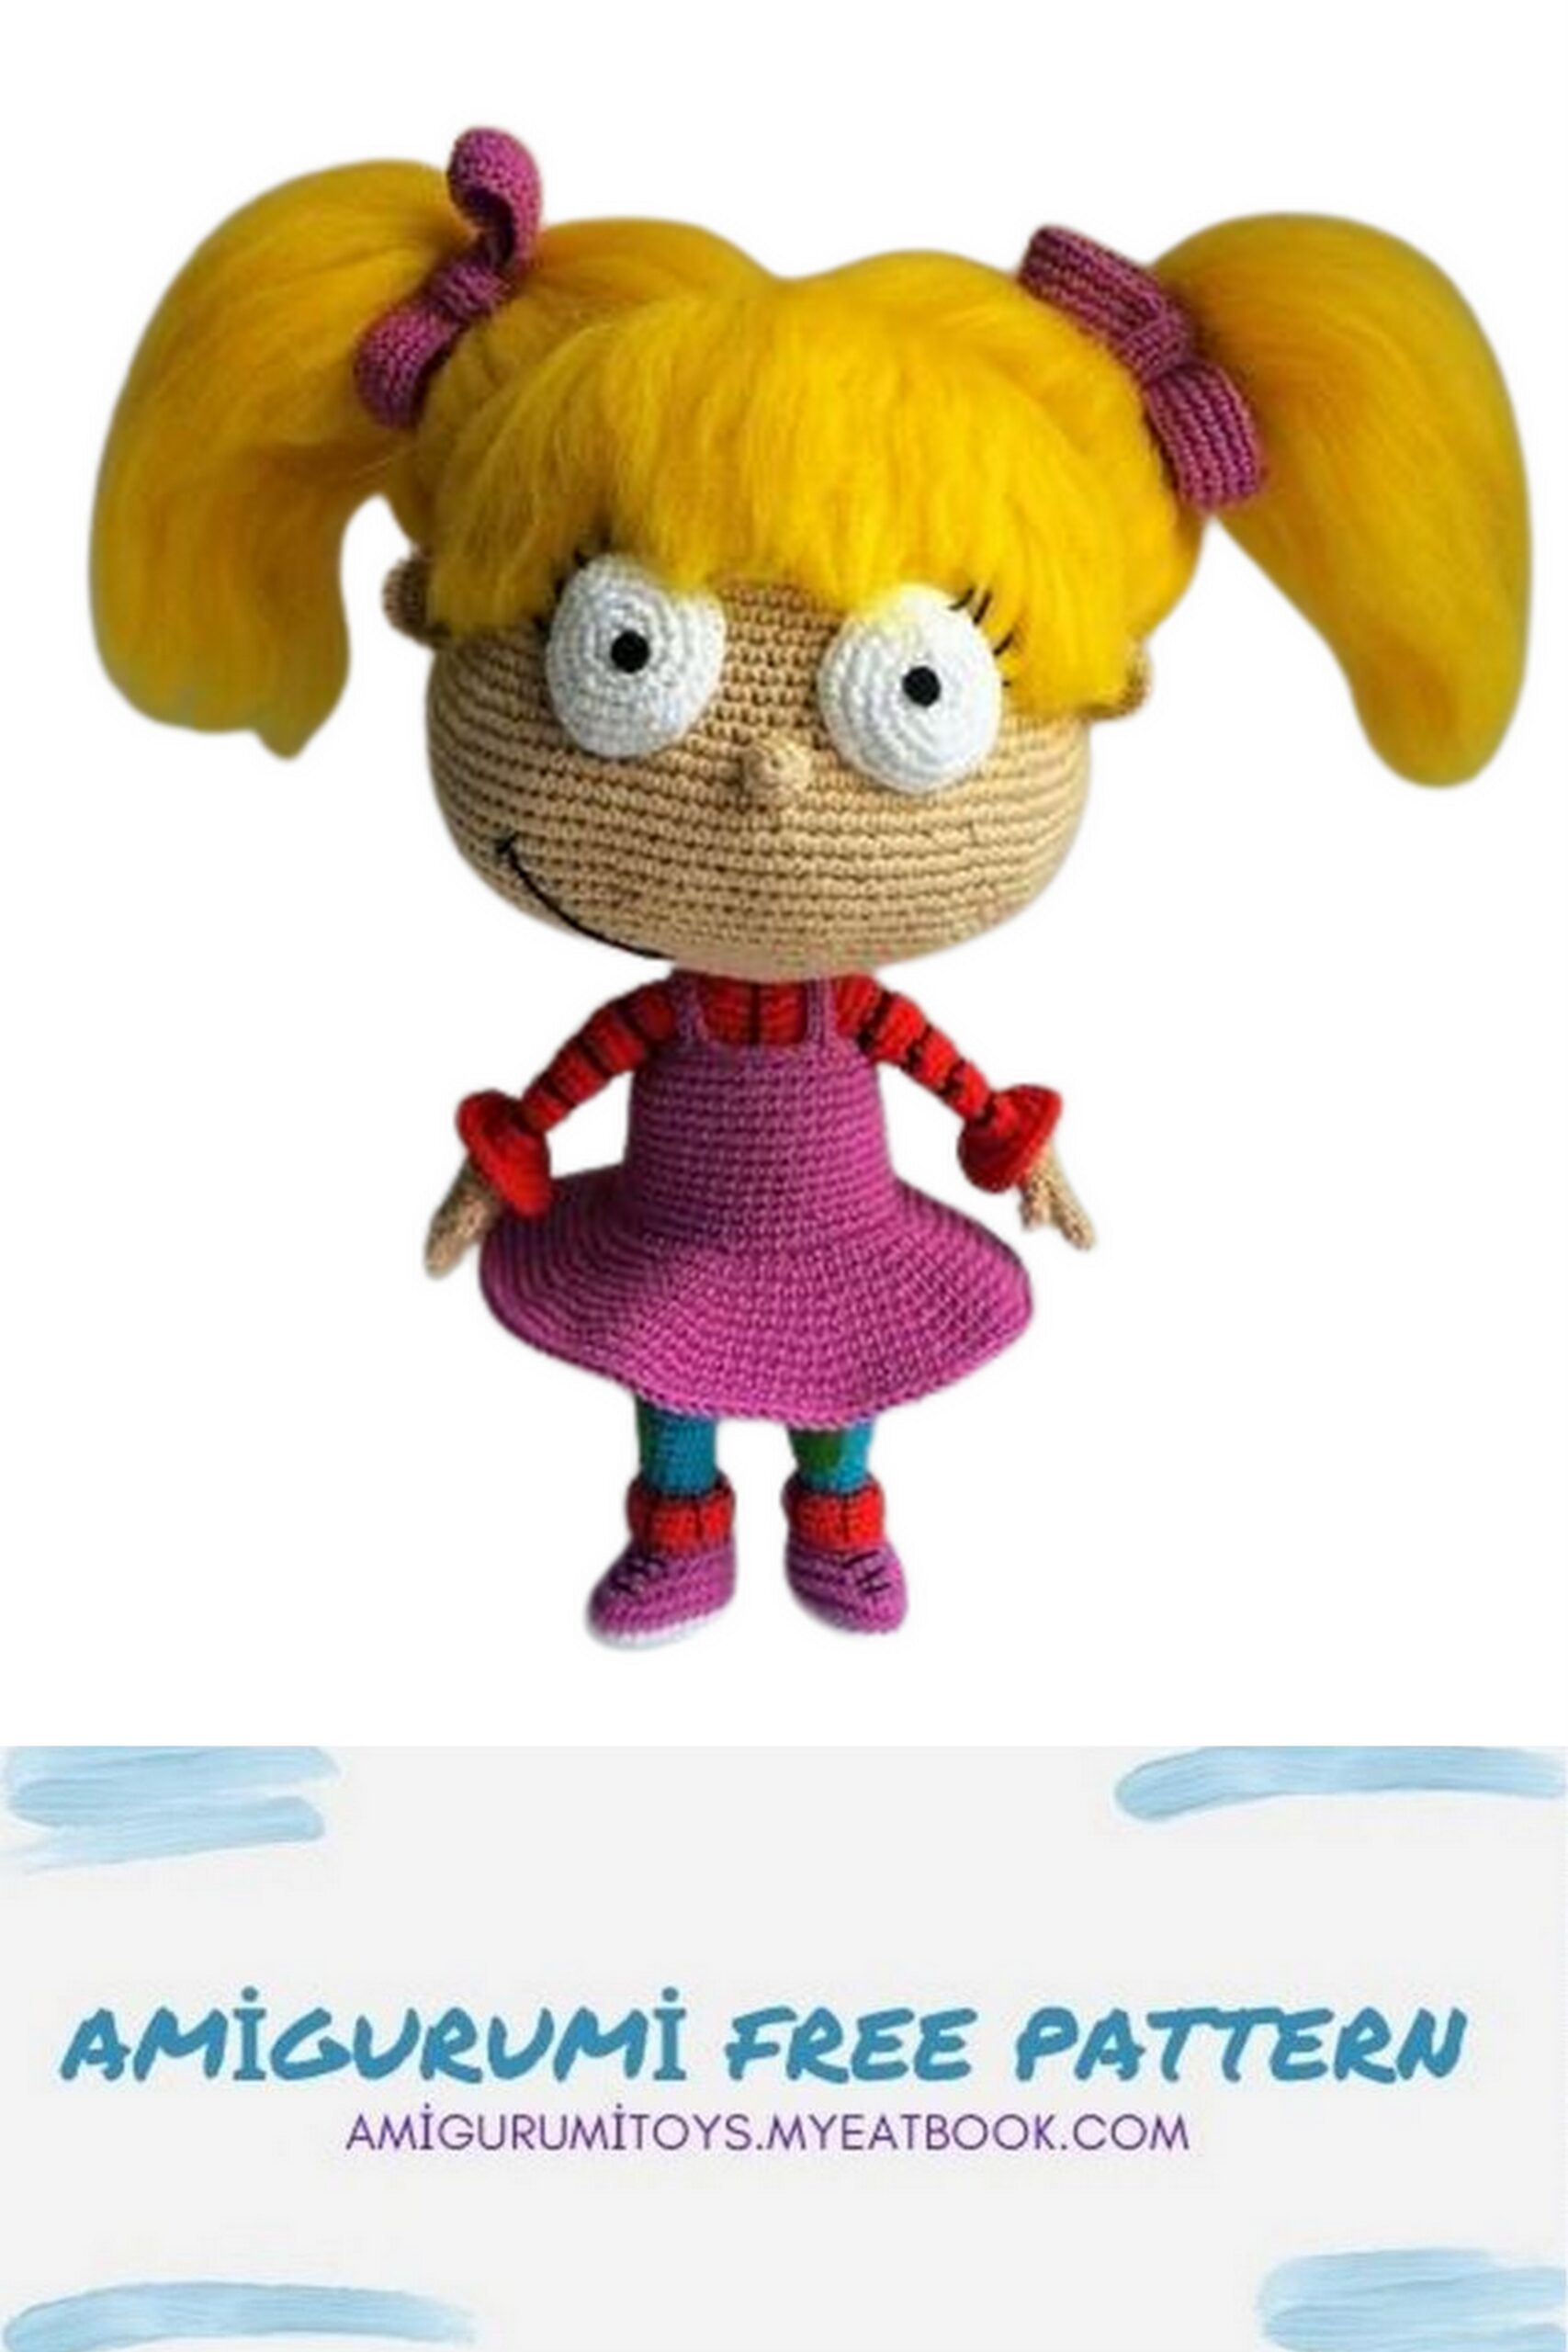
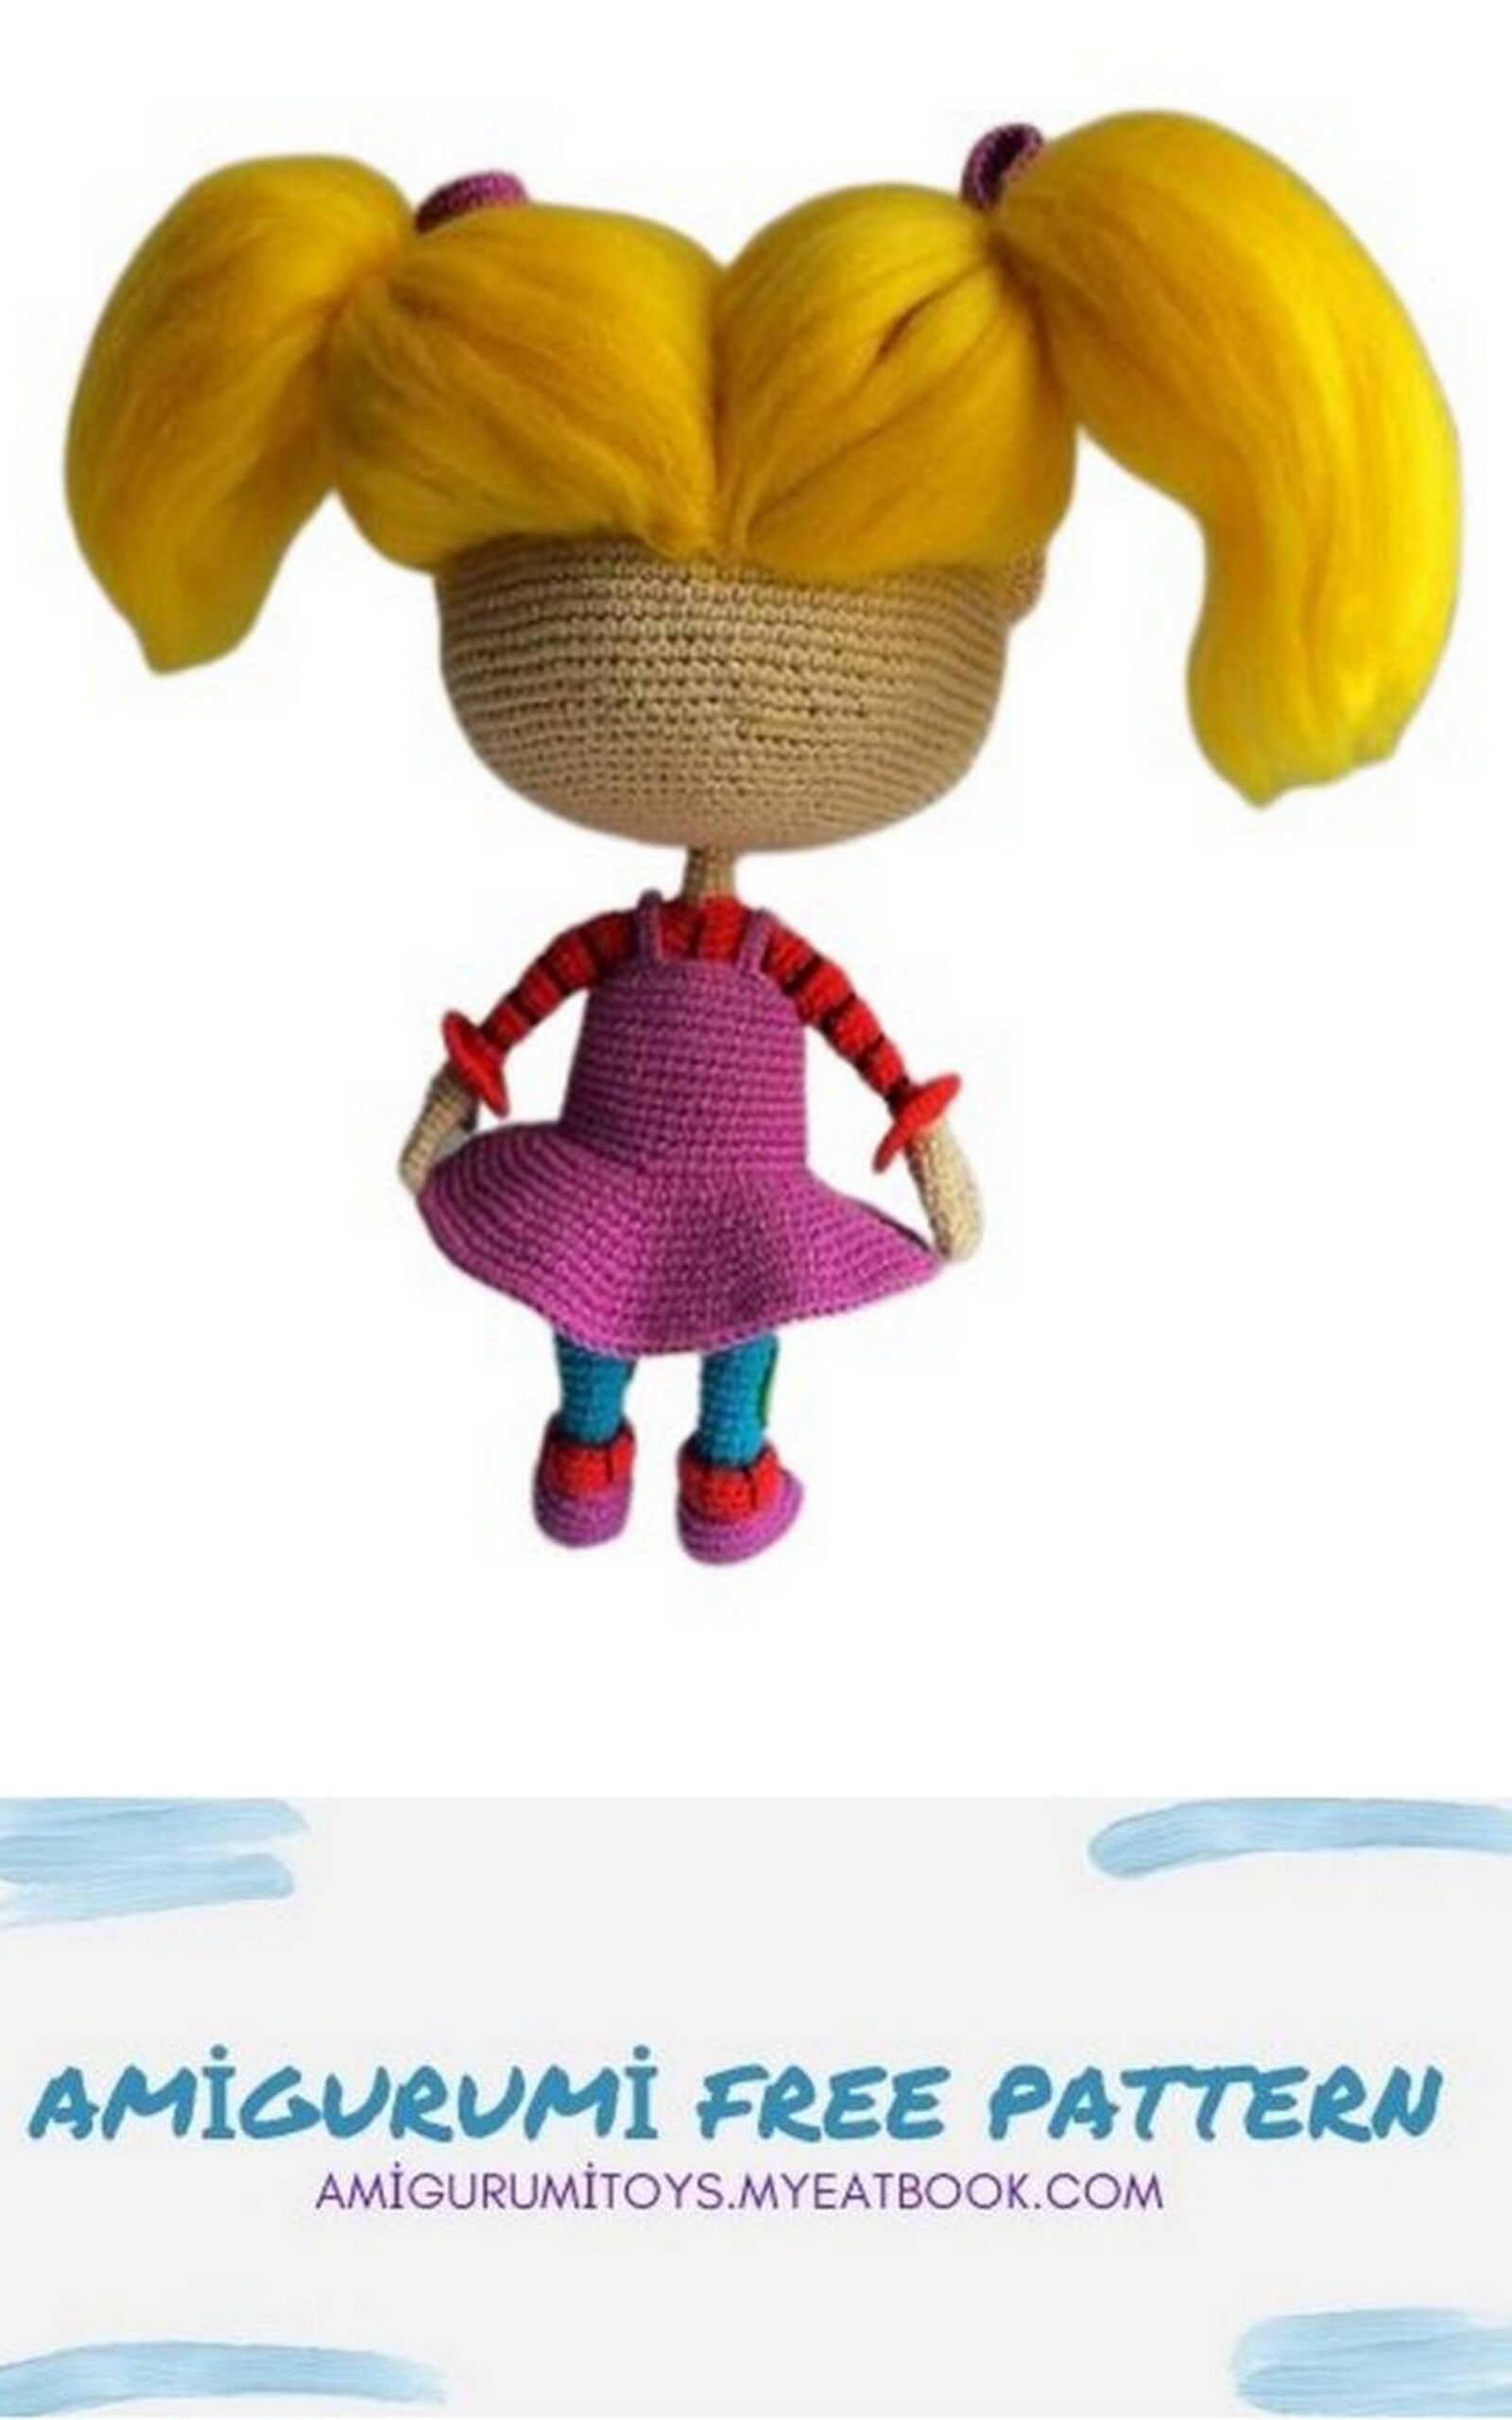
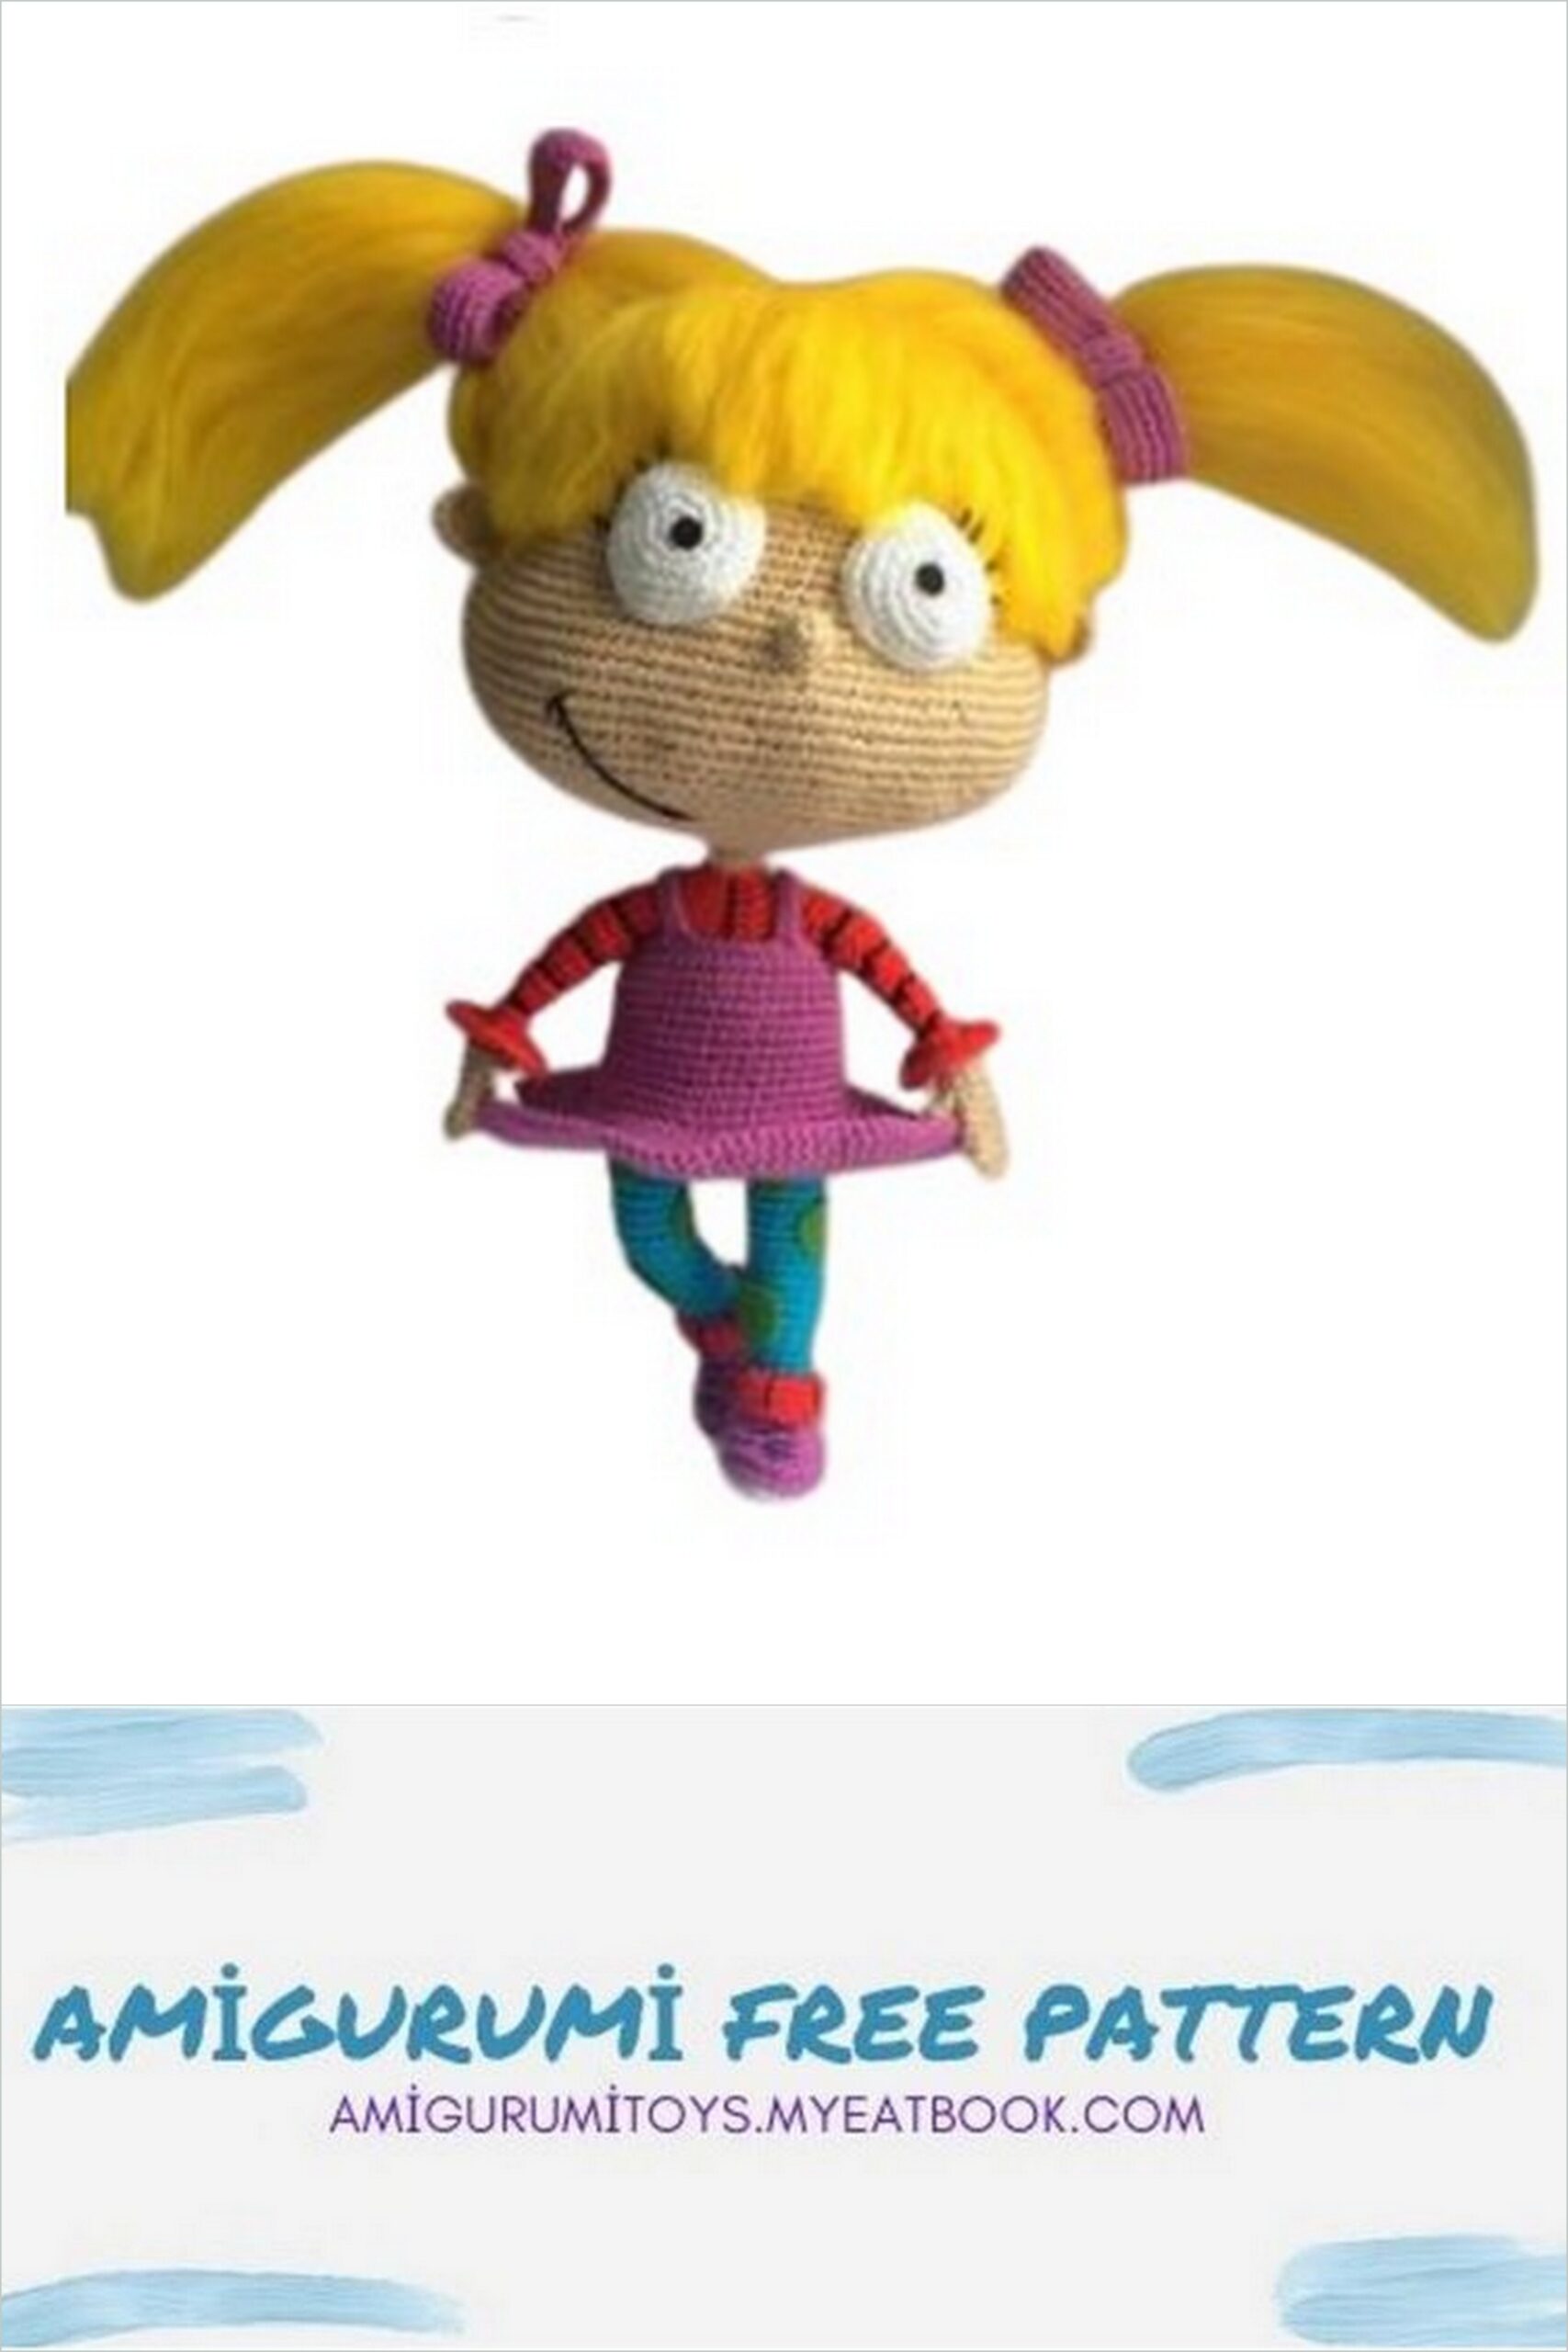
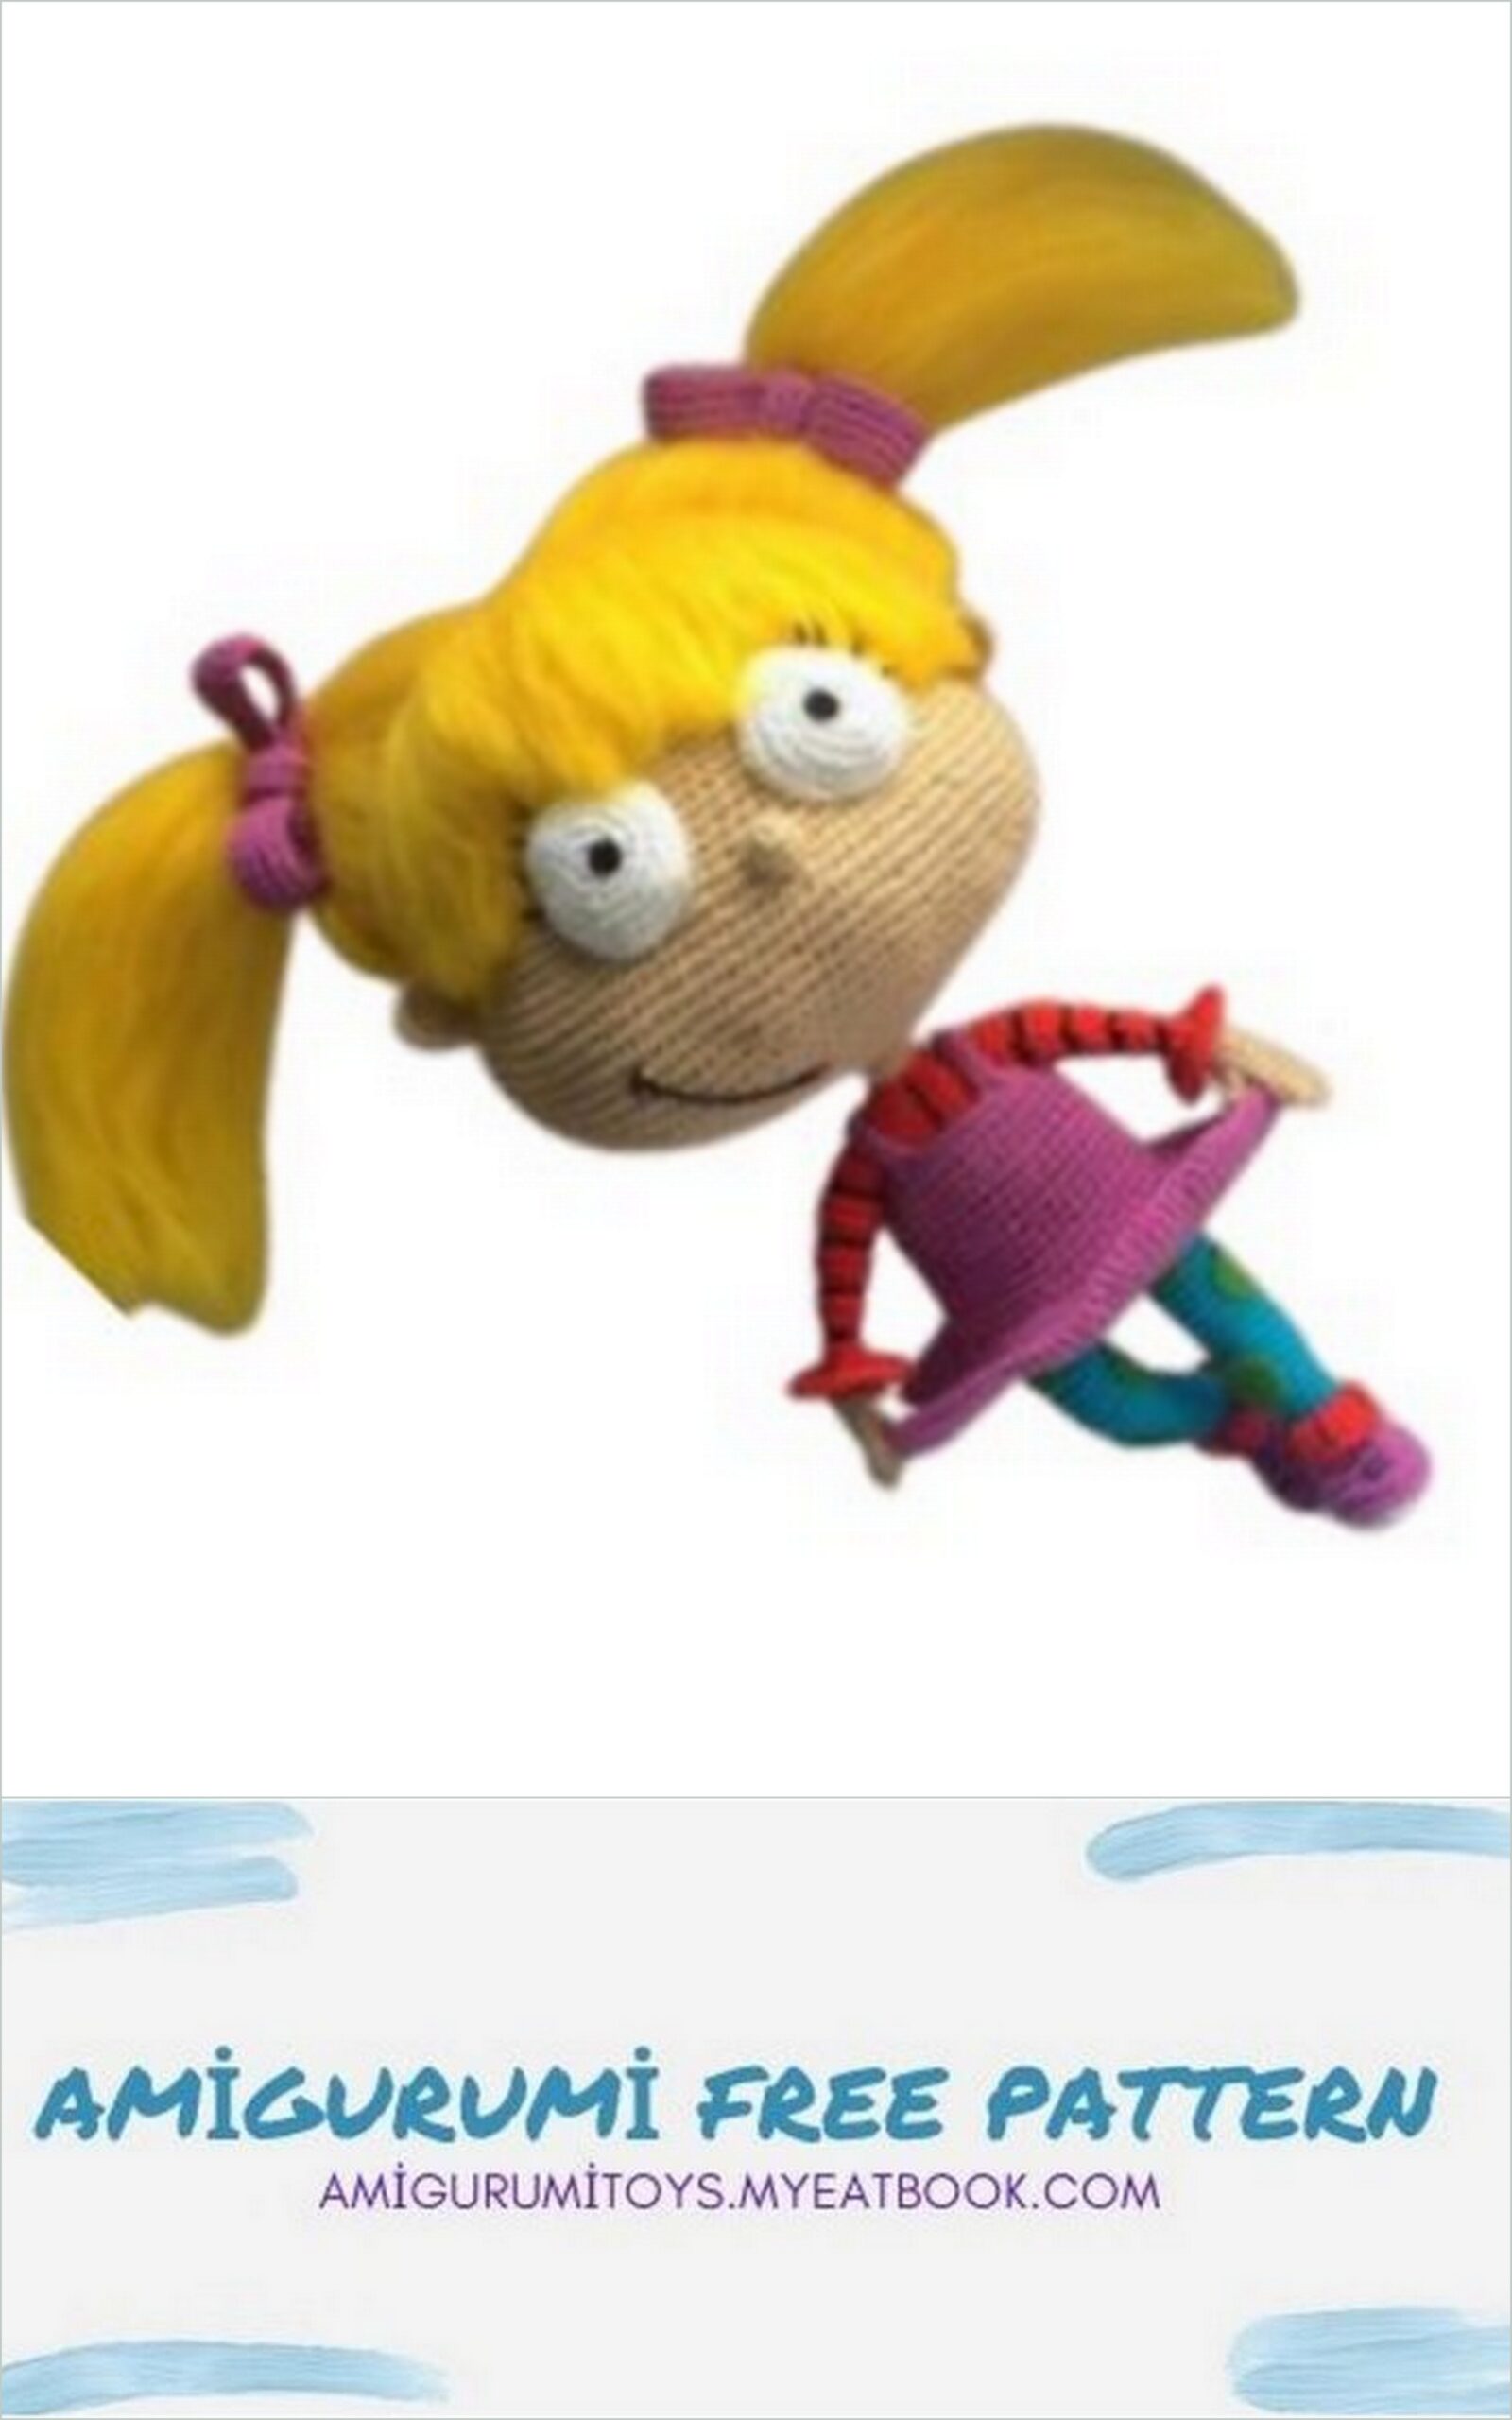
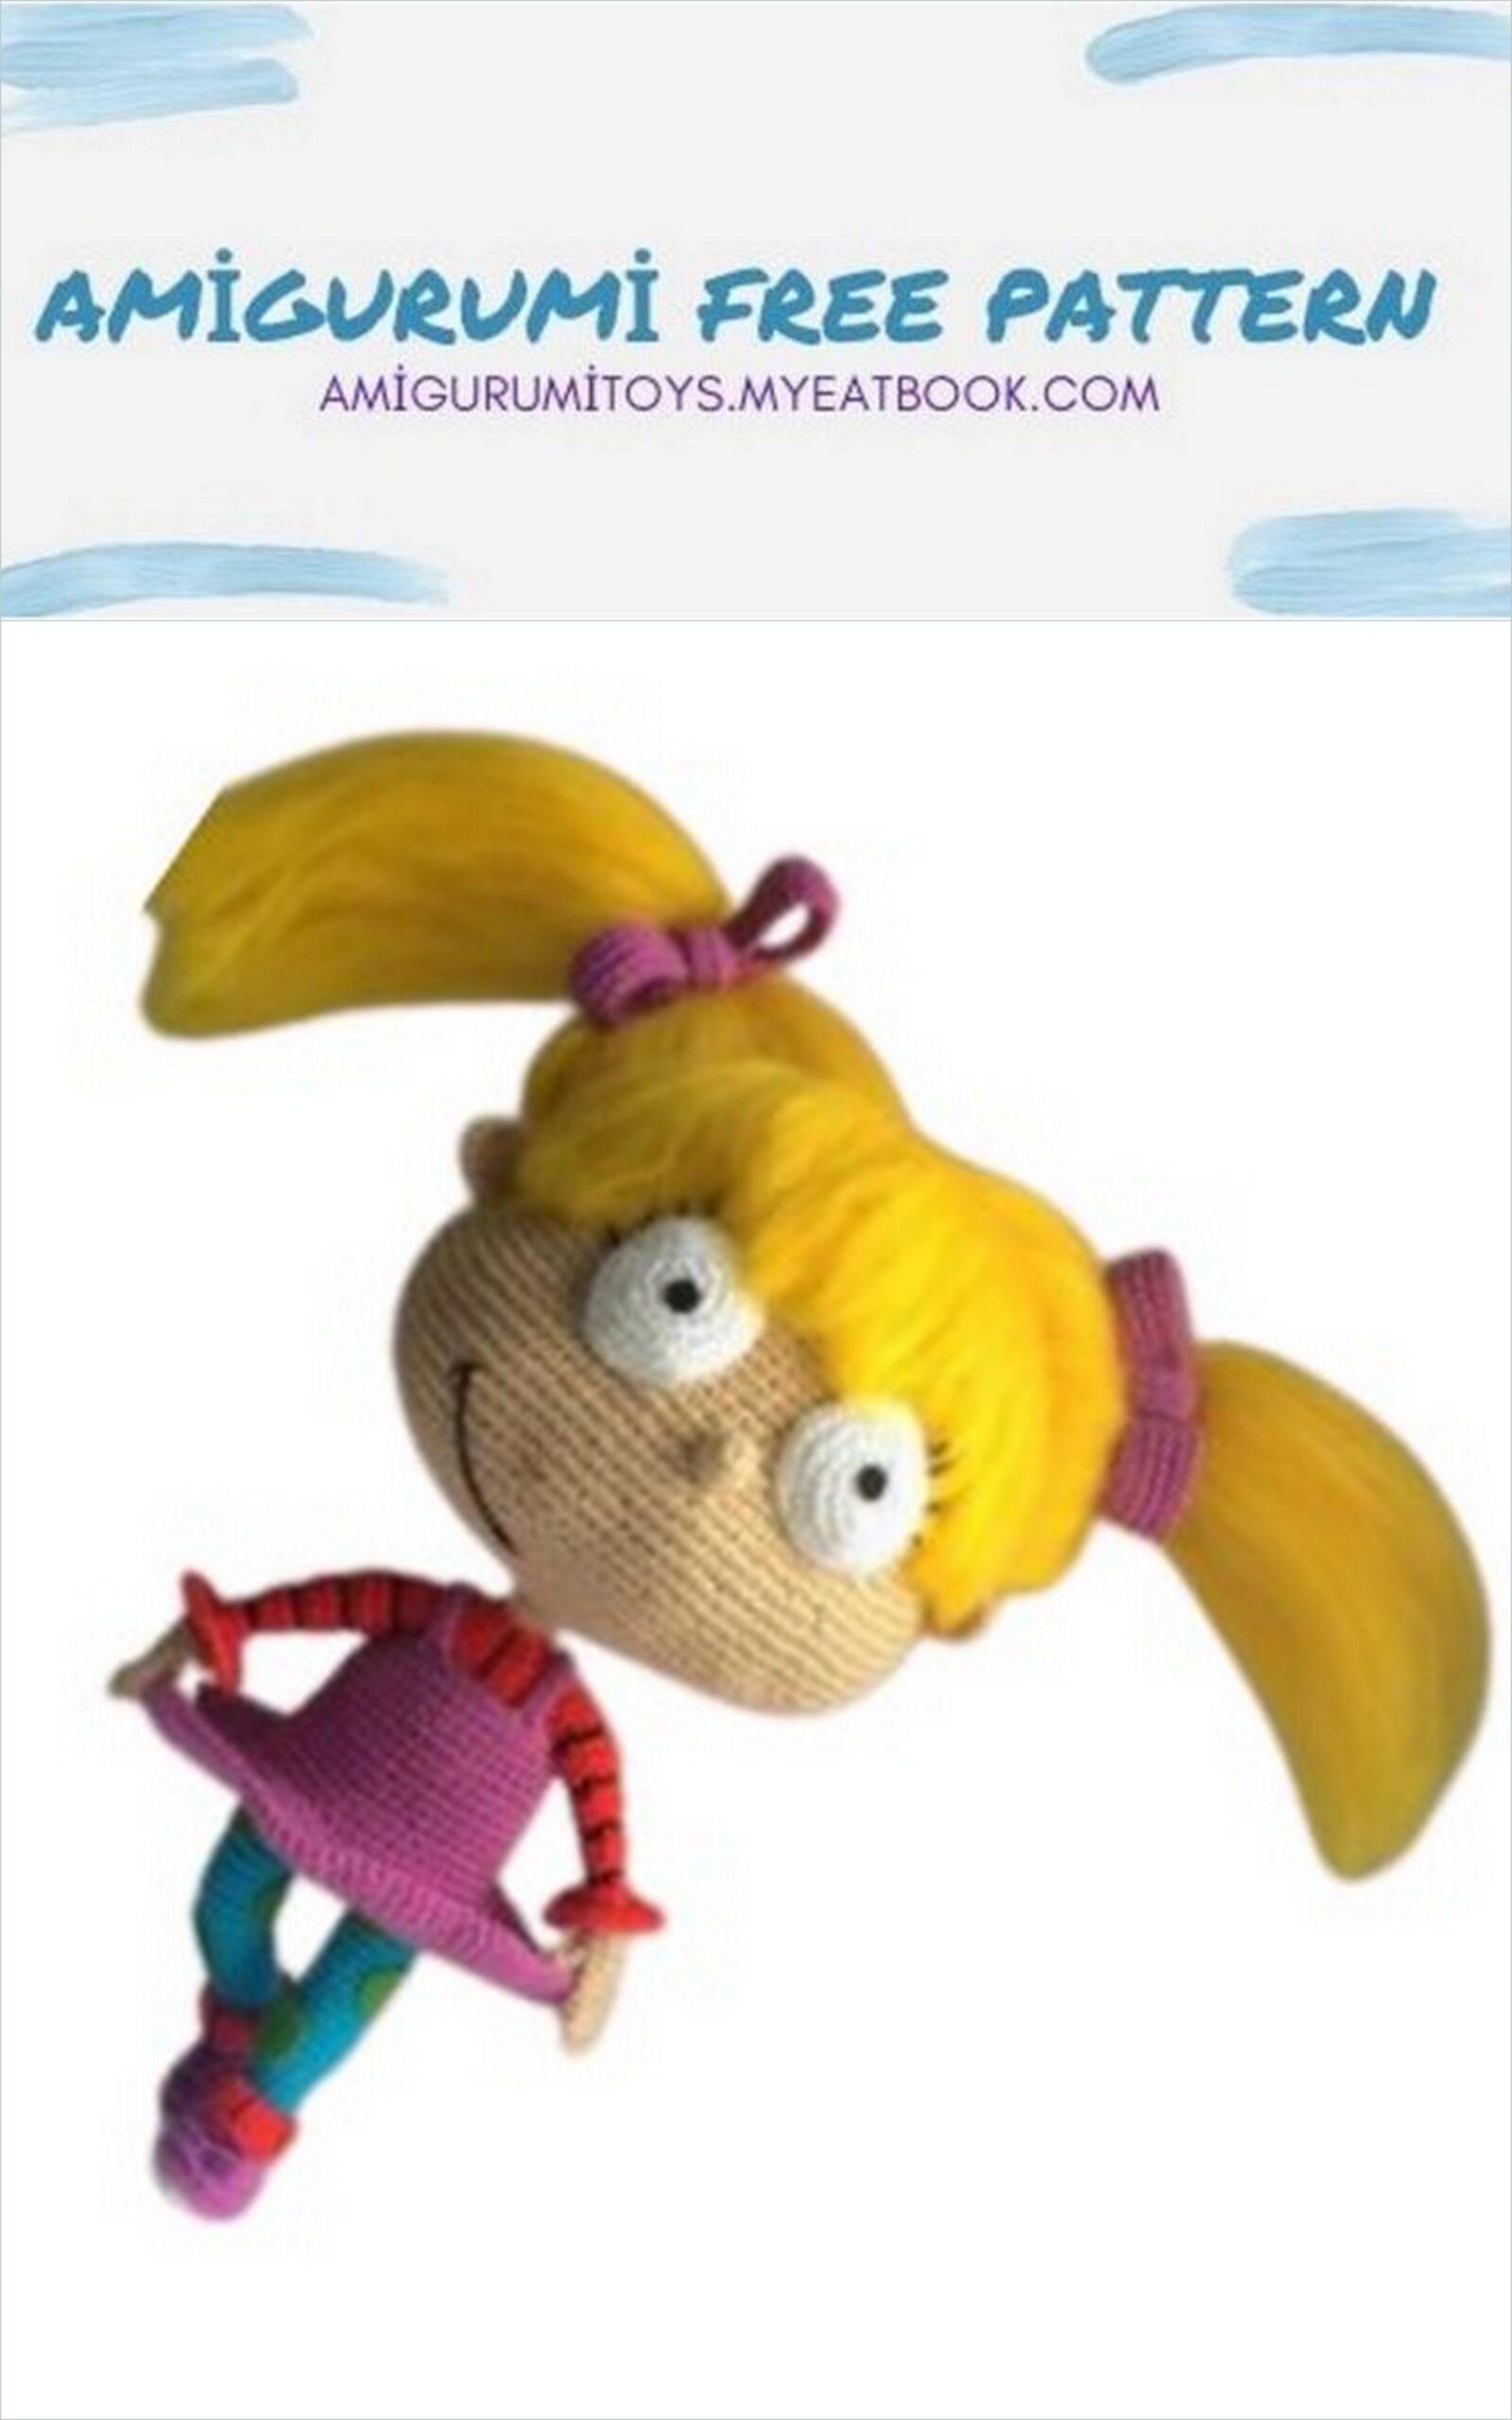
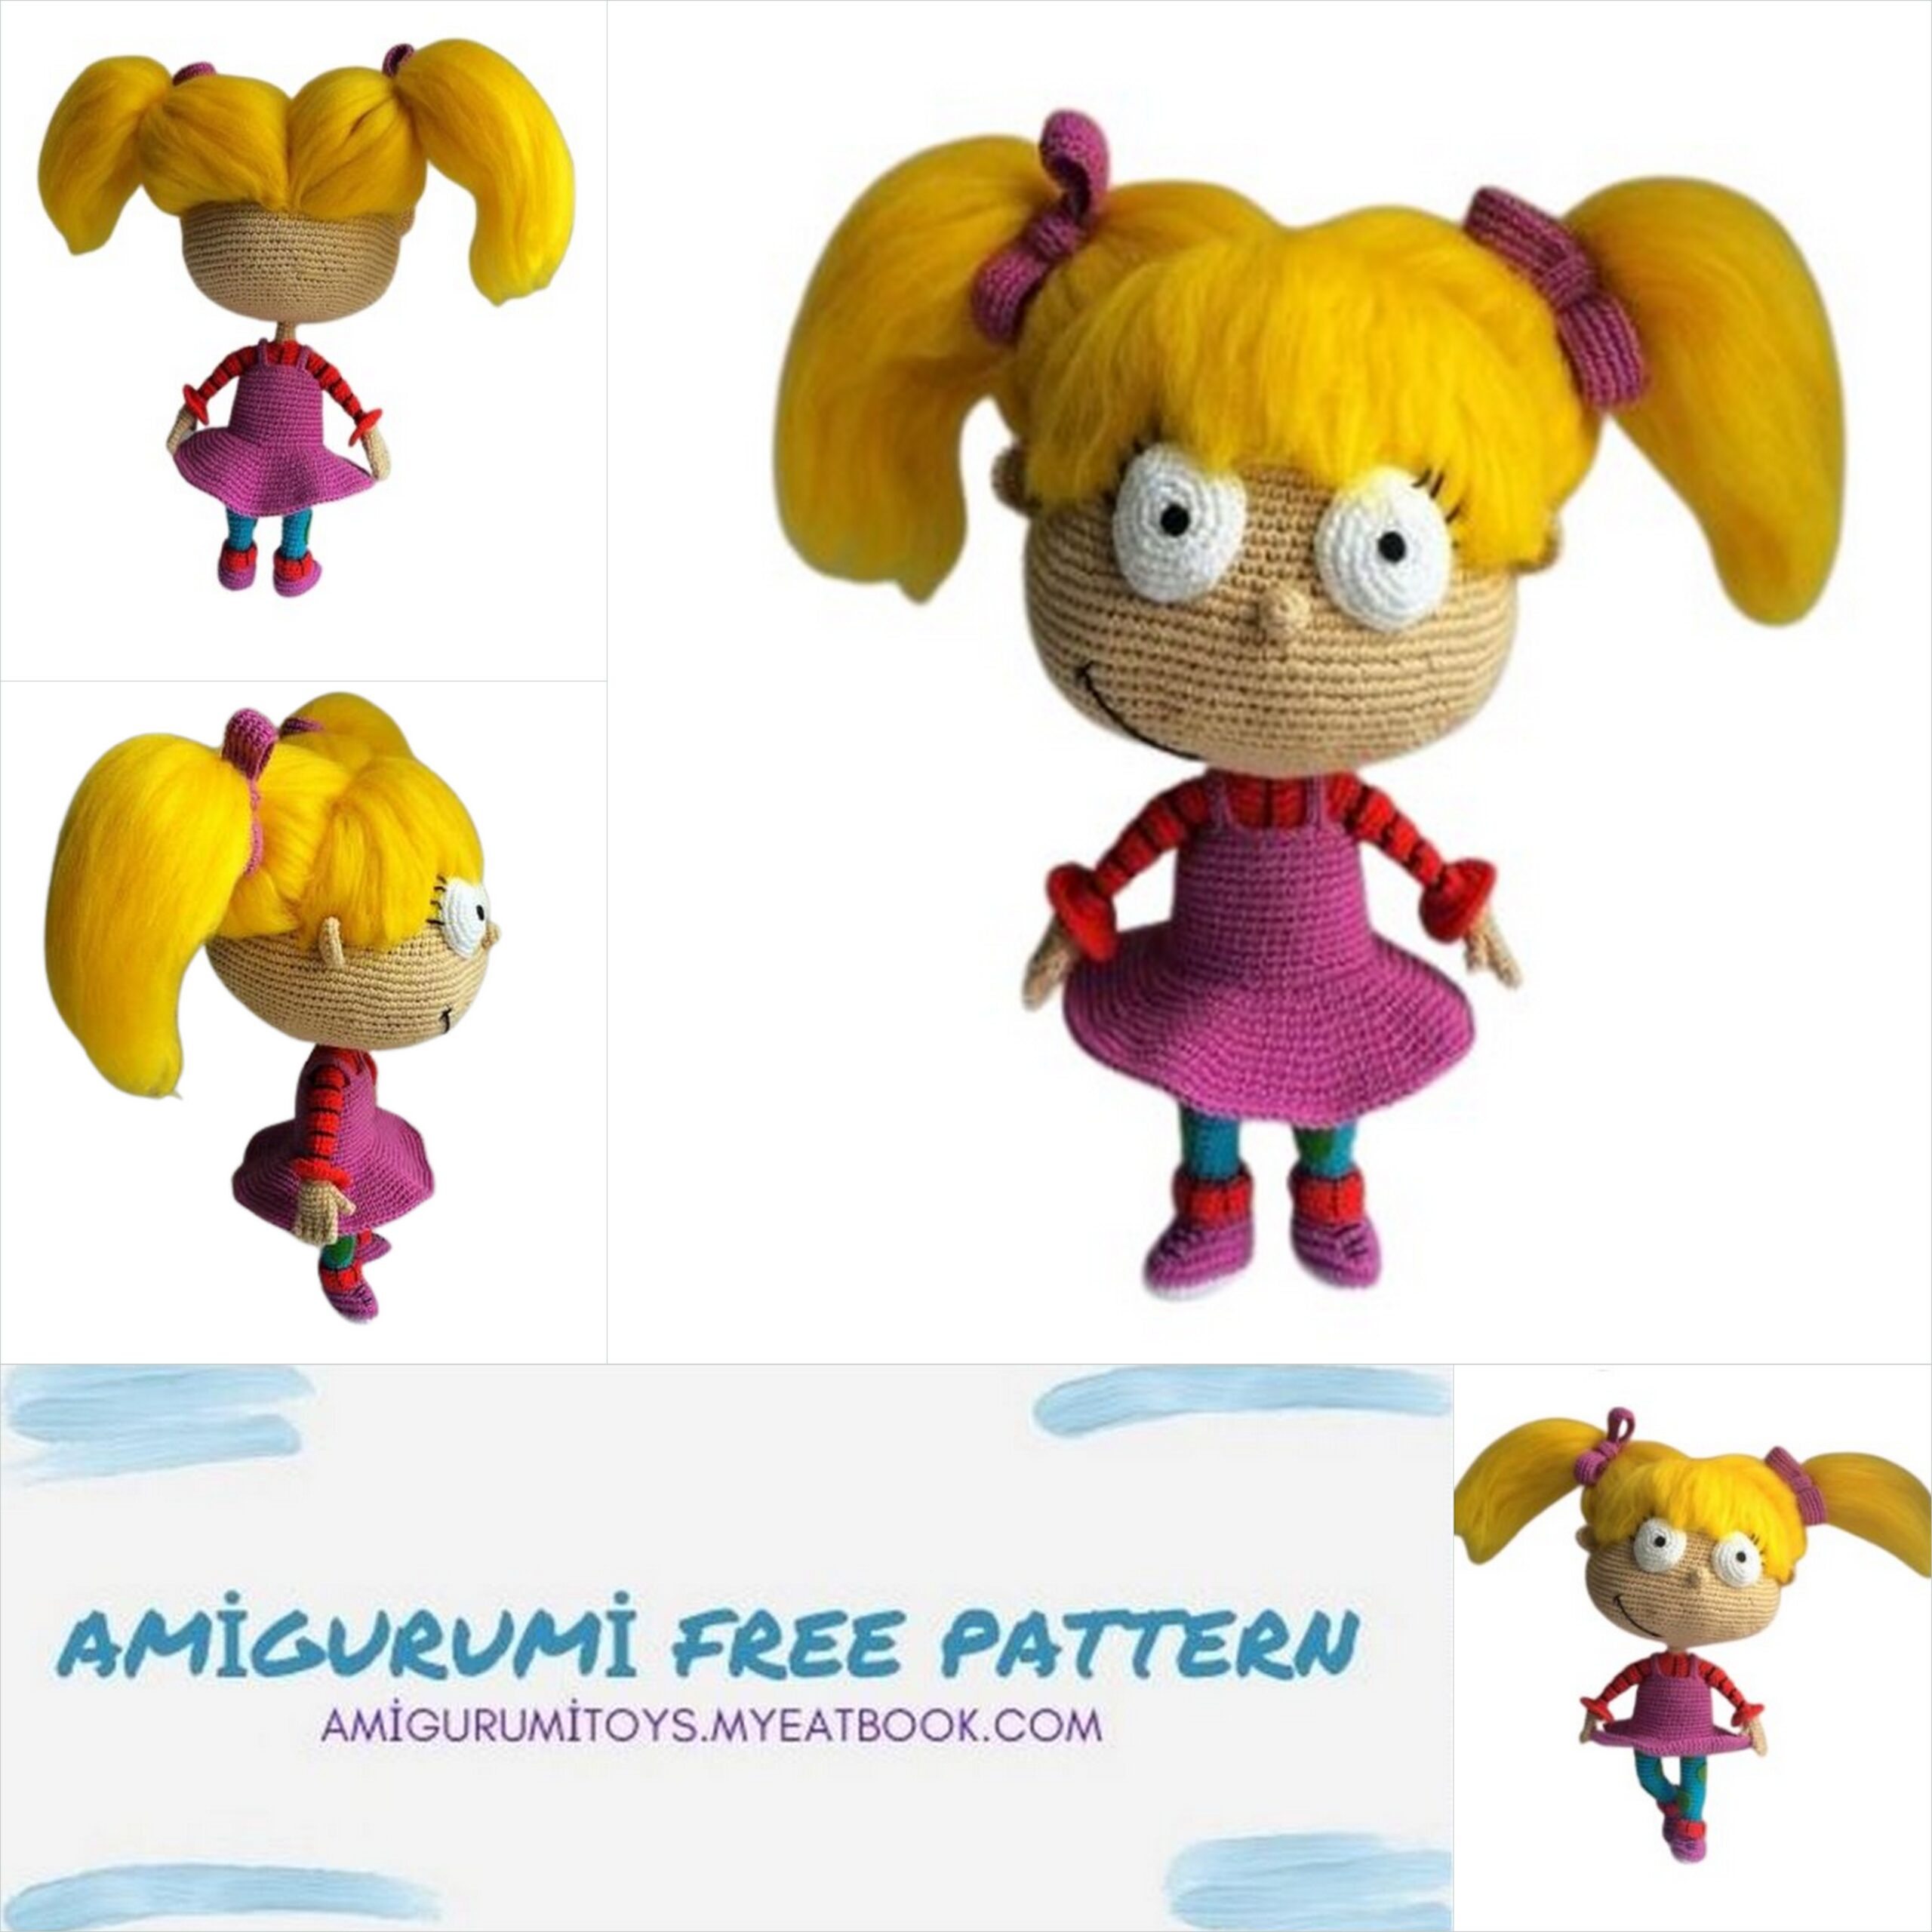
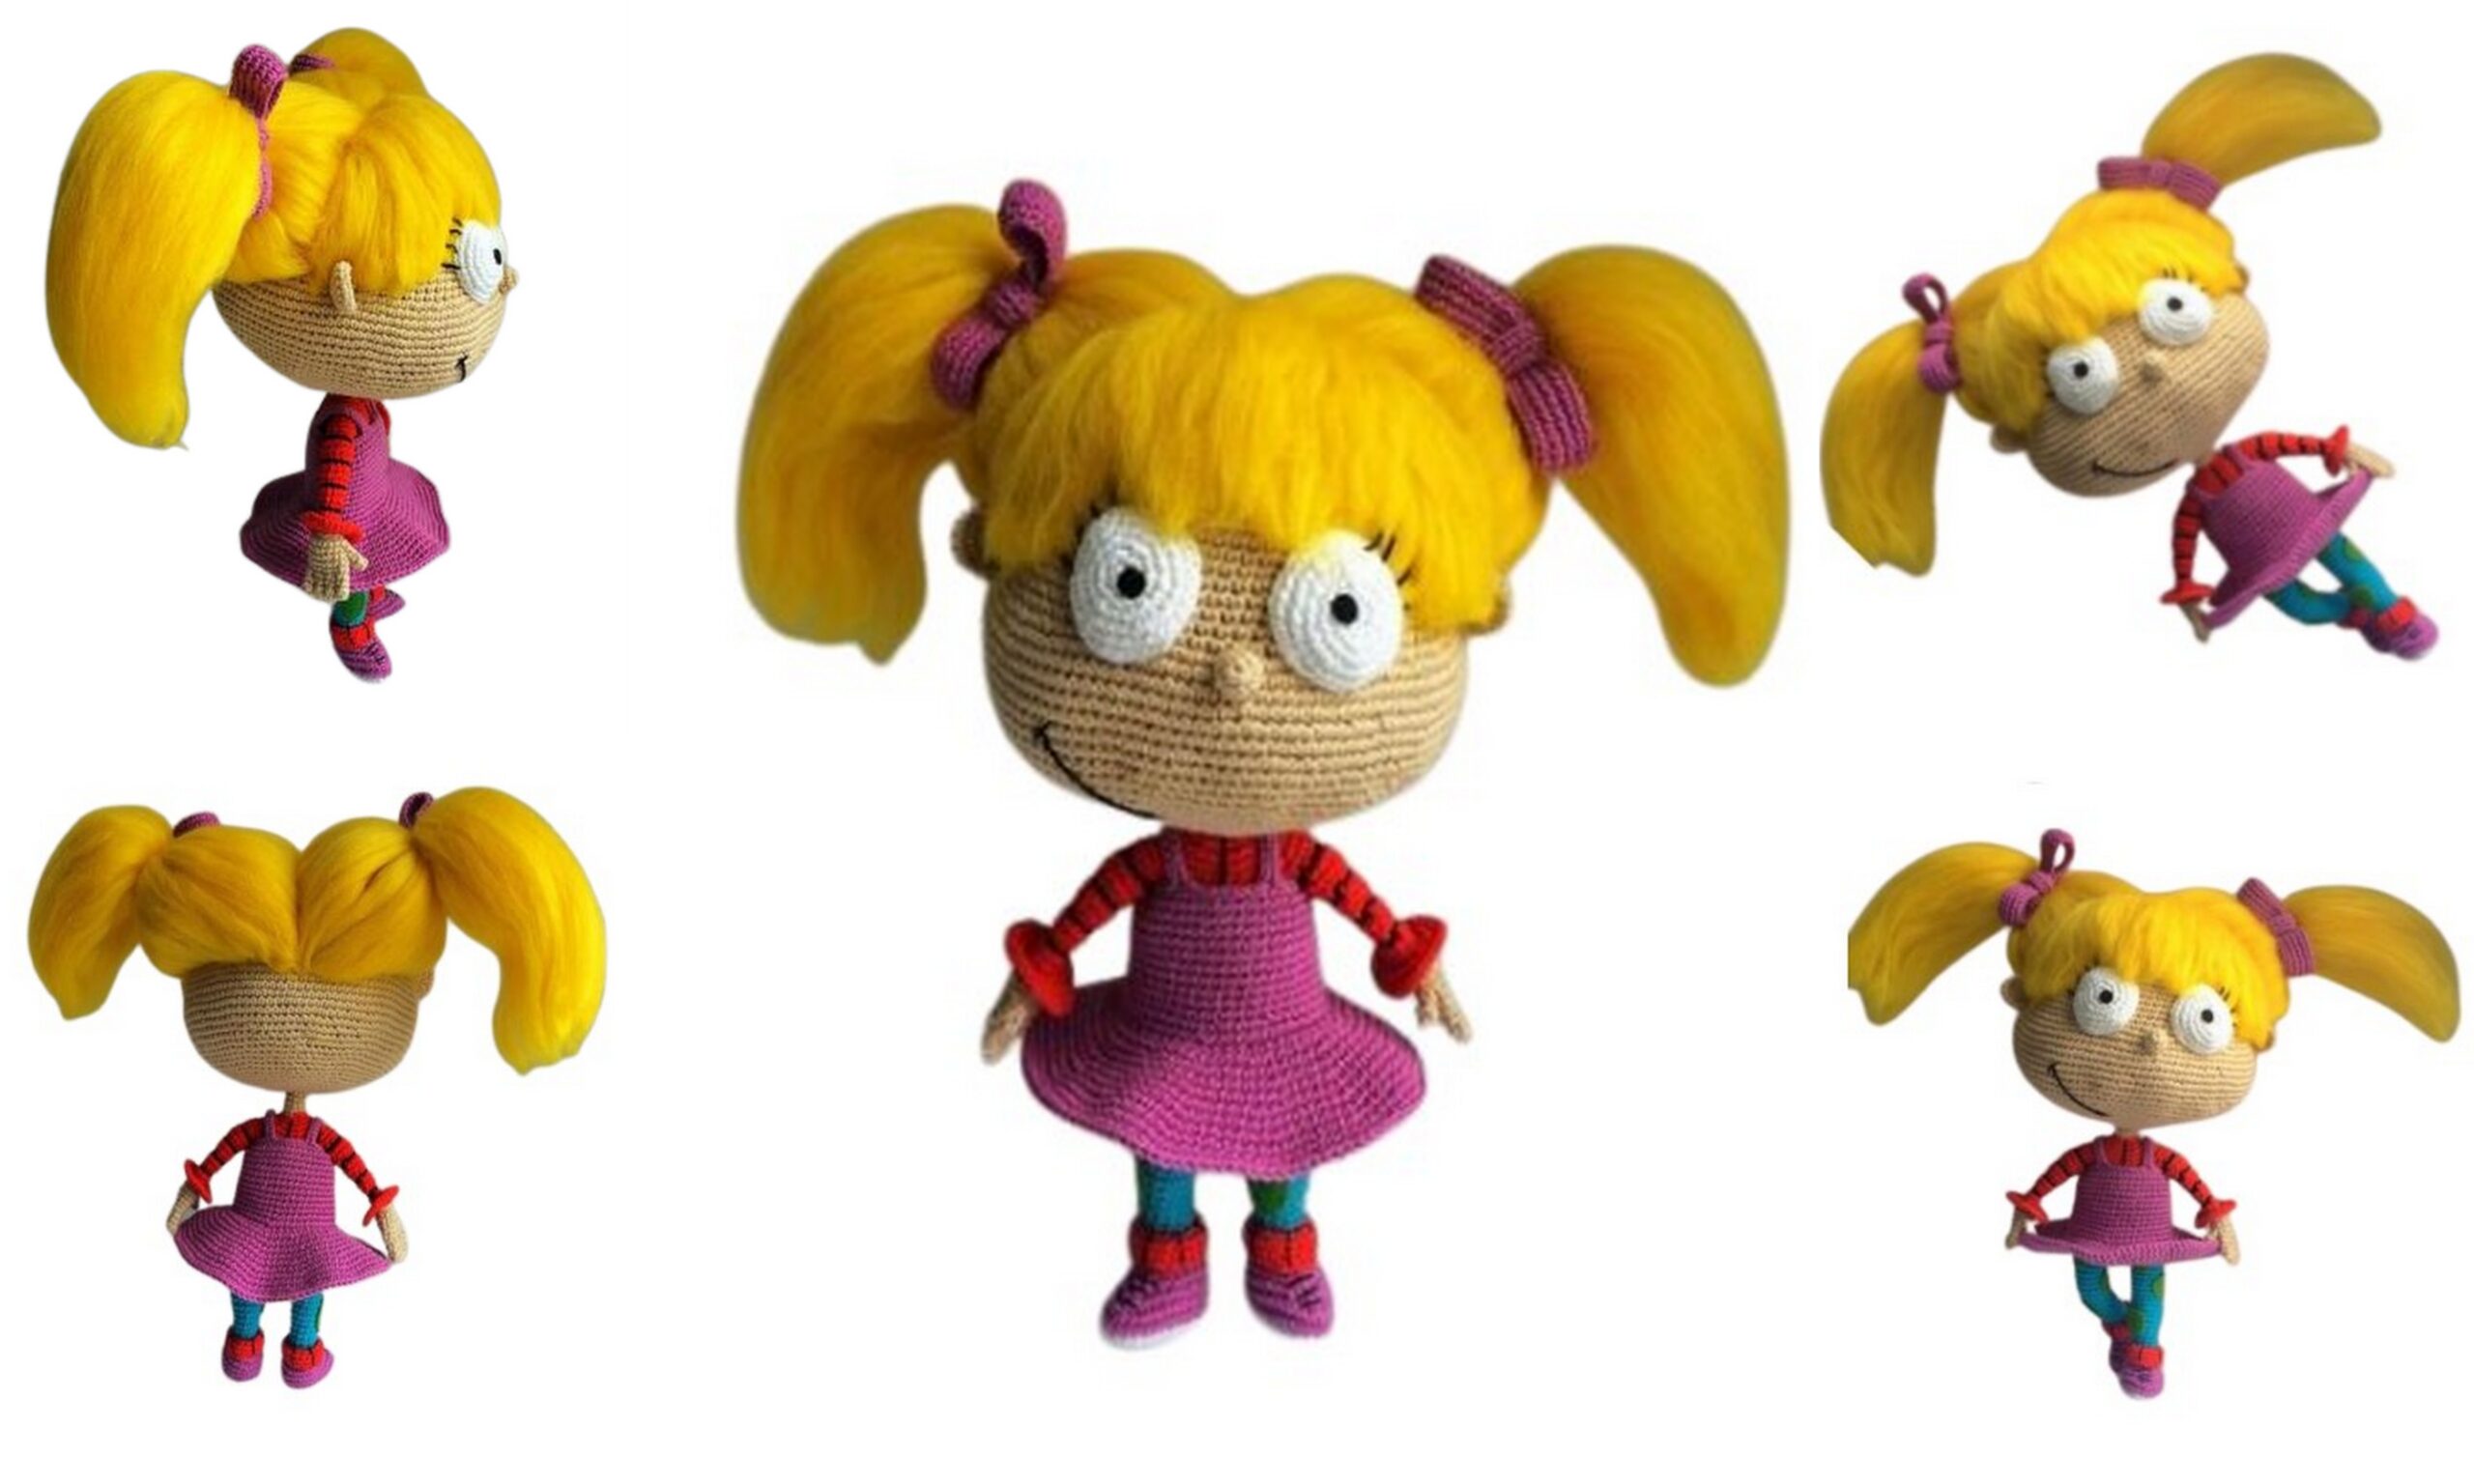
Amigurumi Angelica Doll Free Crochet Pattern
We continue to share Amigurumi free crochet patterns with you. In this article, we shared a great amigurumi doll pattern.
Materials:
1. Yarn (Weight: fingering or super fine yarn)
Beige(skin)
Blue (pants)
Red (shirt and socks)
Purple (dress, bows, shoes)
Black (embroidery details)
White (eyes and shoes)
Yellow (hair). You can take felting yarn or normal yarn
2. Hook 1,3
3. Fiberfill
4. Yarn or tapestry needle
5. Wire
6. Green felt for the circles on stockings
7. Few plastic (can be used on the cover of plastic containers of ice-cream, for example)
Terms Used:
sl st – slip stitch
ch – chain
sc – single crochet
inc – increase
dec – decrease
hdc – half double crochet
dc – double crochet
sc3tog – stitch next 3 stitches together
BLO – Back Loop Only
FLO – Front Loop Only
( ) – number of stitches for each round
FO – Finish off
[ ] -repeat work as directed
*- indicates repeats
Let’s go:
Fingers
Thumb – make 2
With beige 1) 4 sc into magic ring (4)
2-3) 4 sc (4) FO
Fingers – make 6
With beige
1) 4 sc into magic ring (4)
2-4) 4 sc (4) FO
Forefinger – make 2 (don’t cut yarn continue on with hands)
With beige
1) 4 sc into magic ring (4)
2-4) 4 sc (4) FO
Hands
5) 2sc, 2sc on the second finger, 2sc on third finger, 4 sc on the last finger, 2 sc
in the third finger, 2 sc in the second finger, 2 sc in the first finger (16)
6) 16 sc (16)
Left
7) 2 scon thumb, 14 sc (16)
8) 2 scon other thumb’s loops, 14 sc (16)
continue onto arm instructions
Right
7) 6 sc, 2 scon thumb, 8 sc (16)
8) 6 sc,2 scon other thumb’s loops, 8sc (16)
Arms
continue with beige
9) 16 sc (16)
10) 8 dec (8)
With RED
11)8 scin BLO (8)
12-13) 8 sc (8)
With BLACK
14) 8 sl st(8)
With RED
15) 8 sc (8)
16) [inc, 3 sc]* 2 (10)
17) 10 sc (10)
With BLACK
18) 10 sl st (10)
With RED
19-20) 10 sc (10)
21) [inc, 4 sc]* 2 (12)
With BLACK
22) 12 sl st(12)
With RED
23-25) 12 sc (12)
With BLACK
26) 12 sl st(12) FO
Cuff
With red
Attach yarn to FLO of round 11 of arms
1) 8 inc (16)
2) [sc, inc]* 8 (24)
3) [2 sc, inc]* 8 (32) FO
Legs
With white
Chain 8
1)inc, 5 sc, 3 scin the first loop of the chain, 5 sc, inc (17)
2) [sc, inc] * 2, 4 sc, 3 scin the first loop of the chain, 4 sc, [inc, sc] * 2 (23)
3) sc, inc, 2 sc, inc, 6 sc, 3 scin the first loop of the chain, 6 sc, inc, 2 sc, inc,
sc(29)
4) 29 sc in BLO(29)
At the bottom of the shoe can put a piece of plastic
With purple
5) 29 sc (29)
6) 13 sc, sc3tog, 13 sc (27)
7) 10 sc, dec, sc3tog,dec, 10 sc (23)
8) 8 sc, dec, sc3tog, dec, 8 sc (19)
9) dec, 4 sc, dec, sc3tog, dec, 4 sc, dec (13)
Crochet another onedec (12)
With blue
10) 12 scin BLO(12)
11-16) 12 sc (12)
17) [inc, 5 sc] *2 (14)
18-32 14 sc (14)
Sock
With red
Attach yarn to FLO of round 10 of leg
1)[inc, 5 sc] *2 (14)
2-3) 14 sc (14)
4) [inc, 6 sc] *2 (16)
5-6) 16 sc (16)
Fold over sock
7) 16 sc (16) FO
Do NOT cut yarn after second leg continue on with body instructions
The body and neck
With blue
1) 7sc, 5 ch, 14 scon the first leg, 5 scinch, 7scon leg (38)
2-4) 38 sc (38)
5) [dec, 17 sc] *2 (36)
With red
6) 36 sc (36)
7) 8 sc, dec, 16 sc, dec, 8 sc (34)
8) 34 sc (34)
Make a “fork” of the wire inserted into the legs.
Before inserting the wire into the legs fill with fiberfil
9) [dec, 15 sc] *2 (32)
10) 32 sc (32)
11) 7 sc, dec, 14 sc, dec, 7 sc (30)
12) 30 sc (30)
Crochet several loops so that the marker in the middle of the back. We put hands on the
two sides of the body. The next series will be crochet on the back, on the left hand on the
front of the body and right arm
13) [7, dec]* 6 (48)
14) [6, dec]* 6 (42)
15) [5, dec]* 6 (36)
16) [4, dec]* 6 (30)
17) 30 sc (30)
18) [3, dec]* 6 (24)
19) [2, dec]* 6 (18)
20) [sc, dec]* 6 (12)
With beige
21) 12 scin BLO
22-24) 12 sc (12) FO
Embroidered black yarn strips on the jacket, socks and shoes
Dress
With purple
Chain 38
1-2) 38 sc (38)
3) [inc, 18 sc] * 2 (40)
4-11) 40 sc (40)
12) [inc, 19 sc] * 2 (42)
13) 10 sc, inc, 20 sc, inc, 10 sc (44)
14) [10 sc, inc] *4 in FLO (48)
15) [7 sc, inc] * 6 (54)
16) 4 sc, [inc, 8 sc] *5, inc, 4 sc (60)
17) [inc , 9 sc]* 6 (66)
18) 5 sc, [inc, 10 sc] *5, inc, 5 sc (72)
19) [11 sc, inc] * 6 (78)
20) 6 sc, [inc, 12 sc] *5, inc, 6 sc (84)
21)[inc , 13 sc] * 6 (90)
22) 7 sc, [inc, 14 sc] *5, inc, 7 sc (96)
23)[15 sc, inc]* 6 (102)
24) 8 sc, [inc, 16 sc] *5, inc, 8 sc (108) FO
Dress straps
Put dress on Angelica so that the first loop of the last round is under the left arm.
We count down and mark the 6 th, 14 th, 25 th and 33 st stich from the beginning of the last round of the
dress.
Attach the yarn to the 6 th loop. Chain 18. Sl st in the 33rd loop. Crochet dress sl st on hand 10 loops, chain
16. FO
Attach the yarn to the 14-th loop. Chain 18. Crochet sl st to 25th loop. Crochet sl st in the back between the
shoulder straps dress, the first strap at the front of the dress between the straps, straps for the second ch. FO
and hide yarn end.
Attach the yarn to the dress under the right handle. Crochet on the sleeve armhole: on board, with a second
strap on her dress. FO and hide yarn end.
Head
With beige
1) 6 sc into magic ring (6)
2) 6 inc (12)
3) [sc, inc] * 6 (18)
4) [2 sc, inc] * 6 (24)
5) [3 sc, inc] * 6 (30)
6) [4 sc, inc] * 6 (36)
7) [5 sc, inc] * 6 (42)
8) [6 sc, inc] * 6 (48)
9) [7 sc, inc] * 6 (54)
10) [8sc, inc] * 6 (60)
11) [9sc, inc] * 6 (66)
12) [10sc, inc] * 6 (72)
13) [11sc, inc] * 6 (78)
14) [12sc, inc] * 6 (84)
15) [13sc, inc] * 6 (90)
16-26) 90 sc (90)
27) [sc, inc]* 30, 30 sc (120)
28-34) 120 sc (120)
35) 9 sc, [18 sc, dec]* 5, dec, 9 sc (114)
36)[17 sc, dec] * 6 (108)
37) 8 sc, [16 sc, dec] * 5, dec, 8 sc (102)
38)[dec, 15 sc] * 6 (96)
39) 7 sc, [14 sc, dec] * 5, dec, 7 sc (90)
40) 90 sc (90)
41)[13 sc, dec] * 6 (84)
42) 6 sc, [12 sc, dec] * 5, dec, 6 sc (78)
43)[dec, 11 sc] * 6 (72)
44) 5 sc, (10 sc, dec] * 5, dec, 5 sc (66)
45) 66 sc (66)
46)[9 sc, dec] * 6 (60)
47) 4 sc, (8 sc, dec] * 5, dec, 4 sc (54)
48)[dec, 7 sc] * 6 (48)
49) 3 sc, [6 sc, dec] * 5, dec, 3 sc (42)
50) [5 sc, dec] * 6 (36)
51) 2 sc, [4 sc, dec] * 5, dec, 2 sc (30)
52) [dec, 3sc] * 6 (24)
53) [2 sc, dec] * 6 (18)
54) 9 dec (9)
FO leaving a long tail for sewing. Tightly fill head
It is planned to the middle of the head, where it will nose. The back of the head, where we did not of increases. Is measured from the nose 8 loops on both sides in the 28 round. It is planned to contract the place where the head thread. Bottom head around the hole to stick the thread with a needle and take out at the intended location. We make a barely perceptible stitch and at the same place where the noose pulled out, pull back down. Repeat with the other hand.
We contract slightly in the head round 28 on both sides in a place where there are ears. Threading the thread near side head 28 and take out the number of the other party. We make a barely perceptible stitch and at the same place where the noose pulled out, pull back. Again we do a stitch thread and print on the back. FO and hide tail
Ears- make 2
With beige
1) 6 sc into magic ring (6)
2) 6 inc (12)
3) [sc, inc] * 6 (18)
4) 18 sc (18) FO
Nose
With beige
1) 6 sc into magic ring (6)
2) [sc, inc] * 3 (9)
3) [2 sc, inc] * 3 (12) FO
Eyes- make 2
With white
1) 6 sc into magic ring (6)
2) 6 inc (12)
3) [sc, inc] * 6 (18)
4) [2 sc, inc] * 6 (24)
5) [3 sc, inc] * 6 (30)
6) 30 sc (30) FO
The pupil can be embroidered or glued black yarn circle of felt
Bows- make 2
With purple
Chain 44 ch
1-4) 44 sc (44)
FO
Center of bow
Place clear hair band before starting round 1. Can also use hair colour yarn (if you use normal yarn for hair, not felting yarn!)
Chain 11. Wrap around the bow
1-3) 11 sc (11)
FO
Hair
With yellow
Forehead
Cut into thin yarn scraps, and on the principle of fringe attached 2 rows in the middle of the head. If you use the yarn for felting, you need to press a bang to the head and bit her attach needle felting
Pig Tails
Mark the string or pins middle of the head, the lower limit of the hairline. The third boundary is the forelock. If you use a normal yarn, it is necessary to make two or three rows (depending on the thickness of yarn) on the principle of fringe on the intended boundaries. If you use the yarn for felting, then cut off the long locks and puncture needle felting in the middle of the strand to the head. Then fold it back in the right direction. Attach bows.
We make the face
Sew on ears on the sides. Eyes lay on the forehead, sew, put a little filling inside. Cilia embroider on top of the hair. Sew on the nose, embroider mouth. Forehead in the middle of a little pull out from under the eye and put on top of them.
Do not forget to glue the circles of felt on the tights.