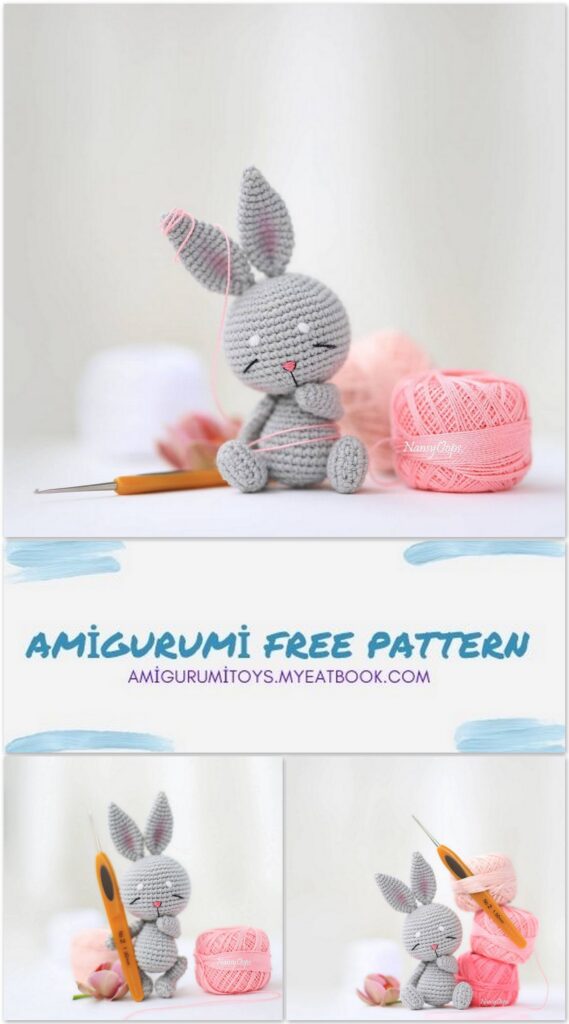
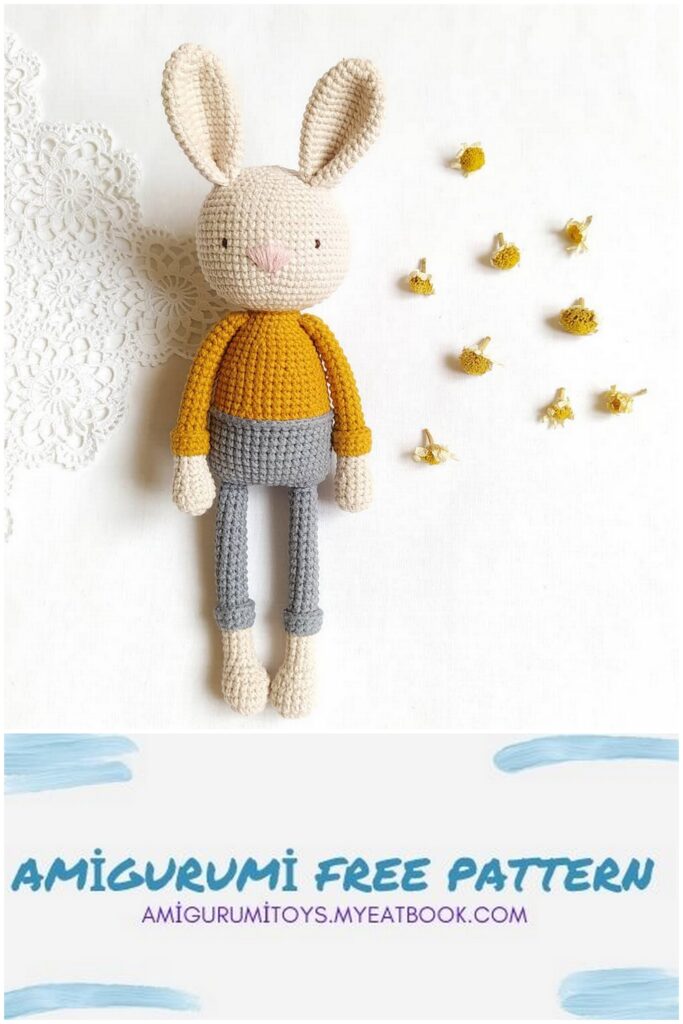
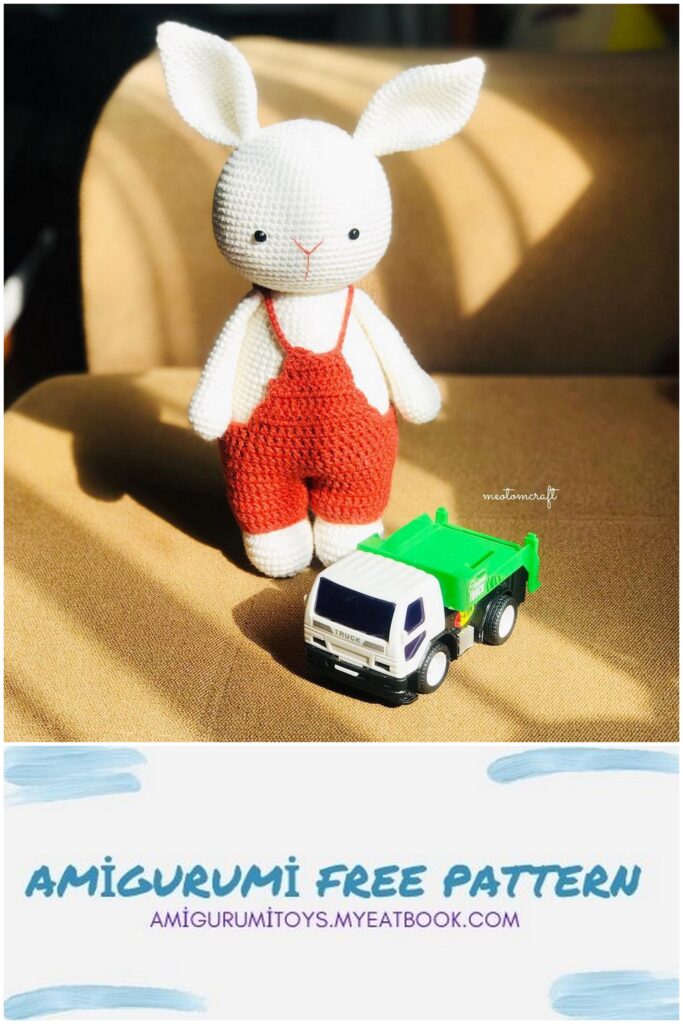
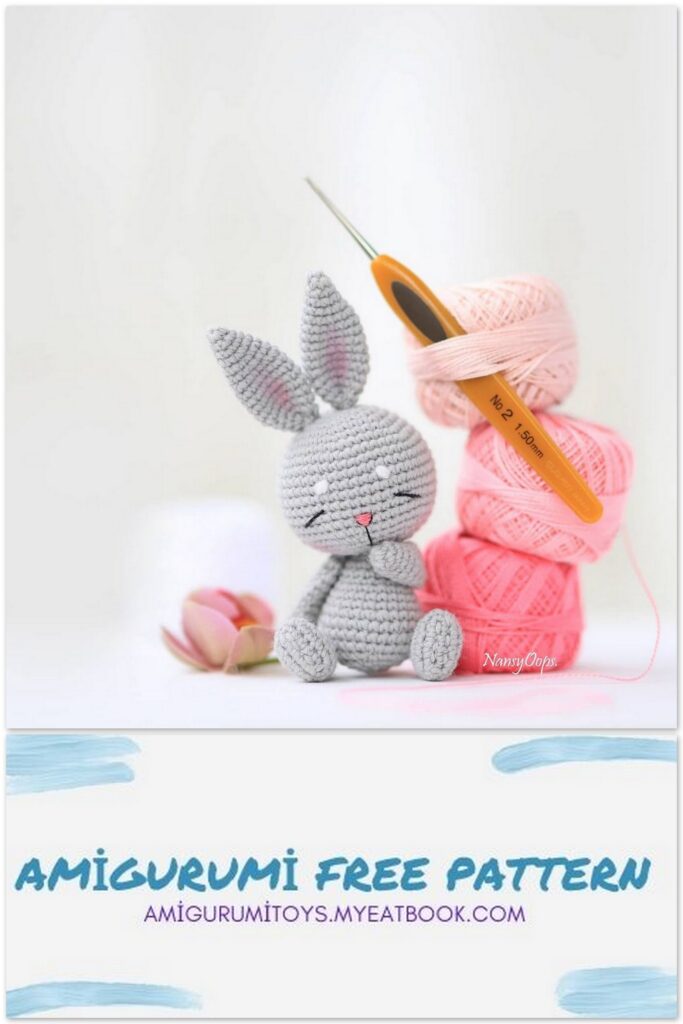
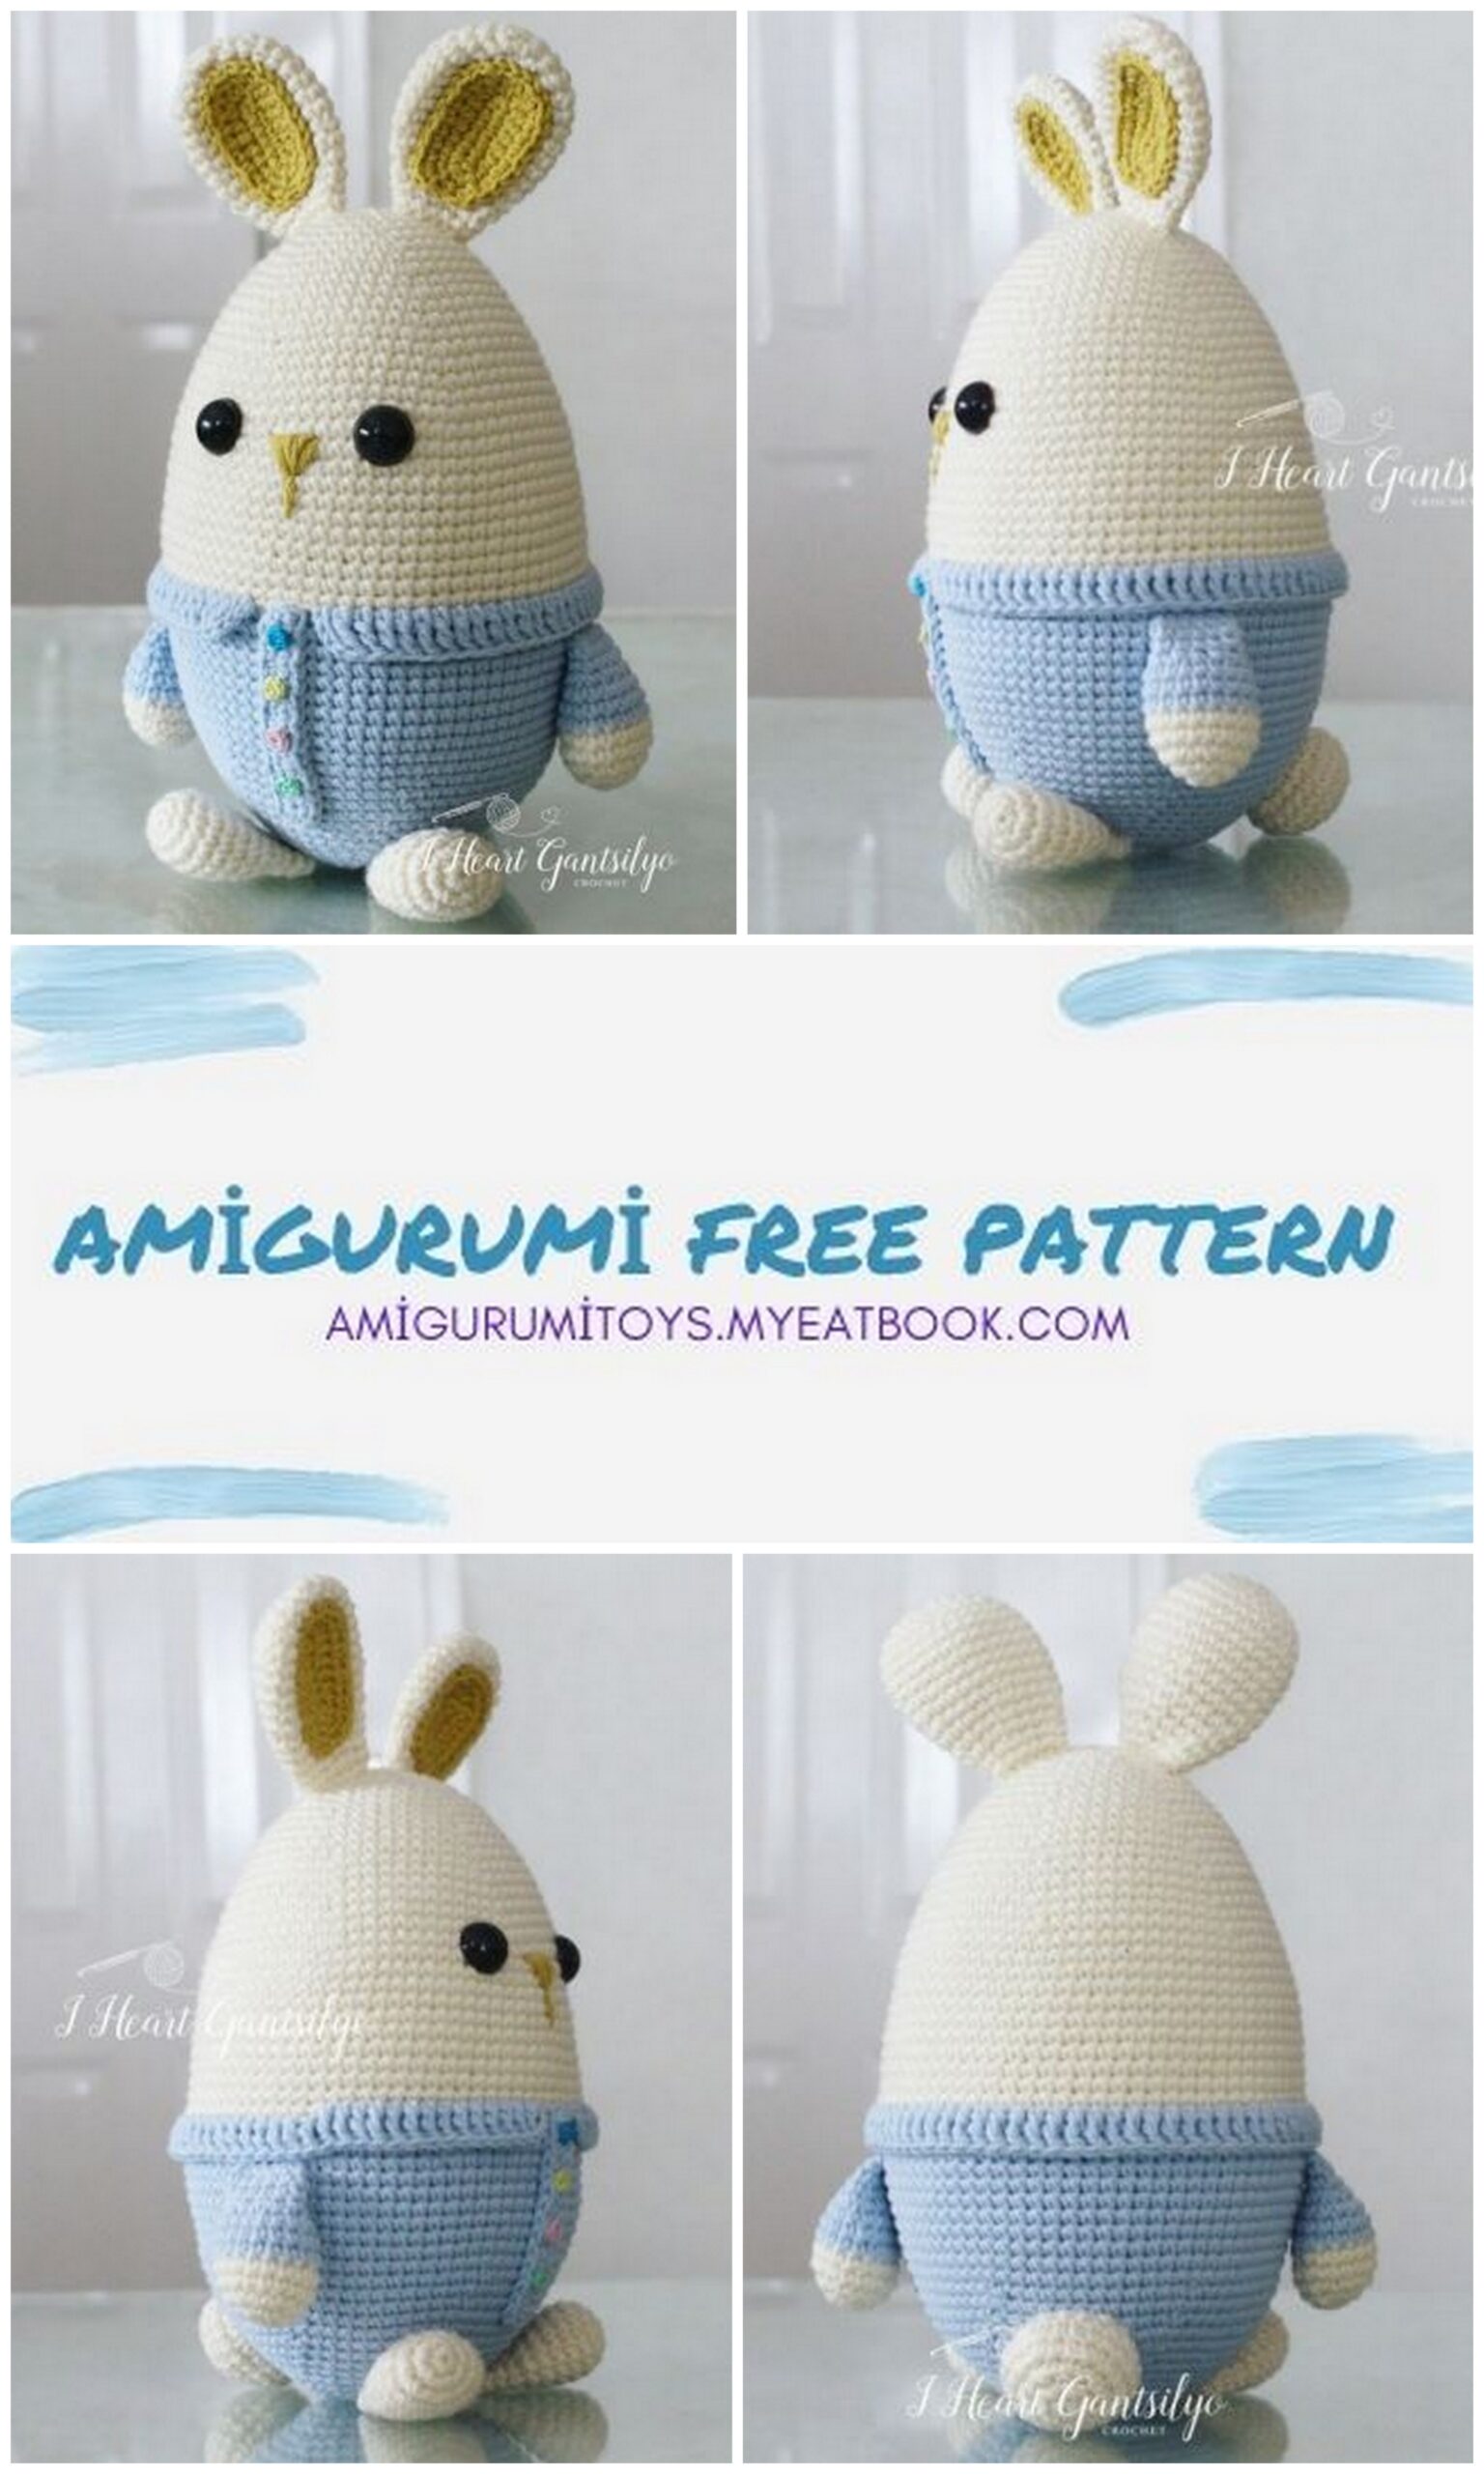
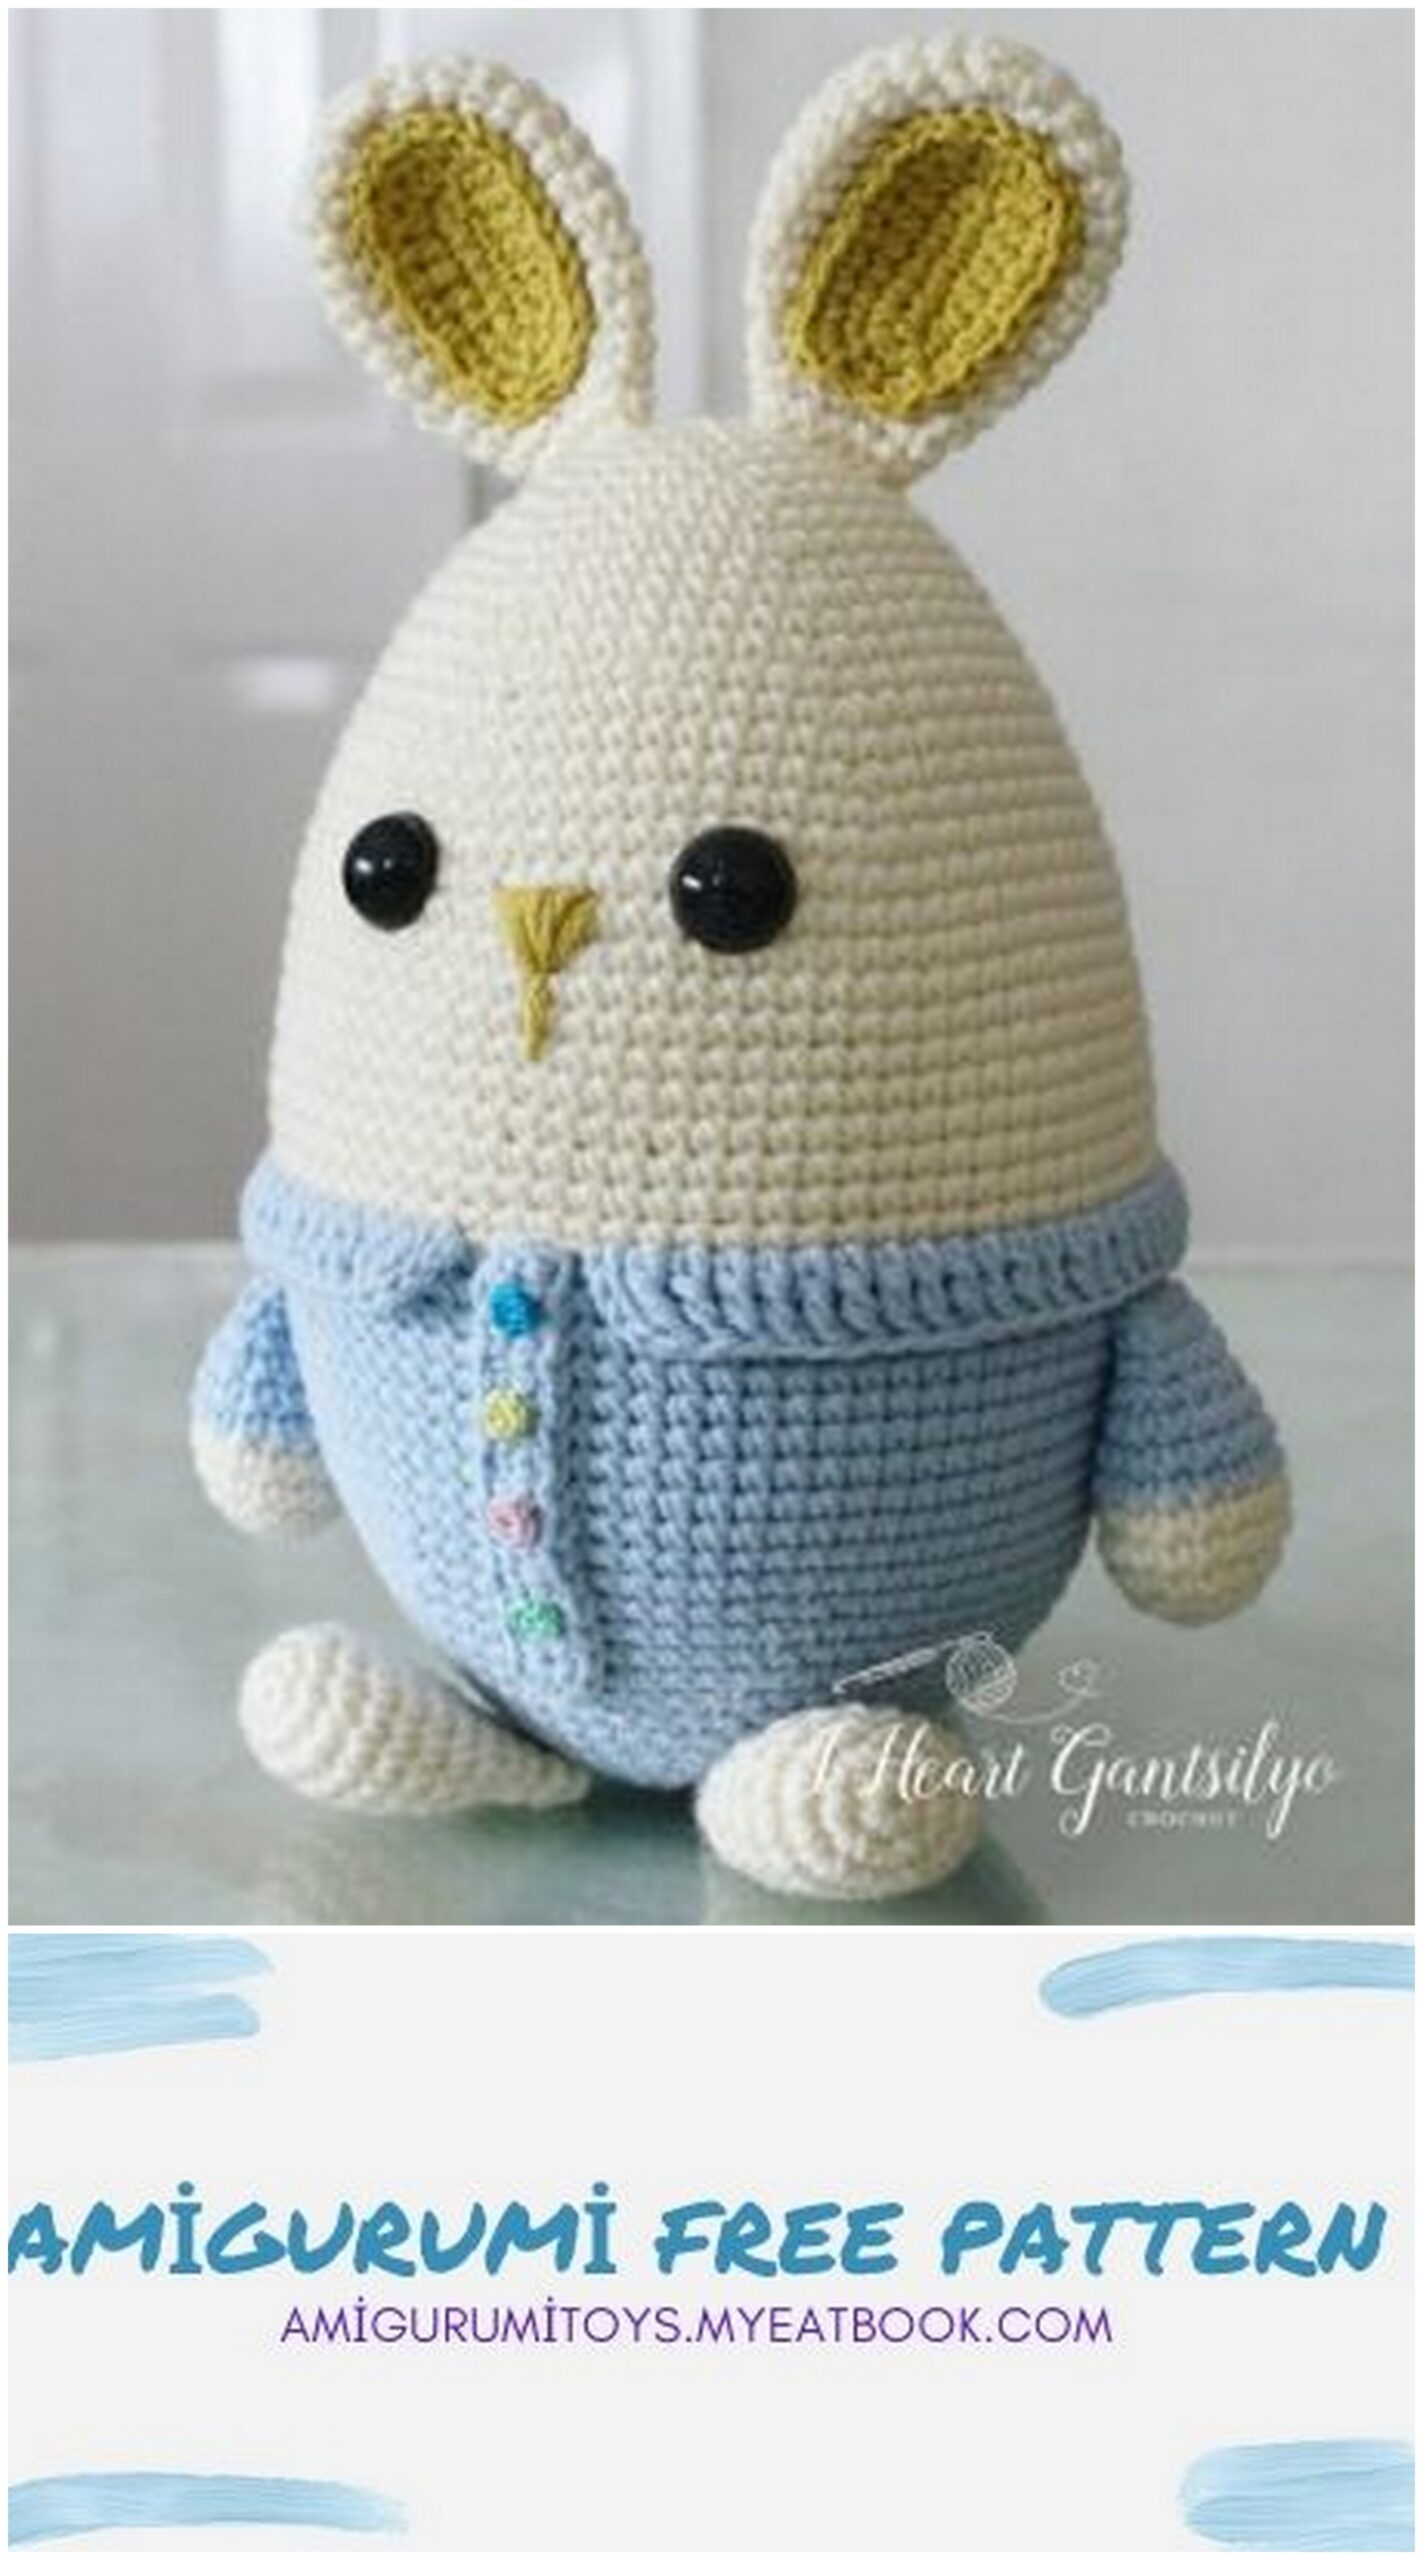
Amigurumi Eggster Bunny Free Pattern
Crochet Eggster Bunny
MATERIALS:
• Hook: 3.5mm crochet hook (US E-4 / UK 9)
• Yarn: Any worsted or light weight cotton yarn (I used approximately 70 meters of Monaco 4-ply acrylic yarn in offwhite color for the body, arms, feet and ears, 65 meters Gantsilyo Guru Milk Cotton Light yarn in pastel blue color for the clothing and some mustard color for the inside of ears). I also used some scrap mercerized cotton yarn to make crocheted buttons since I am toddler proofing but you can use colorful medium size buttons to decorate the button placket if you are making this for an older kid.
• Yarn needle
• Stitch marker (recommended)
• 18mm safety eyes
• Fiber fill/toy stuffing
ABBREVIATION/STITCHES:
• Magic ring
• sc – single crochet (US) / dc – double crochet (UK)
• tr – treble (US) / dtr – double treble (UK)
• hdc – half double crochet (US) / dc – double crochet (UK)
• st(s) – stitch(es)
• sl st – slip stitch
• inc – increase = two single crochet stitches in the same stitch
• dec – decrease = crochet two stitches together using the invisible decrease method
• [sc, inc] n times – repeat the pattern between parentheses n times.
• (N sts) – number of stitches in a round after finishing round.
If you need guide with the stitches, you can always check my post about Basic Crochet TechniquesHERE.
NOTES:
– Finished eggster bunny is about 11 inches tall, including the ears. Any variations to hook size and yarn weight will result in a different sized piece.
– This project was made by crocheting in continuous spirals unless otherwise stated.
– Use stitch marker and continue to move to every beginning of a round.
– The pattern involves switching yarn colors, see illustration below on how to make your color transition cleaner:
Step 1: At the last stitch of a round, pull up a loop as if to make a single crochet in the old color (you should have two loops on your hook).
Step 2: Pull a loop through both loops on your hook using the new color. This completes your last stitch for the old color.
Step 3: Make 1 loose slip stitch in the first stitch of the next round (counted as a stitch).
Step 4: Continue the round as you would normally do.

PATTERN
EGG SHAPED BODY:
Using yarn color offwhite, begin with a magic ring.
Round 1: sc 6
Round 2: inc 6 times (12 sts)
Round 3: [sc, inc] 6 times (18 sts)
Round 4: [sc 2, inc] 6 times (24 sts)
Round 5: [sc 3, inc] 6 times (30 sts)
Round 6: [sc 4, inc] 6 times (36 sts)
Round 7: [sc 5, inc] 6 times (42 sts)
Round 8: sc around
Round 9: [sc 6, inc] 6 times (48 sts)
Round 10: sc around
Round 11: [sc 7, inc] 6 times (54 sts)
Round 12: sc around
Round 13: [sc 8, inc] 6 times (60 sts)
Round 14: sc around
Round 15: [sc 9, inc] 6 times (66 sts)
Round 16: sc around
Round 17: [sc 10, inc] 6 times (72 sts)
Round 18: sc around
Round 19: [sc 11, inc] 6 times (78 sts)
Round 20-23: sc around
Insert the safety eyes in between Round 20 & 21 (10 stitches apart). Secure both eyes when you are sure they are in the right position then continue to the next Rounds.
Round 24-30: sc around (78 sts)
Switch to yarn color Pastel Blue.
Round 31: sc in each 78 sts around in back loops only. 6/20
Round 32-41: sc around
Start stuffing the egg with fiber fill, adding more as necessary before closing.
Round 42: [sc 11, dec] 6 times (72 sts)
Round 43: sc around
Round 44: [sc 10, dec] 6 times (66 sts)
Round 45: sc around
Round 46: [sc 9, dec] 6 times (60 sts)
Round 47: [sc 8, dec] 6 times (54 sts)
Round 48: [sc 7, dec] 6 times (48 sts)
Round 49: [sc 6, dec] 6 times (42 sts)
Round 50: sc around
Round 51: [sc 5, dec] 6 times (36 sts)
Round 52: sc around
Round 53: [sc 4, dec] 6 times (30 sts)
Round 54: [sc 3, dec] 6 times (24 sts)
Round 55: [sc 2, dec] 6 times (18 sts)
Round 56: [sc, dec] 6 times (12 sts)
Round 57: dec 6 times
Fasten off and leave a long tail for sewing. Thread yarn in a yarn needle. Insert yarn needle into the center and whip stitch through the front loop stitches only of last round. Pull the yarn tail tightly to close the hole. Finish off.
COLLAR:
Going back to Round 31 where you worked the stitches in back loops only, count 19 stitches starting from the first front loop stitch of Round 31 going to the front.
Turn the body upside down. Still using yarn color pastel blue, chain 4 in the 20th front loop stitch, tr in each of the next 73 front loop stitches, chain 4 then fasten off leaving about 4″ tail. Thread in a yarn needle then insert yarn needle in a stitch hole of the next front loop stitch, pull yarn tail through and fasten off. This leaves you 3 unworked front loop stitches.
BUTTON PLACKET:
Using yarn color pastel blue, chain 16, sc in the back hump of 2nd chain from hook, sc in each of the back humps of next 13 chains, 4sc in last chain. Work 14 sc in each of the sts on the other side of foundation chain.
Fasten off and leave a long tail for sewing.
BUTTONS (make 4):
Using your mercerized cotton yarn, make 6 single crochet stitches in a magic ring. Fasten off then sew buttons onto the button placket.
Once done, pin the button placket starting at the center space between the collar, aligned on the 3 unworked front loop stitches in Round 31. When you are sure the placket is on the right position, sew it using running stitch method.
EARS (make 2):
Using yarn color offwhite, begin with a magic ring.
Round 1: sc 6
Round 2: inc 6 times (12 sts)
Round 3: [sc, inc] 6 times (18 sts)
Round 4: [sc 2, inc] 6 times (24 sts)
Round 5-10: sc around
Round 11: [sc 4, dec] 4 times (20 sts)
Round 12: sc around
Round 13: [sc 3, dec] 4 times (16 sts)
Round 14: sc around
Round 15: [sc 2, dec] 4 times (12 sts)
Round 16: sc around
Fasten off and leave a long tail for sewing.
INSIDE OF EARS (make 2):
Using yarn color mustard, chain 8.
Round 1: sc in the back hump of 2nd chain from hook, sc in each of the back humps of next 5 chains, 3 sc in last chain. Work 6 sc in each of the sts on the other side of foundation chain. (15 sts)
Round 2: inc in next st, sc in next 2 sts, hdc in next 3 sts, 2 hdc in each of the next 3 sts, hdc in next 3 sts, sc in next 2 sts, inc in last st (20 sts)
Round 3: sc, inc, sc 6, inc 5 times, sc 6, inc (27 sts)
Fasten off and leave a long tail for sewing.
Sew each inside ear patch onto the center of each ear using running stitch method. Once done, pin each ear on top of the eggster bunny about an inch apart, at the level of Round 3-6. Sew them on and fasten off.
ARMS (make 2):
Using yarn color offwhite, begin with a magic ring.
Round 1: sc 6
Round 2: inc 6 times (12 sts)
Round 3: [sc, inc] 6 times (18 sts)
Round 4-5: sc around
Switch to yarn color Pastel Blue.
Round 6-8: sc around
Round 9: [sc, dec] 6 times (12 sts)
Round 10-11: sc around
Stuff half of each arm with fiber fill. After the last round do not fasten off, push the top flat then insert your hook through both layers, skipping the last stitch. Crochet over the opening with 5 single crochet stitches. Fasten off and leave a long tail for sewing.
Pin each arm onto the side of the body at the level of Round 33. Sew them on and fasten off.
LEGS (make 2):
Using yarn color offwhite, begin with a magic ring.
Round 1: sc 6
Round 2: inc 6 times (12 sts)
Round 3: [sc, inc] 6 times (18 sts)
Round 4-8: sc around
Round 9: [sc, dec] 6 times (12 sts)
Round 10-11: sc around
Stuff half of each leg with fiber fill. After the last round do not fasten off, push the top flat then insert your hook through both layers, skipping the last stitch. Crochet over the opening with 5 single crochet stitches. Fasten off and leave a long tail for sewing.
Pin each leg onto the lower portion of the body at the level of Round 52. Sew them on and fasten off.
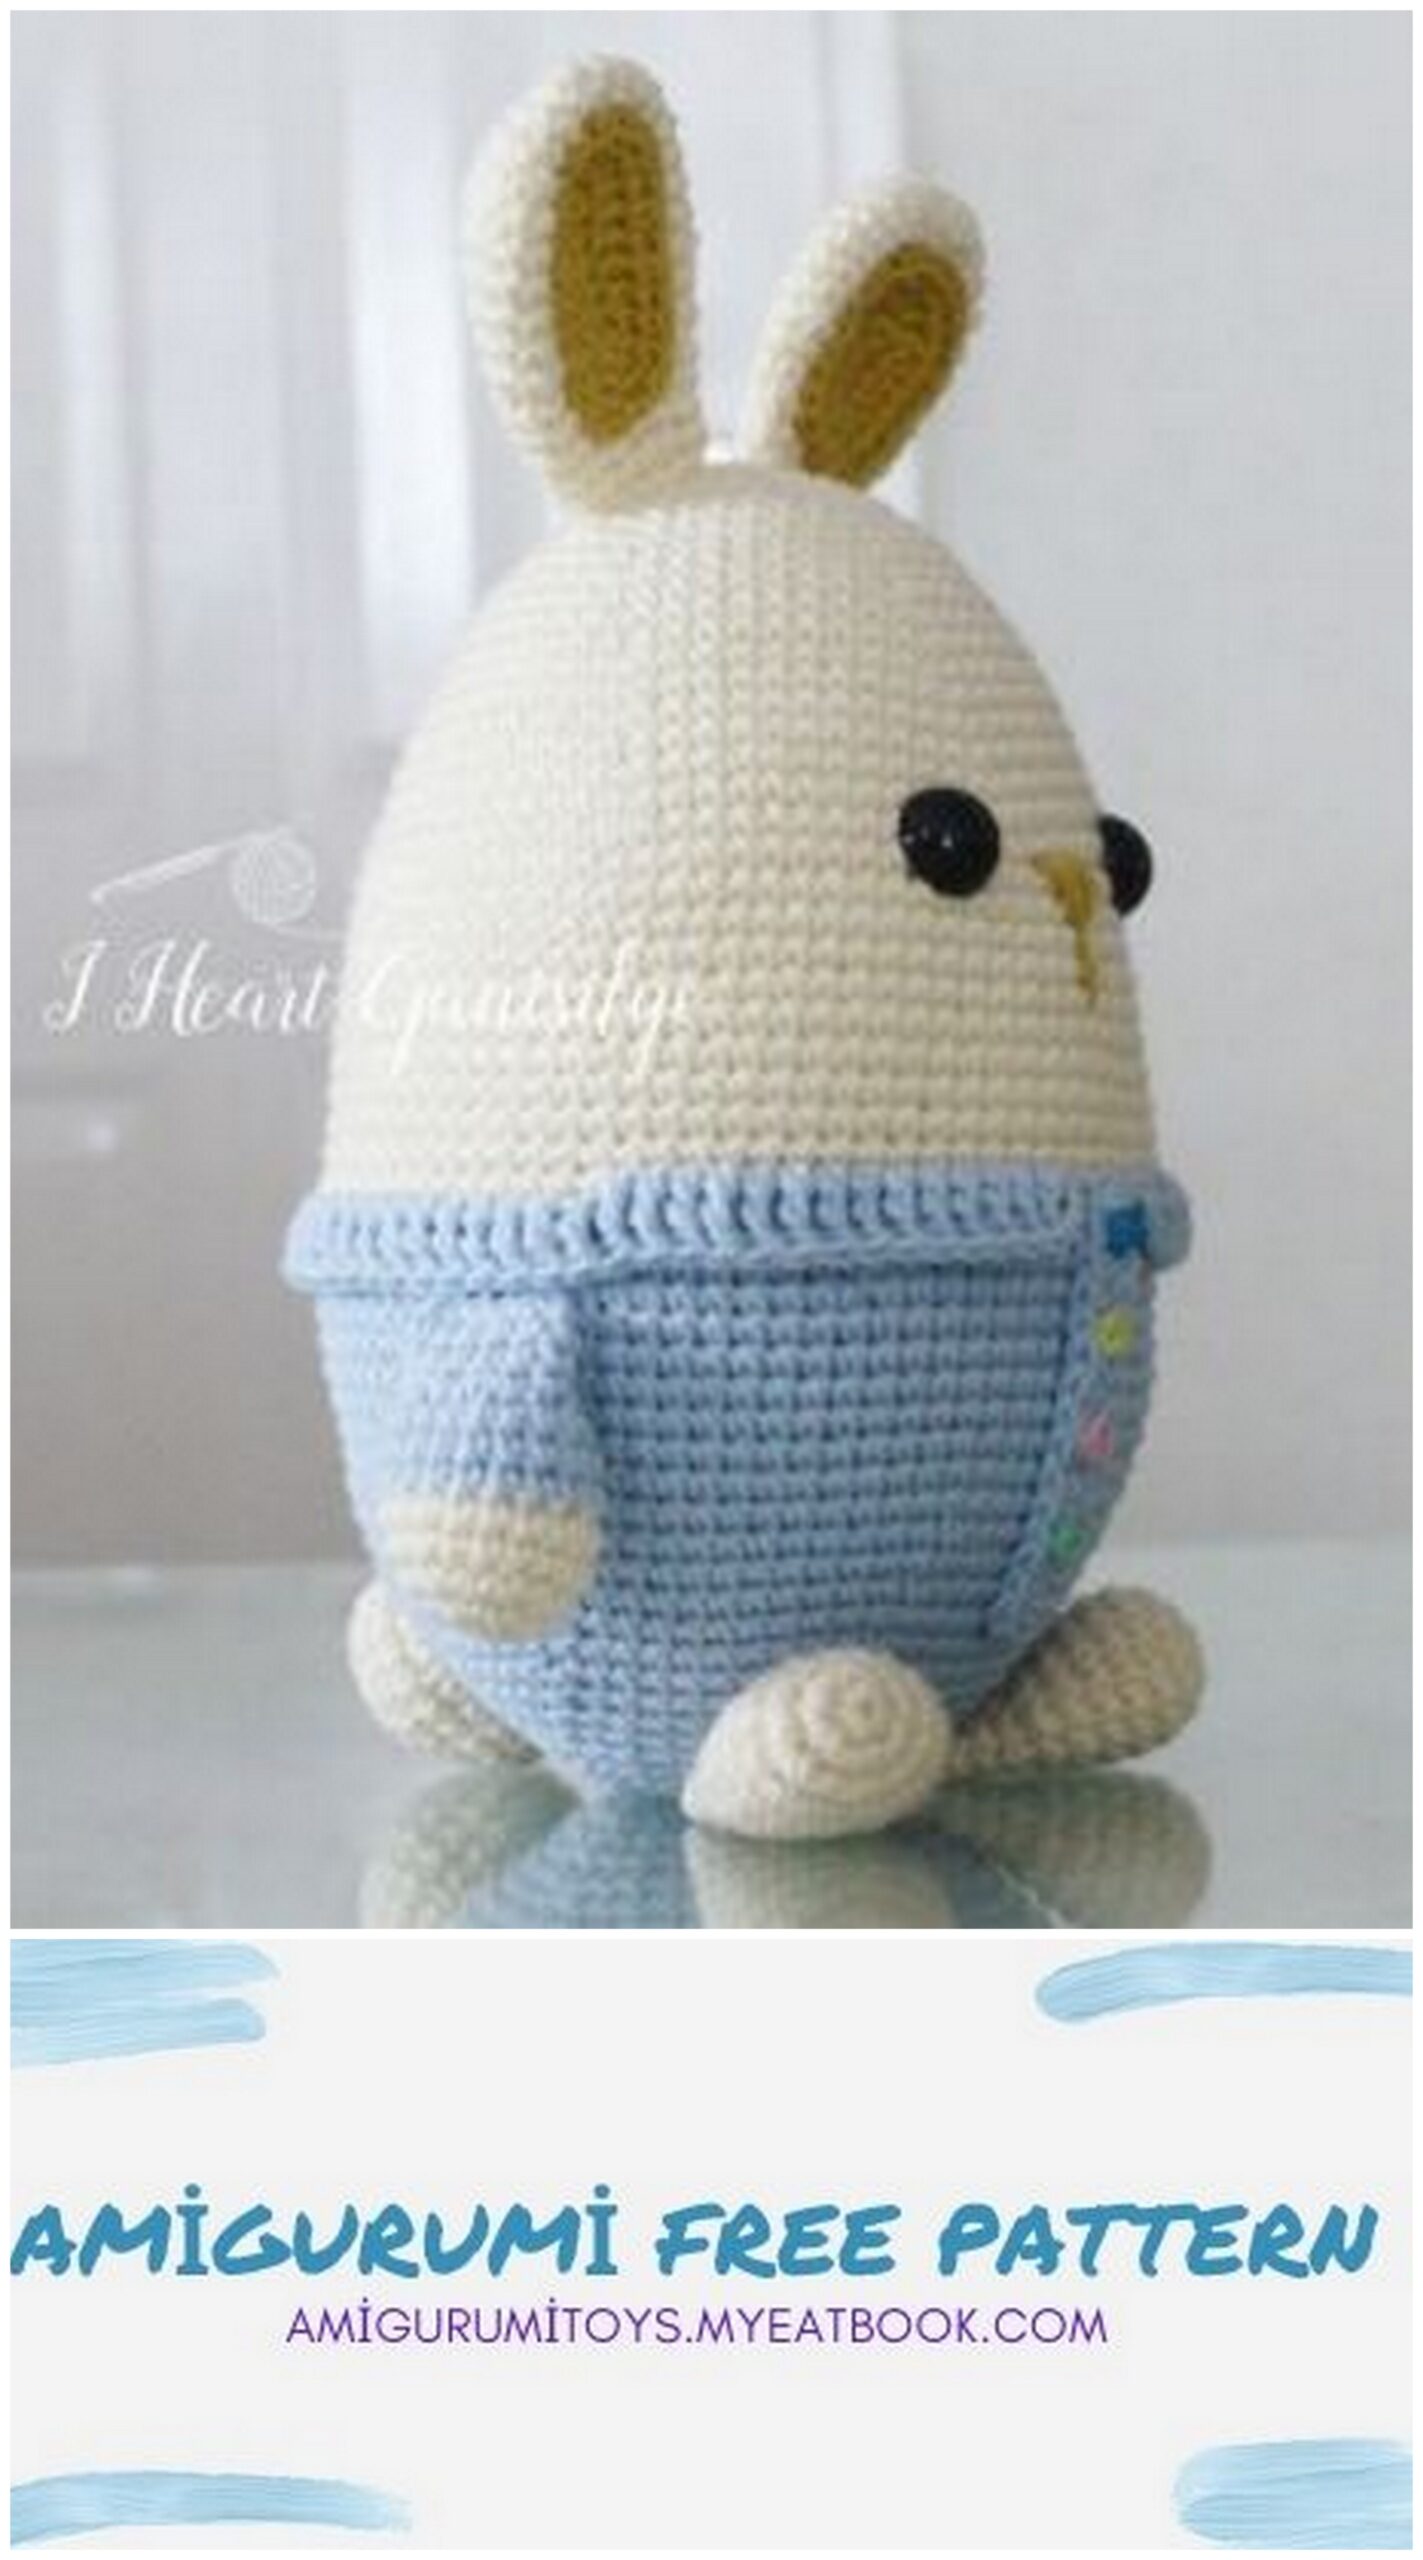
TAIL:
Using yarn color offwhite, begin with a magic ring.
Round 1: sc 6
Round 2: inc 6 times (12 sts)
Round 3: [sc, inc] 6 times (18 sts)
Round 4: [sc 2, inc] 6 times (24 sts)
Round 5-6: sc around
Round 7: [sc 2, dec] 6 times (18 sts)
Fasten off and leave a long tail for sewing. Stuff the tail firmly then pin it onto the lower back portion of the body at the level of Round 45-50. Sew it on and fasten off.
Lastly, embroider the bunny nose and mouth and you’re done!