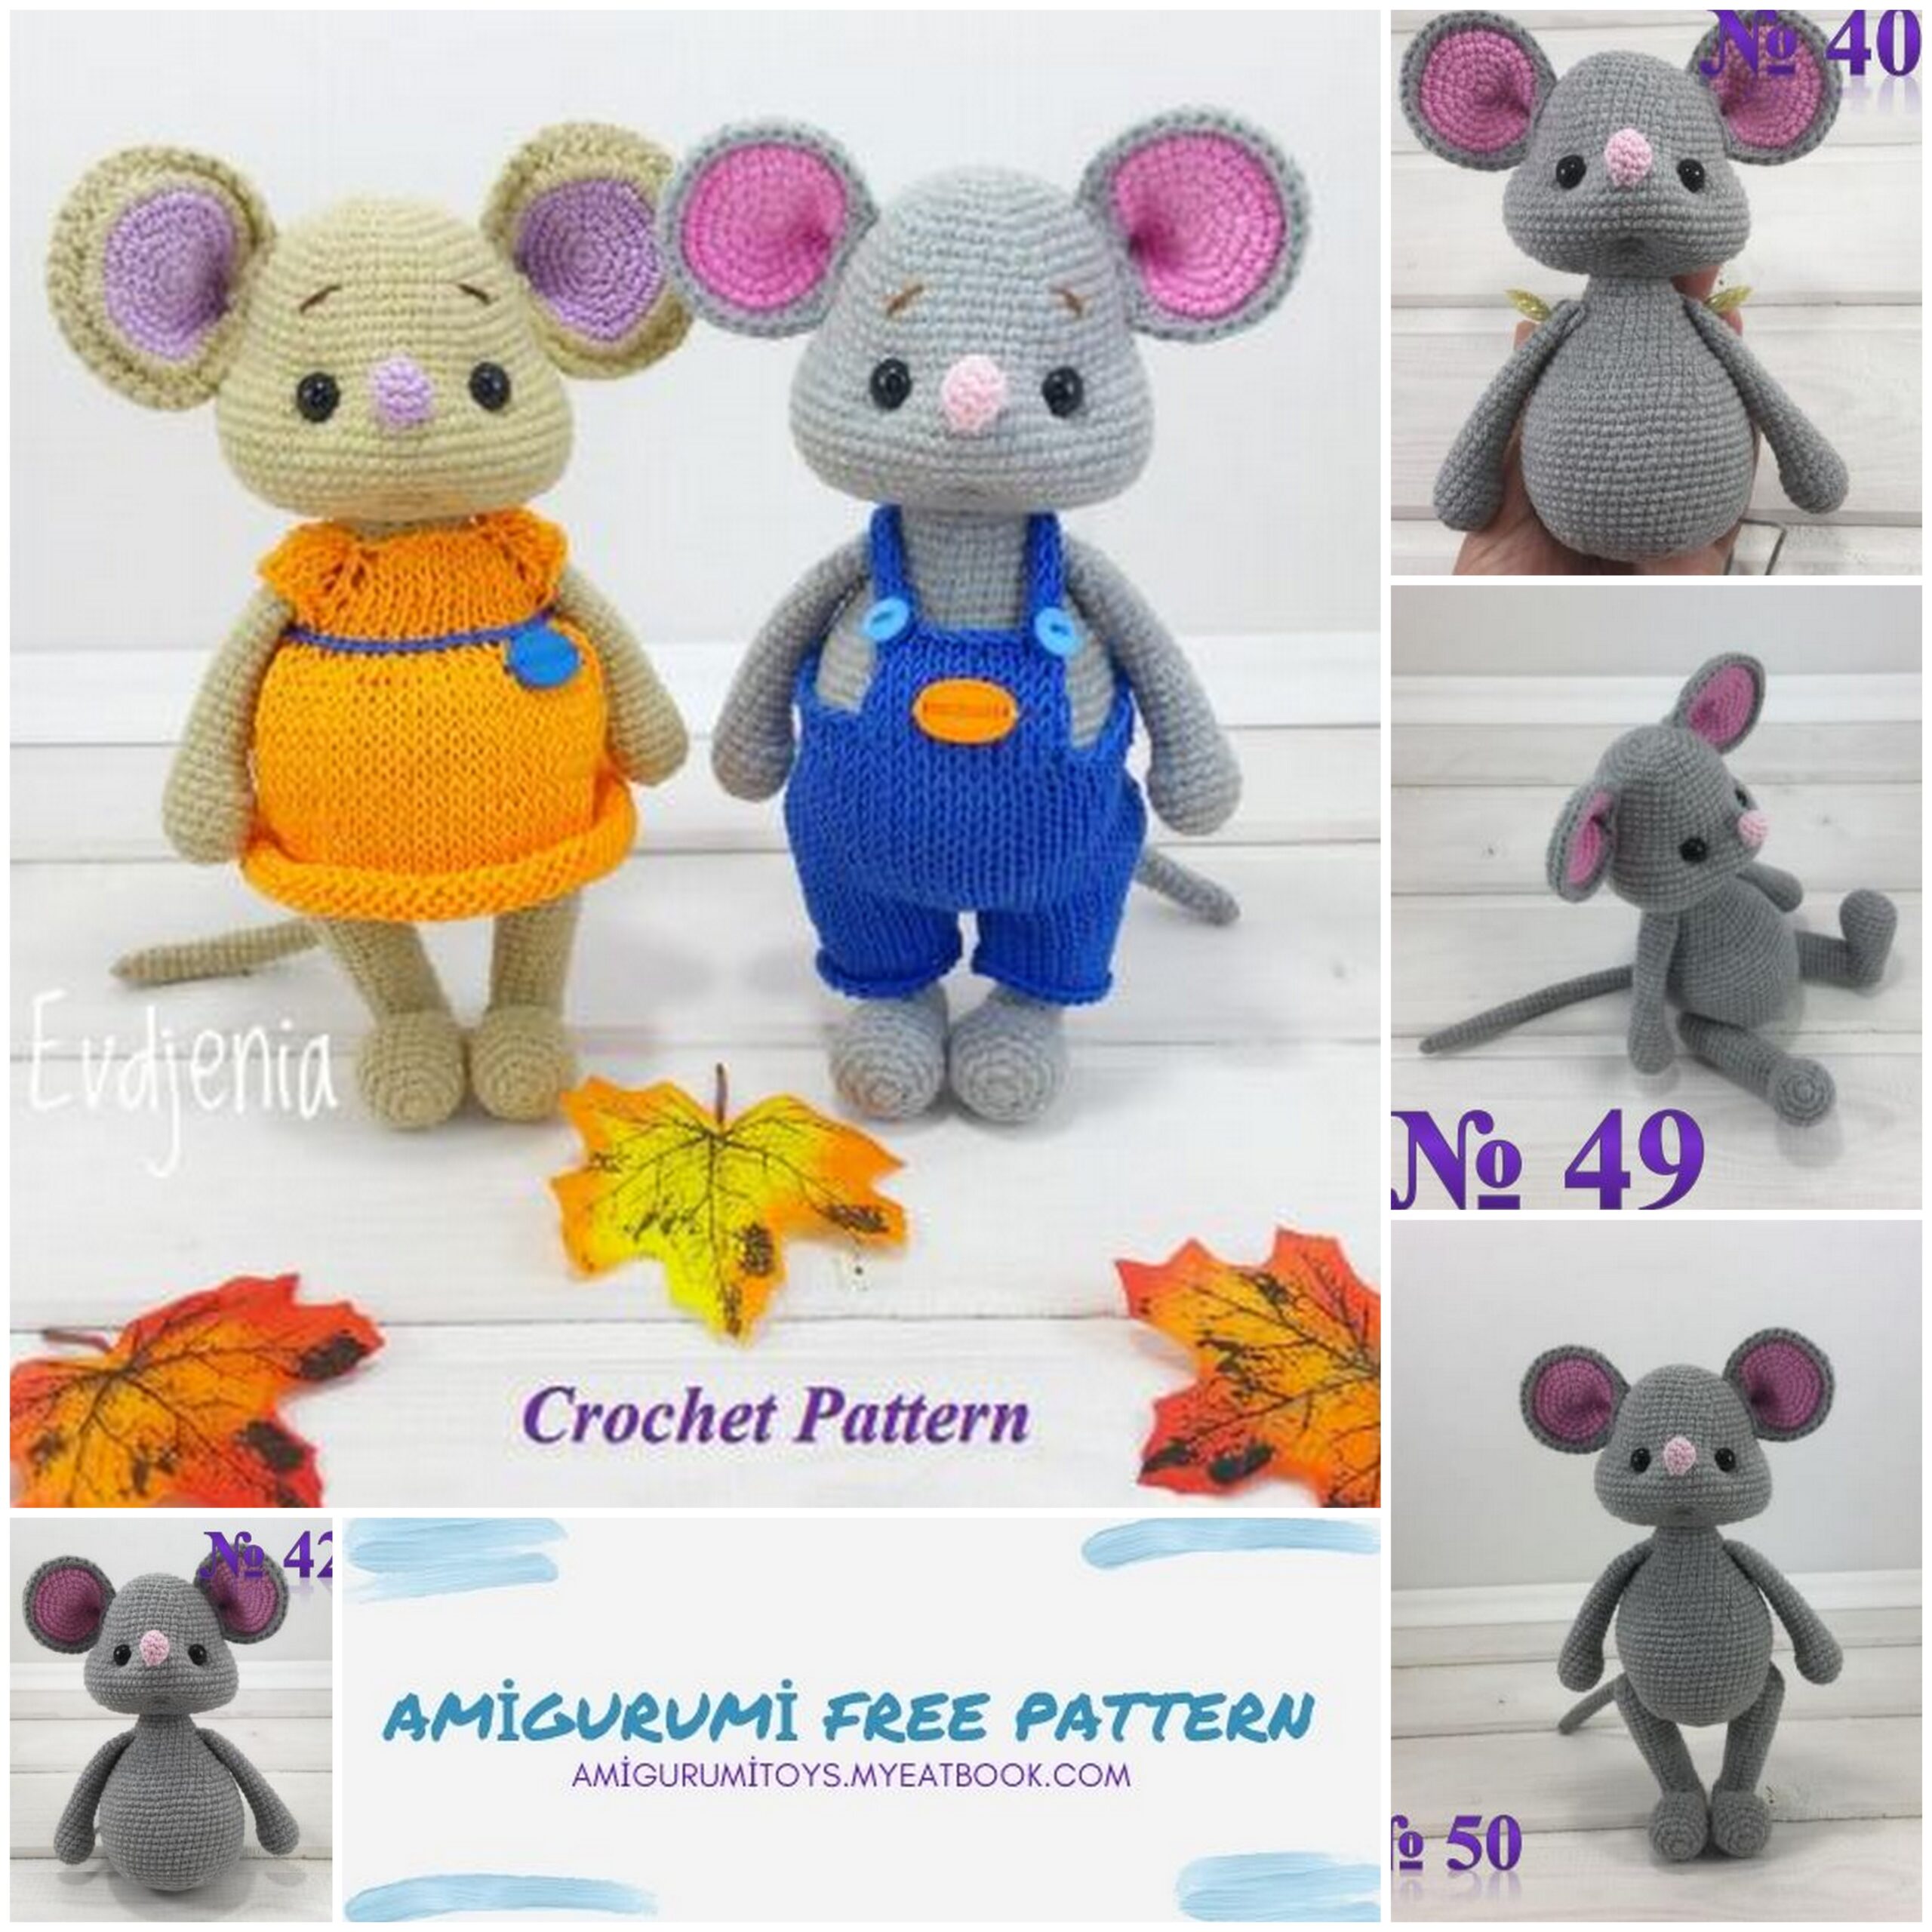
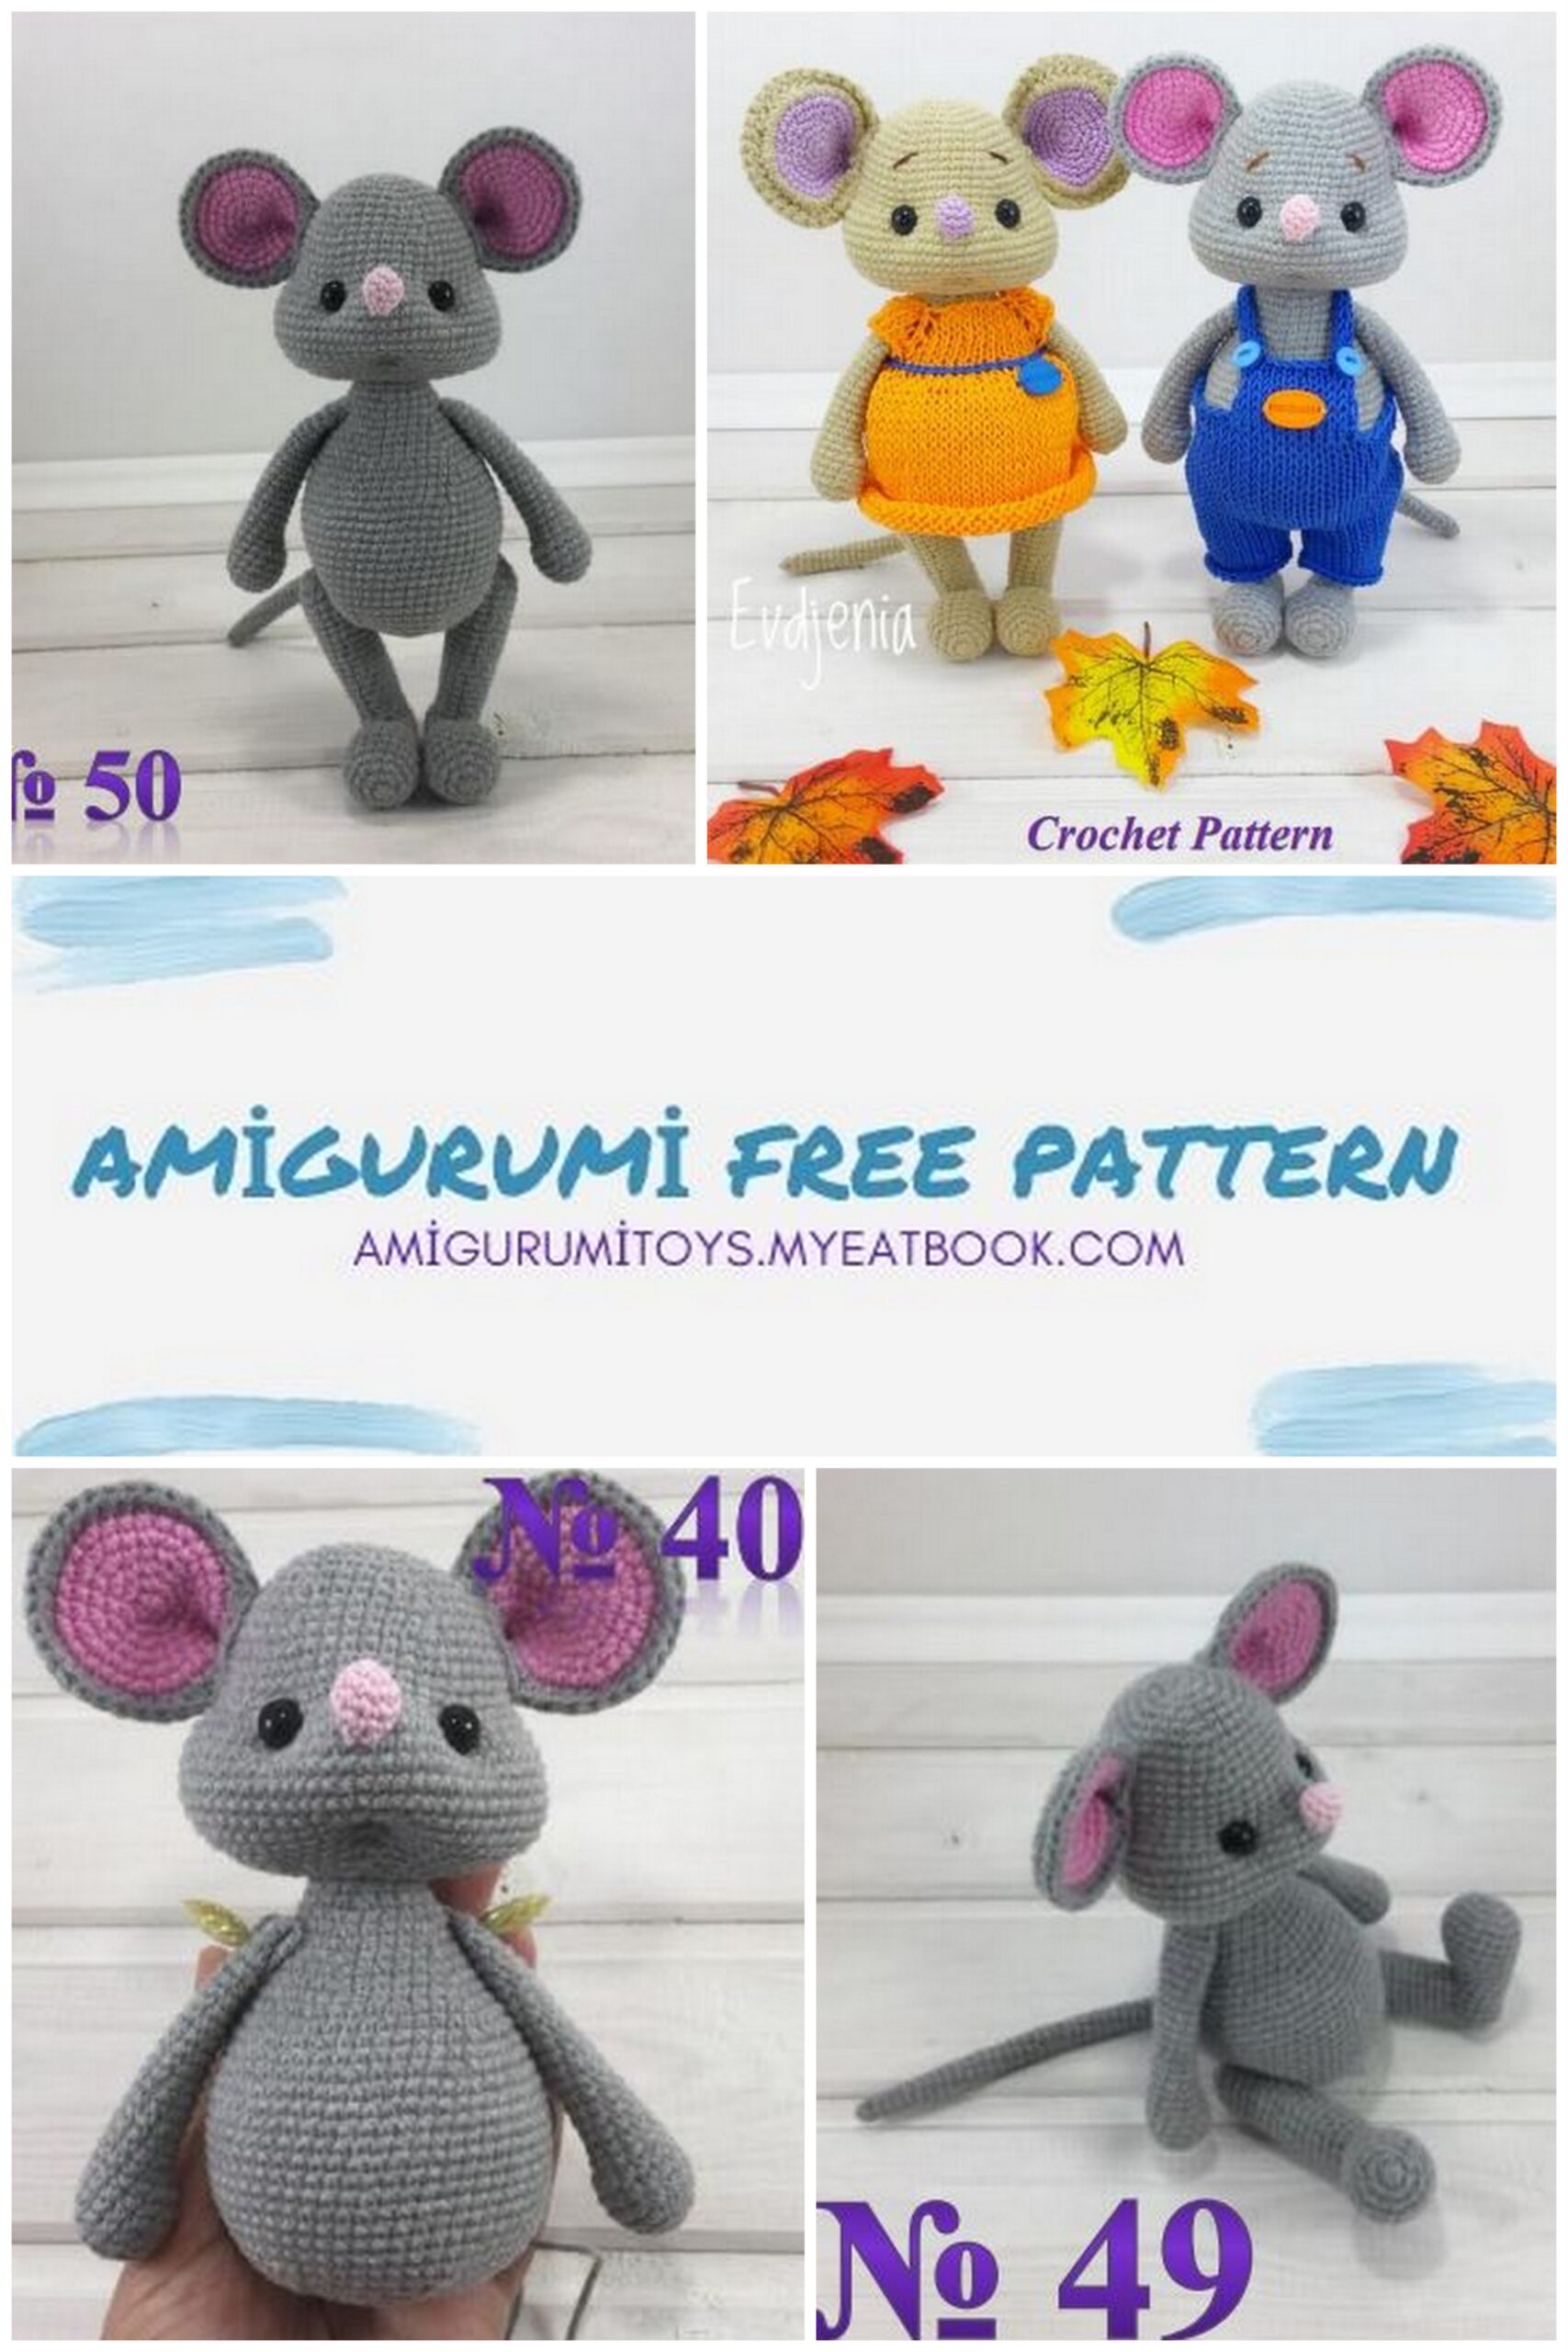
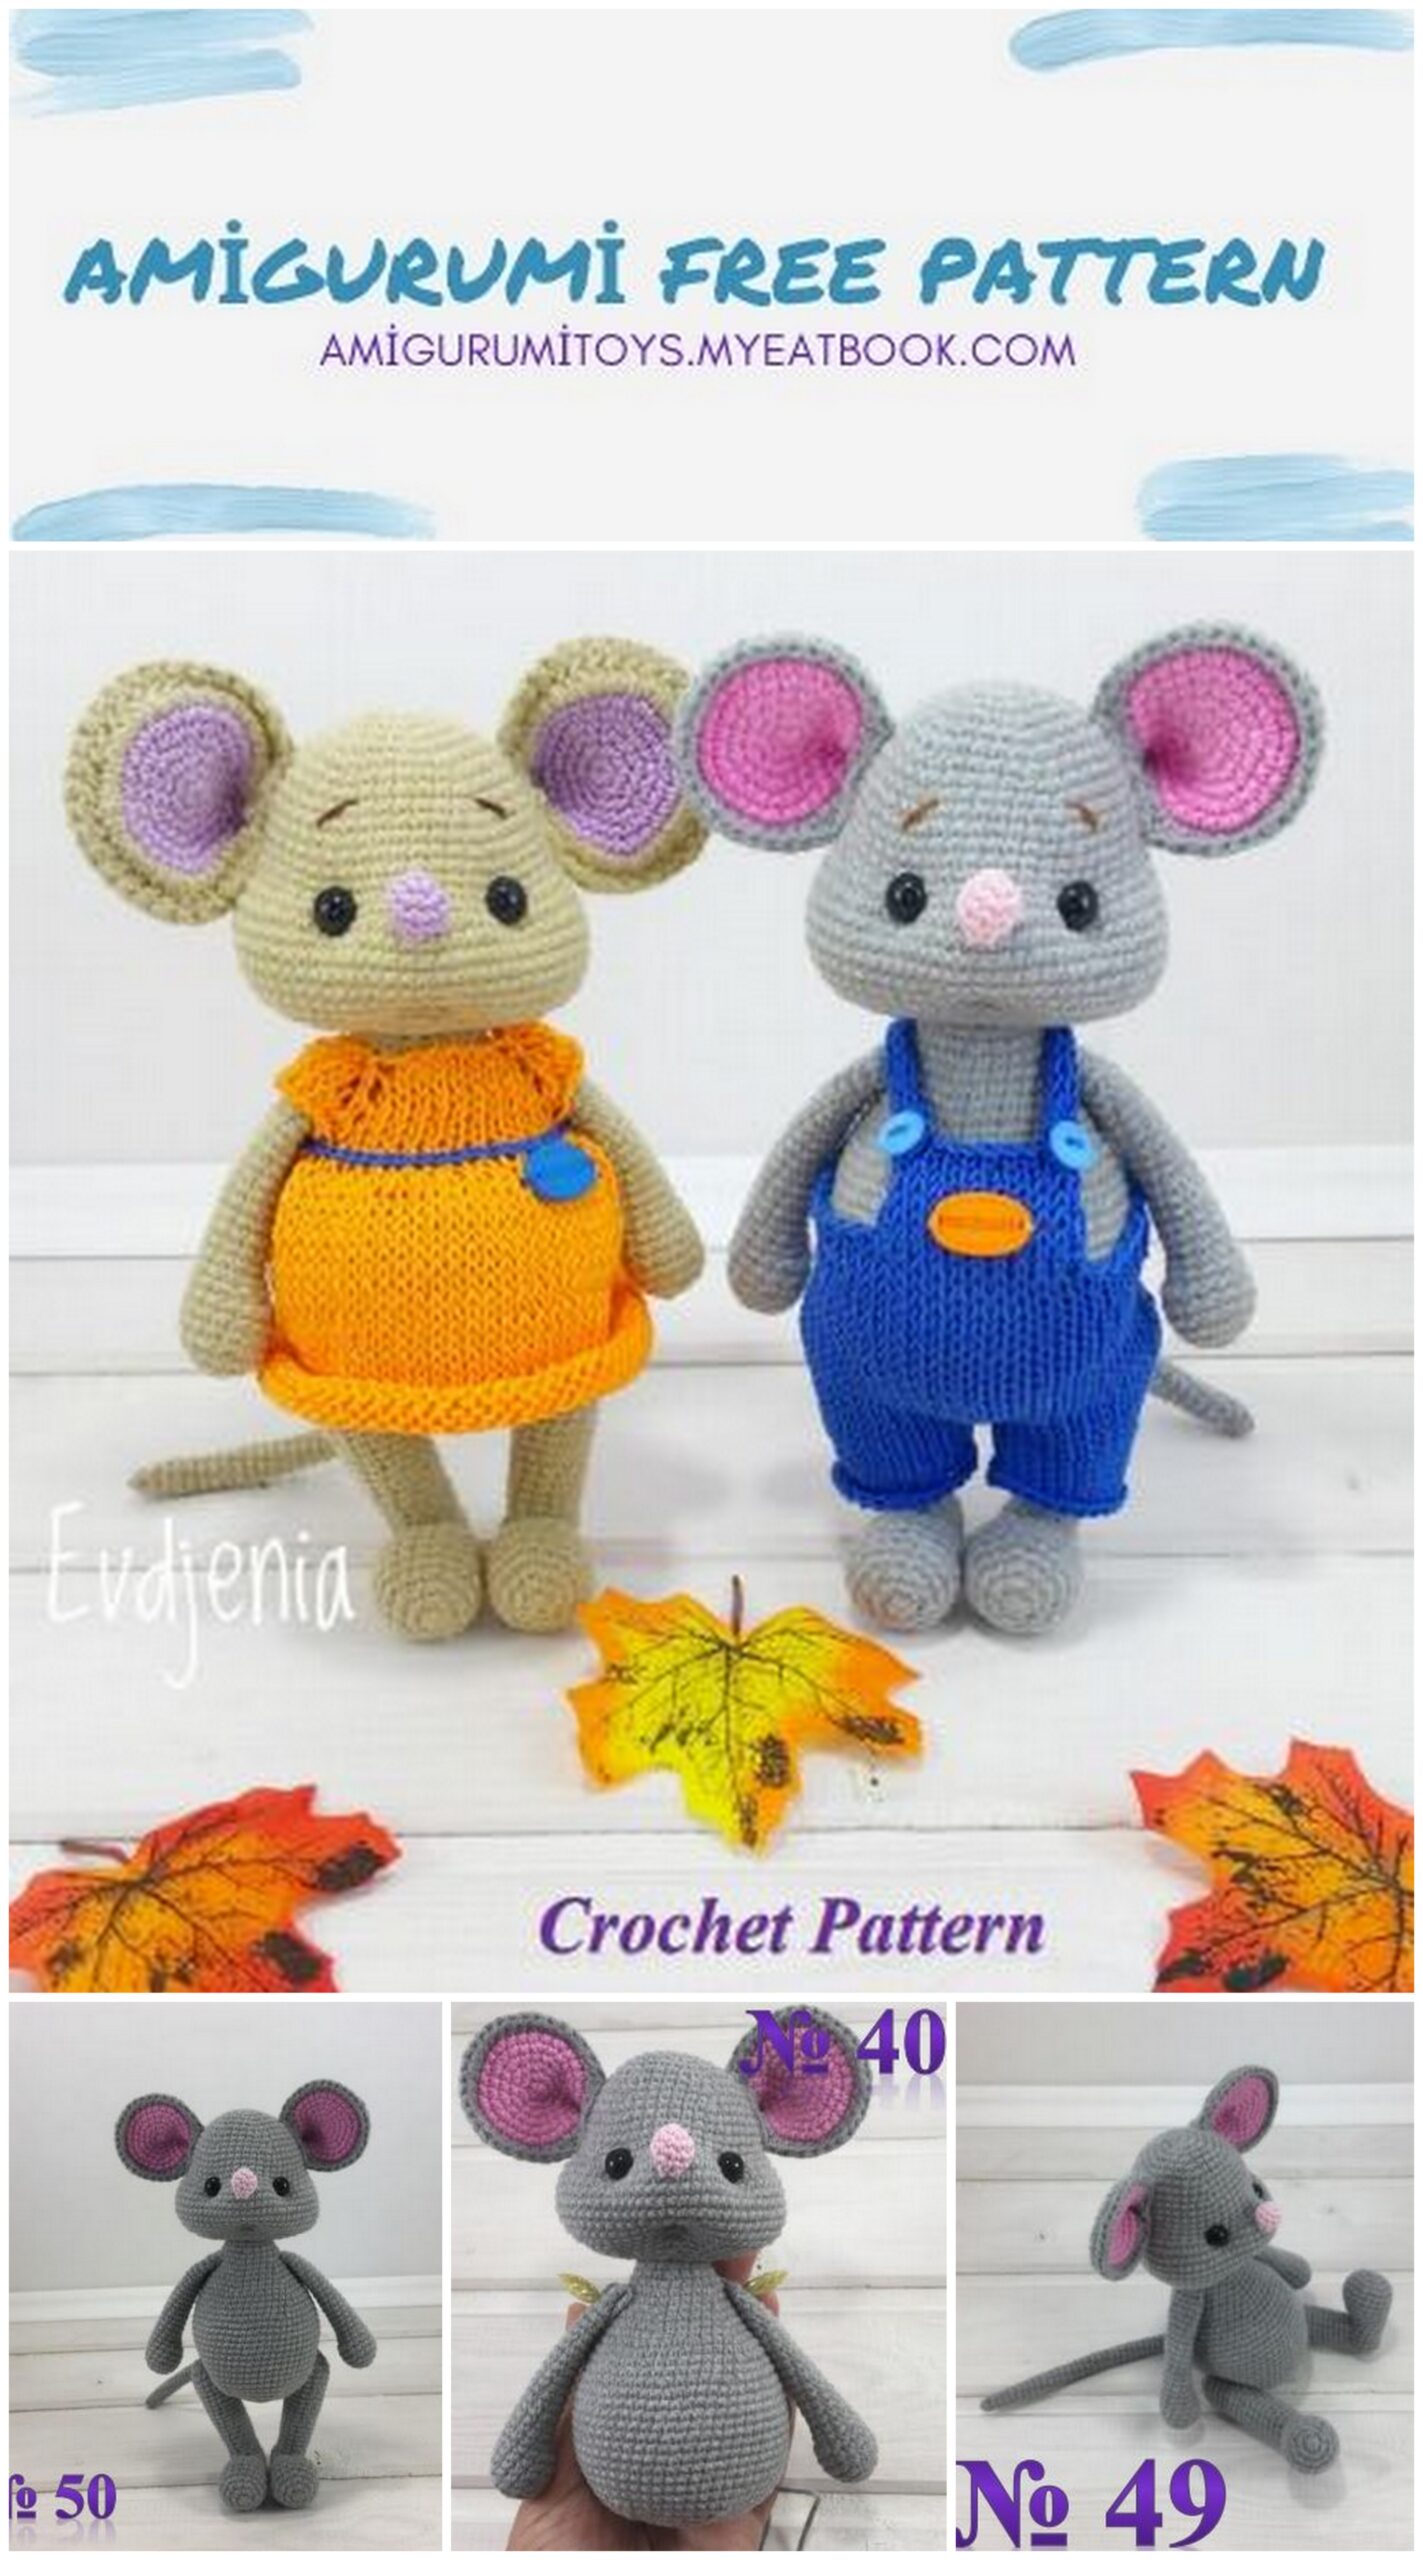
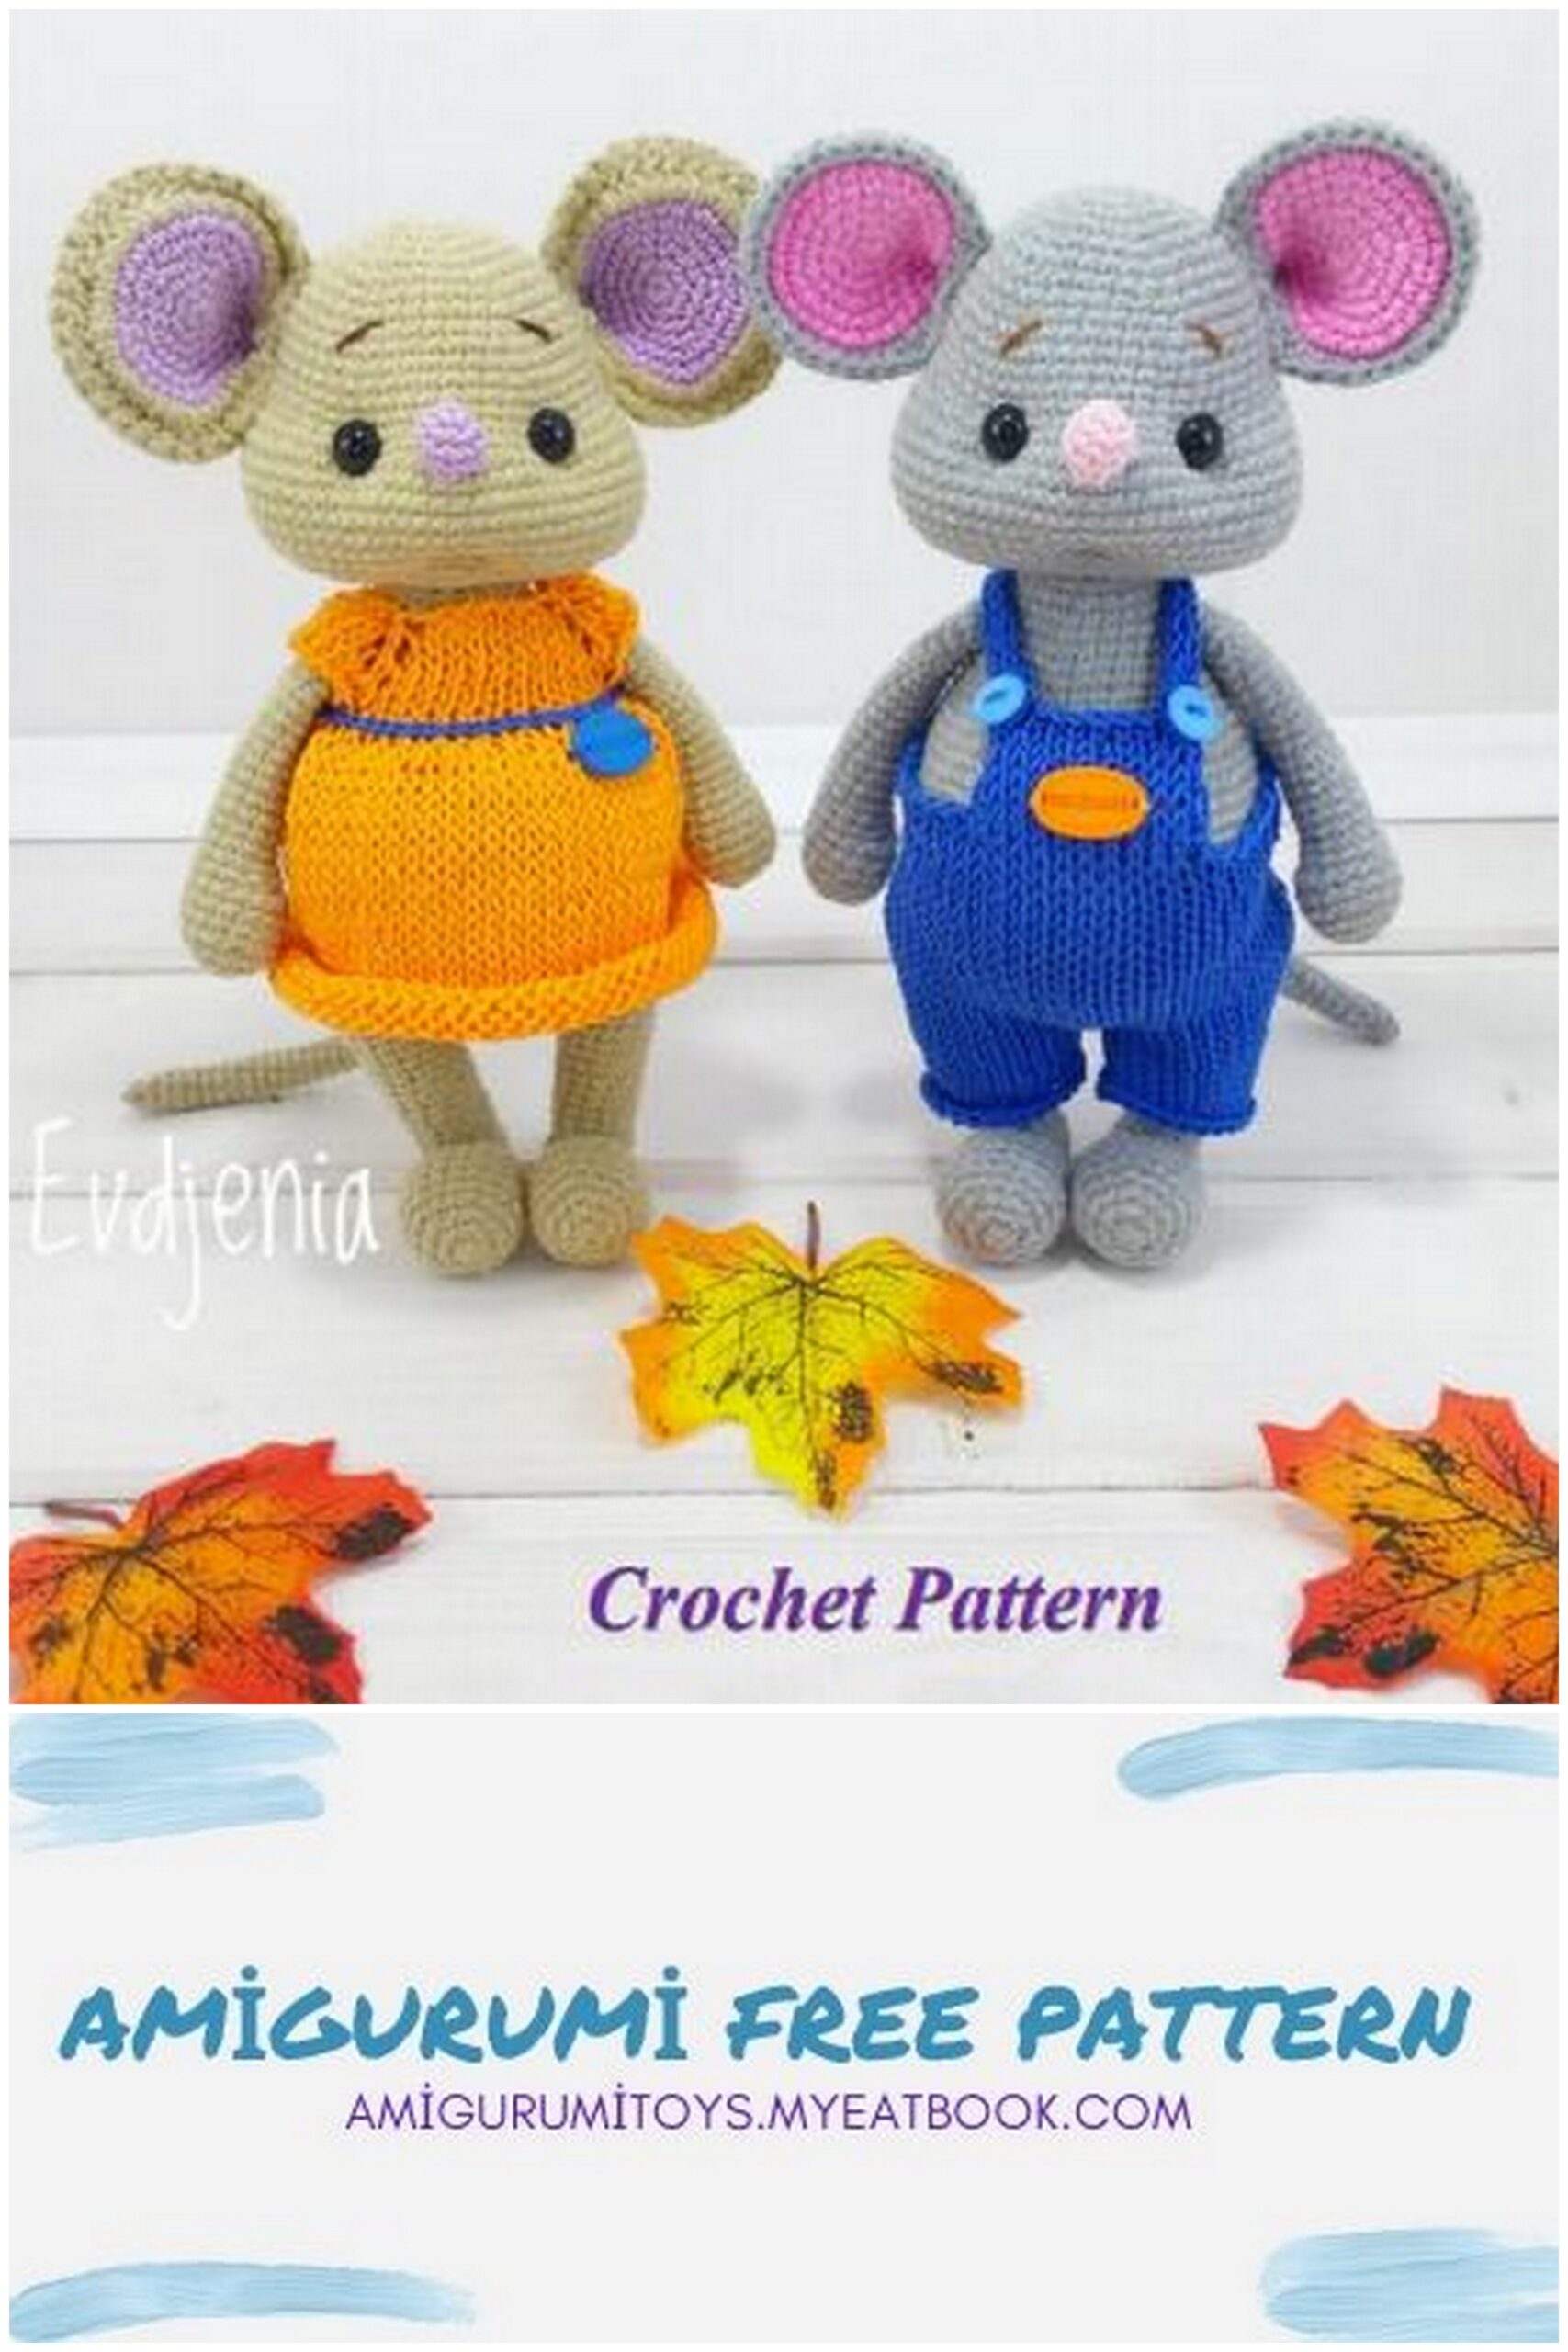
Amigurumi Good little mouse Free Pattern
Attention!!!
This crochet pattern is for personal use only.
It is forbidden to use this crochet pattern for commercial purposes. Do not share, reproduce, copy, and sell this pattern. No part of this crochet pattern may be published in any form or by any means without prior permission of the author.
When publishing the photos of toys crocheted with the help of this pattern, please indicate the author – Evgenia Blaginina.
This pattern does not contain knitting or crocheting lessons.
To make a toy with the help of this pattern you should have basic knitting and crocheting skills.
Crochet Pattern
«Good little mouse»
Tools and Materials:
Yarn. You will need two colors. In this pattern I used YarnArt JEANS (55% cotton / 45% acrylic; 50 g / 160 m), color No. 46 (gray) – 1 skein, and a small amount of the same yarn of pink color.
Pink yarn for nose (just a little bit), the yarn for nose should be thinner than the main yarn.
Beads for eyes or 8.00 mm safety eyes (8.00 mm will suit for YarnArt JEANS yarn. If you use some different yarn the appropriate diameter of safety eyes may differ).
2.5 mm crochet hook (or in accordance with the yarn you use).
Sewing needles and thread of your yarn’s color to shape the face and sew the details.
Pins for placing the details before sewing.
Stuffing (polyester fiberfill, or similar).
Brown or black embroidery thread to embroider eyebrows.
Abbreviations:
sc – single crochet
inc – increase (crochet 2 sc in one stitch)
dec – decrease (crochet 2 sc together)
(1 sc, dec) х n – repeat the pattern between parentheses n times.
For example, (1 sc, dec) x 4 means that the combination of (1 sc, dec) should be repeated 4 times.
In the end of every round description the figure between parentheses indicates the number of stitches in the round after its finishing.
For example, (1 sc, inc) x 6 (18) means that you will get 18 stitches in the round after its finishing.
BLO – back loop only
Work in a continuous spiral and do not join the rounds. Work in both loops of the
stitch unless otherwise stated.
The Pattern:
Head:
1) 6 sc into magic ring
2) 6 inc (12)
3) (1 sc, inc) х 6 (18)
4) (2 sc, inc) х 6 (24)
5) (3 sc, inc) х 6 (30)
6) (4 sc, inc) х 6 (36)
7) 36 sc
8) (5 sc, inc) х 6 (42)
9) 42 sc
10) (6 sc, inc) х 6 (48)
11 – 15) 48 sc (5 rounds)
16) inc х 7, 4 sc, (3 sc in one stitch) х 2, 4 sc, inc х 7, 24 sc (66) So, in this round we make 3 single crochet increase instead of usual 2 single crochet increase!
Insert the eyes in this round: the first eye after the first seven increases and the second eye before the second seven increases. I usually insert the eyes after I have done 2-4 next rounds. The holes for the eyes can be widened with the help of a knitting needle or scissors (photo 1, 2, 3).
17 – 21) 66 sc (5 rounds)
22) 17 sc, dec х 4, 41 sc (62)
23 – 24) 62 sc (2 rounds)
25) dec х 7, 10 sc, dec х 7, 24 sc (48)
26) (6 sc, dec) х 6 (42)
Start stuffing the head. Emphasize nose and cheeks with the help of stuffing material. Do not stuff very firmly: we will need to needle-sculpt the face later
27) (5 sc, dec) х 6 (36)
28) (4 sc, dec) х 6 (30)
29) (3 sc, dec) х 6 (24)
30) (2 sc, dec) х 6 (18)
Finally stuff the Head.
31) (1 sc, dec) х 6 (12)
32) dec х 6. Cut the yarn and fasten off. Tighten the final gap (please refer to photo 4, 5). Do the needle-sculpting for cheeks
Take two strong threads of 35-45 cm long (it is better to use double thread) and a long sewing needle. The first thread will be used to needle-sculpt the right eye, the second thread – to needle-sculpt the left eye. Insert the threaded needle into the neck area (photo 6), withdraw it out of one side of the eye, let the thread go along the top of the eye and insert the needle on the other side of the eye (photo 7), withdraw it out of the neck area.
Do the same for the second eye (photo 8). The distance between entry and exit points is – 1 sc (photo 9).
Now we have 4 thread tails going from the neck. Pull them to form the cheeks. Do not tighten too much!
Check that the cheeks are tightened symmetrically, tie 2-3 knots (photo 10). Photo 11 – needle-sculpting for cheeks.
Nose. The yarn for nose should be thinner than the main yarn.
1) 5 sc into magic ring
2) inc х 5 (10)
3, 4) 10 sc
5) 4 x inc. Cut the yarn and fasten off. Leave a tail for sewing. Stuff the nose.
Let’s sew the nose to the face. Put the nose to the place where we worked 3 sc in one stitch (16th round), it should be placed under these increases (photo 12, 13).
Do the needle-sculpting for mouth. Place two pins under the nose in 25th round (where we made decreases), the distance between the pins is 2 sc (photo 14).
Take strong threads of 35-45 cm long (it is better to use double thread) and a long sewing needle.
Leave the beginning yarn tail of 10 cm long, hold it with your fingers and do the following: Insert the threaded needle in to point 1, withdraw it out of point 2, insert the needle into point 3, withdraw it out of point 1. Make a stitch from point 1 to point 4, withdraw the needle out of point 5, insert the needle into point 6 and withdraw it out of point 4 (photo 15).
We have two thread tails going from point 1 and point 4 (photo 16),
Pull them. The needle-sculpting stitches should evenly go through the eyes to the mouth. Make 2-3 knots to fix the thread tails. Insert the threads into the needle and pull them into the mouse’s head through the initial entry point. We’ve made a small hollow for the mouth (photo 17, 18, 19).
We will crochet the mouse’s body from the mouse’s head. So, we will work directly on the head.
To do this, mark necessary points with the help of pins (photo 20, 21).
Note that we need to slightly shift the neck area to the back of the head. Working directly on the head, make 20 – 24 sc (photo 22).
1) count the number of stitches you have in the round
2) make some evenly spaced increases to get 24 sc in the round
3) 24 sc
4) (3 sc, inc) х 6 (30)
5) 30 sc
6) (4 sc, inc) х 6 (36)
7) 36 sc
8) (5 sc, inc) х 6 (42)
9) 42 sc
Now we need to put the mouse on the flat surface (the mouse’s face should look up) and fold the mouse’s body in two (in half-and-half, making equal front and back parts). Insert pins into places where the body has been folded in two, one pin for each side. So, we need two pins total (red pins on Photo 23). Now we have marked the mouse’s tummy at the front, and here we will make increases.
10) Make 6 increases on the tummy after every 3 sc; that is, on the tummy make (3 sc, inc) x 6, work the rest of the round with no increases or decreases (48) (photo 24).
11) 48 sc
12) (7 сsc, inc) х 6 (54)
13) 54 sc
14) Make 6 increases on the tummy after every 4 sc; that is, on the tummy make (4 sc, inc) x 6, work the rest of the round with no increases or decreases (60)
15 – 26) 60 sc (12 rounds)
27) (8 sc, dec) х 6 (54)
Stuff the detail as you go.
Stuff the neck firmly, the tummy should also be stuffed firmly, but the area where the legs will be sewn on to the body should be softer.
28) (7 sc, dec) х 6 (48)
29) (6 sc, dec) х 6 (42)
30) (5 sc, dec) х 6 (36)
31) (4 sc, dec) х 6 (30)
32) (3 sc, dec) х 6 (24)
Finally stuff the Body with the stuffing material. Do not forget to emphasize the tummy when stuffing.
33) (2 sc, dec) х 6 (18)
34) (1 sc, dec) х 6 (12)
35) dec х 6
Cut the yarn and fasten off. Pull the remaining stitches together to close the final gap. Hide the yarn tail inside the detail.
Ears. Make 2. (Do not stuff the ears with the stuffing material).
Start with 2 pink details (or white).
1) 6 sc into magic ring
2) inc х 6 (12)
3) (1 sc, inc) х 6 (18)
4) 1 sc, (inc, 2 sc) х 5, inc, 1 sc (24)
5) (3 sc, inc) х 6 (30)
6) 2 sc, (inc, 4 sc) х 5, inc, 2 sc (36)
Cut the yarn and fasten off.
Crochet the gray details in the same way, but do not cut the yarn (photo 26).
Put the two details wrong sides together and draw the loop from the gray detail to the front side of the ear (photo 27), ch 2, work through the both layers: (5 hdc, hdc inc) х 6 (photo 28) sl st to join the round (photo 29).
Do not cut the yarn. Fold the ear and work 4 sl st through the both layers (photo 30).
Fix the yarn again, but do not cut it – we will need it later for sewing (photo 31).
Arms (make 2).
1) 6 sc into magic ring
2) inc х 6 (12)
3) (3 sc, inc) х 3 (15)
4 – 7) 15 sc (4 rounds)
8) dec х 3, 9 sc (12)
Stuff the Arms as you go: firmly at the beginning, and not firmly at the top.
9 – 23) 12 sc (15 rounds)
24) (dec, 4 sc) х 2 (10)
Flatten the arm and single crochet 5 loops through the both layers to close. Cut the yarn and fasten off.
Leave a tail for sewing (photo 32).
Legs (make 2).
Foot
1) 6 sc into magic ring
2) inc х 6 (12)
3) (1 sc, inc) х 6 (18)
4) (5 sc, inc) х 3 (21)
5 – 9) 21 sc (5 rounds)
10) (1 sc, dec) х 4, sc (17)
11) 1 sc, dec х 3, 10 sc (14)
12 – 16) 14 sc (5 rounds)
Finally stuff the Body with the stuffing material.
17) dec х 7
We will start crocheting the leg directly from the foot. At first, mark the necessary points with the help of pins, the distance between the pins is 4 rows and 3 sc (photo 33).
Make the first round by working sc stitches directly on the back of the foot. Other parts of the foot will be at the front (photo 34).
1) 12 sc.
2) 12 sc
3) make one increase at the front of the leg (13)
4) 13 sc
5) make one increase at the front of the leg (14)
6, 7) 14 sc
8) make one increase at the front of the leg (15)
9, 10) 15 sc
11) make one increase at the front of the leg (16)
12, 13) 16 sc
14) make one increase at the front of the leg (17)
15, 16) 17 sc
17) make one increase at the front of the leg (18)
18, 19, 20) 18 sc
Stuff the legs firmly.
21) (1 sc, dec) х 6
22) dec х 6. Cut the yarn and fasten off. Pull remaining stitches together with the help of a sewing needle
(to close the final gap). Hide the yarn tail inside the detail. (photo 35 – legs).
Tail.
1) 5 sc into magic ring
2) ins, 4 sc (6)
3) 3 sc, inc, 2 sc (7)
4 – 36) 7 sc (33 rounds)
Fasten off. Leave a yarn tail for sewing (photo 36).
Assembly.
Sew the Ears to the Head.
Pin the ears to 10th or 11th round of the head. Check that they are located symmetrically. If yes, sew the ears to the head (photo 37, 38, 39).
Sew the arms to the body. Note that the hands (fists) are directed towards the body. Pin the arms to the sides of the body, approximately between 3th and 14th rounds of the body. Sew the arms to the body with backstitch. (Photo 40, 41, 42).
Using a knitting needle or pins, attach the legs to the body. Find the best place for them. (photo 43, 44).
Take a threaded needle. Join (sew) the legs to the body with the help of a strong thread.
Here is a scheme of joining (it is from the Internet) (photo 45)
When joining the details this way, the main thing is that the treaded needle should be inserted into and withdrawn out of the same point, not through different points. This method of joining the legs to the body allows the toy to be able to sit and stand. The legs will easily rotate in different directions.
Tail Attach the tail to the middle of the mouse’s “buttocks” and check that the tail does not prevent the mouse from sitting (photo 46). Sew the tail to the body (photo 47). Tint with eye shadows or dry pastel